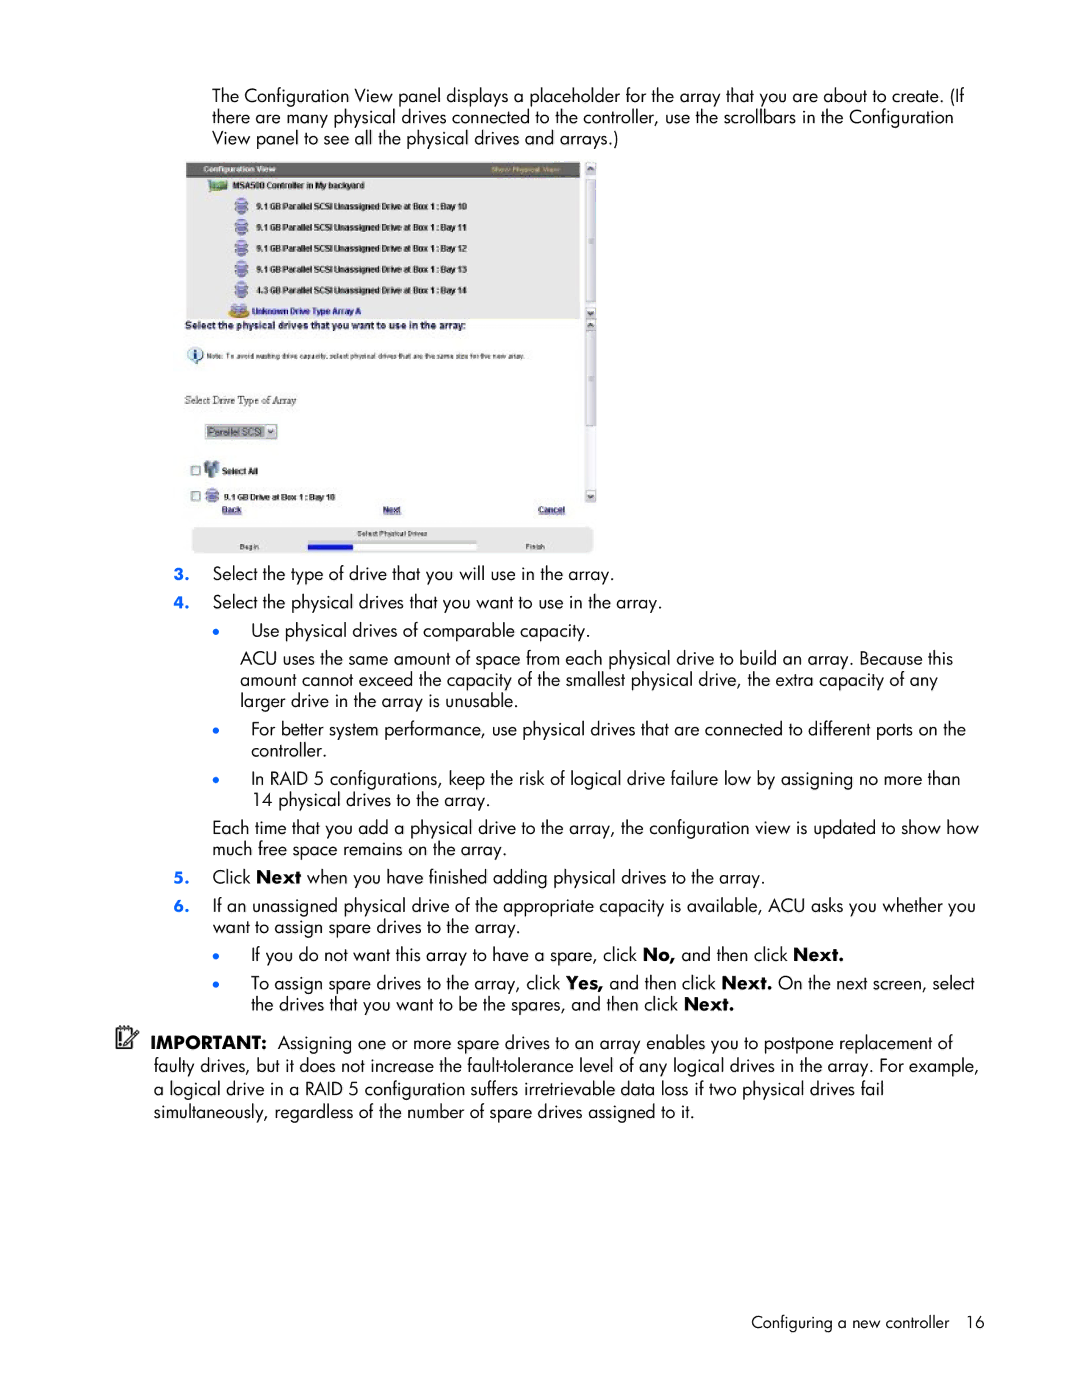
The Configuration View panel displays a placeholder for the array that you are about to create. (If there are many physical drives connected to the controller, use the scrollbars in the Configuration View panel to see all the physical drives and arrays.)
3.Select the type of drive that you will use in the array.
4.Select the physical drives that you want to use in the array.
•Use physical drives of comparable capacity.
ACU uses the same amount of space from each physical drive to build an array. Because this amount cannot exceed the capacity of the smallest physical drive, the extra capacity of any larger drive in the array is unusable.
•For better system performance, use physical drives that are connected to different ports on the controller.
•In RAID 5 configurations, keep the risk of logical drive failure low by assigning no more than 14 physical drives to the array.
Each time that you add a physical drive to the array, the configuration view is updated to show how much free space remains on the array.
5.Click Next when you have finished adding physical drives to the array.
6.If an unassigned physical drive of the appropriate capacity is available, ACU asks you whether you want to assign spare drives to the array.
•If you do not want this array to have a spare, click No, and then click Next.
•To assign spare drives to the array, click Yes, and then click Next. On the next screen, select the drives that you want to be the spares, and then click Next.
IMPORTANT: Assigning one or more spare drives to an array enables you to postpone replacement of faulty drives, but it does not increase the
