Manual White Balance
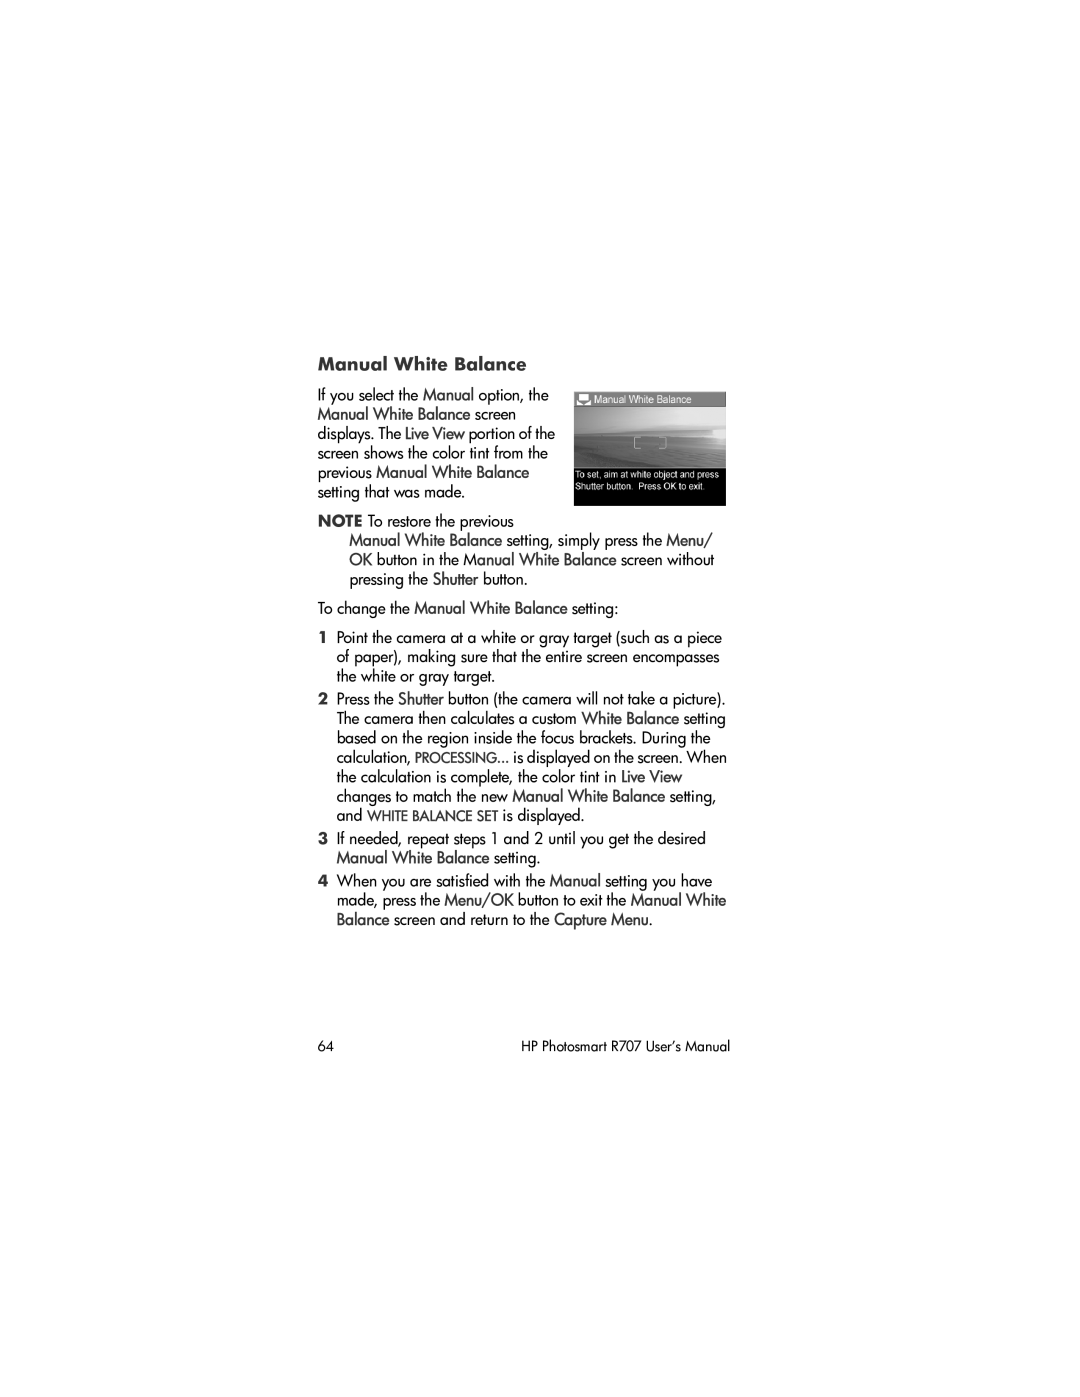
If you select the Manual option, the Manual White Balance screen displays. The Live View portion of the screen shows the color tint from the previous Manual White Balance setting that was made.
NOTE To restore the previous
Manual White Balance setting, simply press the Menu/ OK button in the Manual White Balance screen without pressing the Shutter button.
To change the Manual White Balance setting:
1Point the camera at a white or gray target (such as a piece of paper), making sure that the entire screen encompasses the white or gray target.
2Press the Shutter button (the camera will not take a picture). The camera then calculates a custom White Balance setting based on the region inside the focus brackets. During the calculation, PROCESSING... is displayed on the screen. When the calculation is complete, the color tint in Live View changes to match the new Manual White Balance setting, and WHITE BALANCE SET is displayed.
3If needed, repeat steps 1 and 2 until you get the desired Manual White Balance setting.
4When you are satisfied with the Manual setting you have made, press the Menu/OK button to exit the Manual White Balance screen and return to the Capture Menu.
64 | HP Photosmart R707 User’s Manual |