Recording Video Clips
NOTE Zoom does not work while recording video clips. Therefore, you may want to zoom first before starting to record a video clip.
A video clip includes audio.
1Frame the subject for your video in the viewfinder.
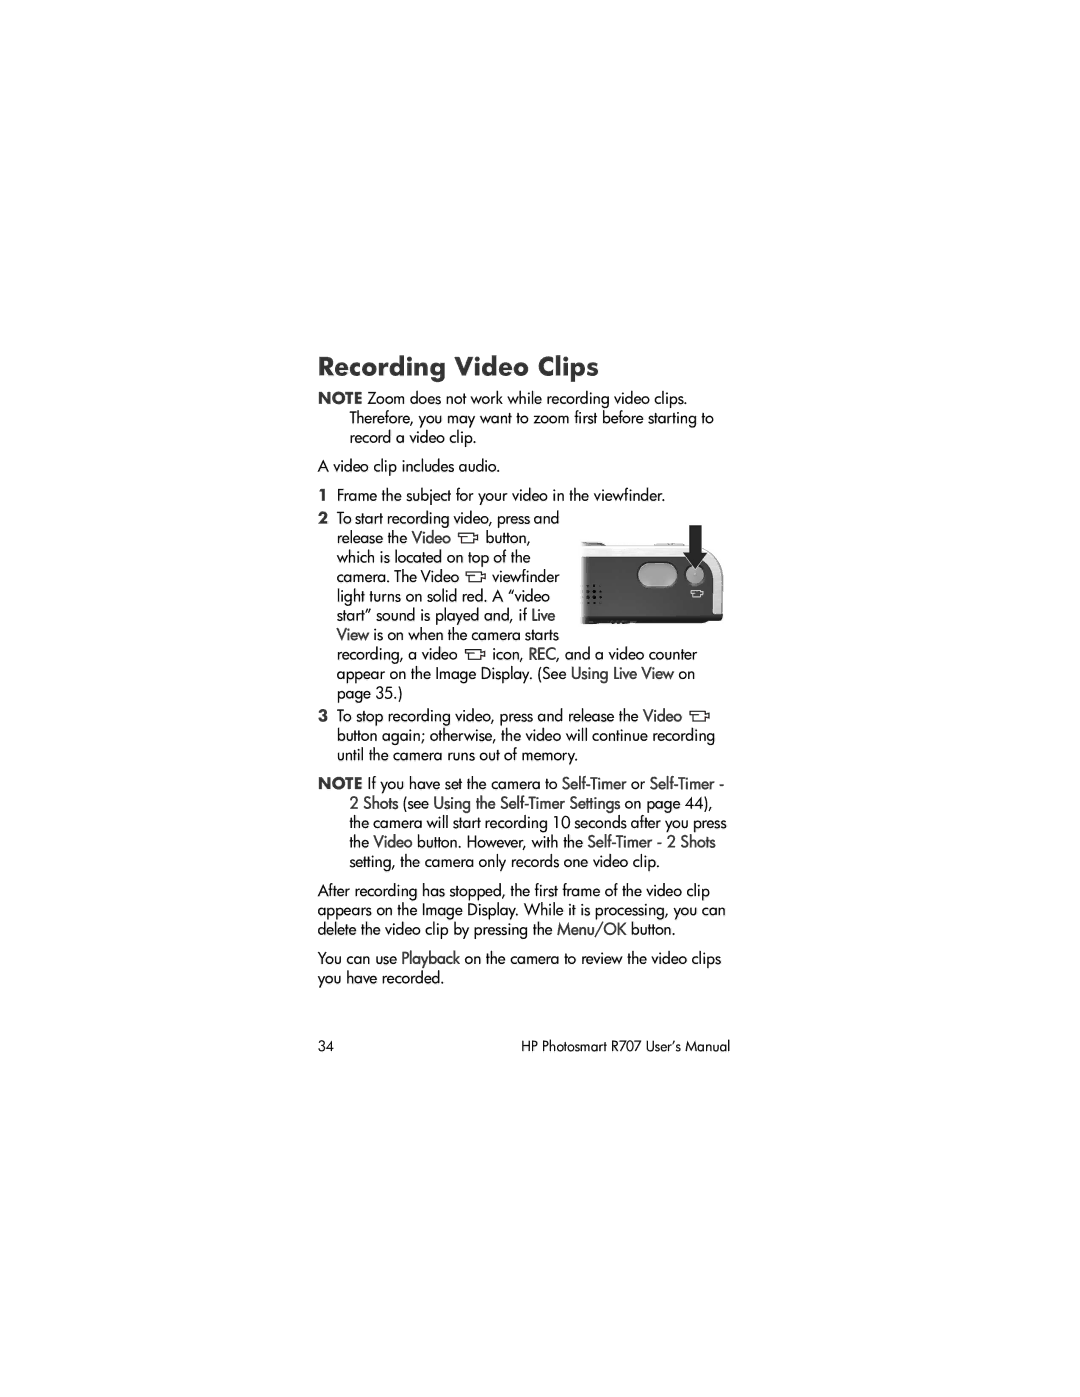
2To start recording video, press and
release the Video ![]() button, which is located on top of the camera. The Video
button, which is located on top of the camera. The Video ![]() viewfinder light turns on solid red. A “video start” sound is played and, if Live View is on when the camera starts
viewfinder light turns on solid red. A “video start” sound is played and, if Live View is on when the camera starts
recording, a video ![]() icon, REC, and a video counter appear on the Image Display. (See Using Live View on page 35.)
icon, REC, and a video counter appear on the Image Display. (See Using Live View on page 35.)
3To stop recording video, press and release the Video ![]() button again; otherwise, the video will continue recording until the camera runs out of memory.
button again; otherwise, the video will continue recording until the camera runs out of memory.
NOTE If you have set the camera to
After recording has stopped, the first frame of the video clip appears on the Image Display. While it is processing, you can delete the video clip by pressing the Menu/OK button.
You can use Playback on the camera to review the video clips you have recorded.
34 | HP Photosmart R707 User’s Manual |
