Copying Files to CD |
Copying Files to CD
You can copy files to CD several ways with Simple Trax. You can copy them to CD from Windows Explorer or you can set up Simple Trax to copy files at scheduled times. The schedule can be set using the Wizard or, if you want to use more advanced options, from the Control Panel.
Using Windows Explorer to Copy Files
To copy files using Windows Explorer:
1.Place the CD you want to use into your
2.If the CD is new, it will need to be formatted. If not, skip to step 4. If it does need to be formatted, after a few seconds a screen will appear which asks you to "Please select the type of CD you wish to create.”
3.Choose Click here to create a data CD that will be accessible through a drive letter, i.e. as you would use a floppy drive. Follow the instructions on the screen. When the CD is done formatting, continue with the next steps.
4.Run Windows Explorer by clicking the Start button, pointing to Programs, and clicking Windows Explorer.
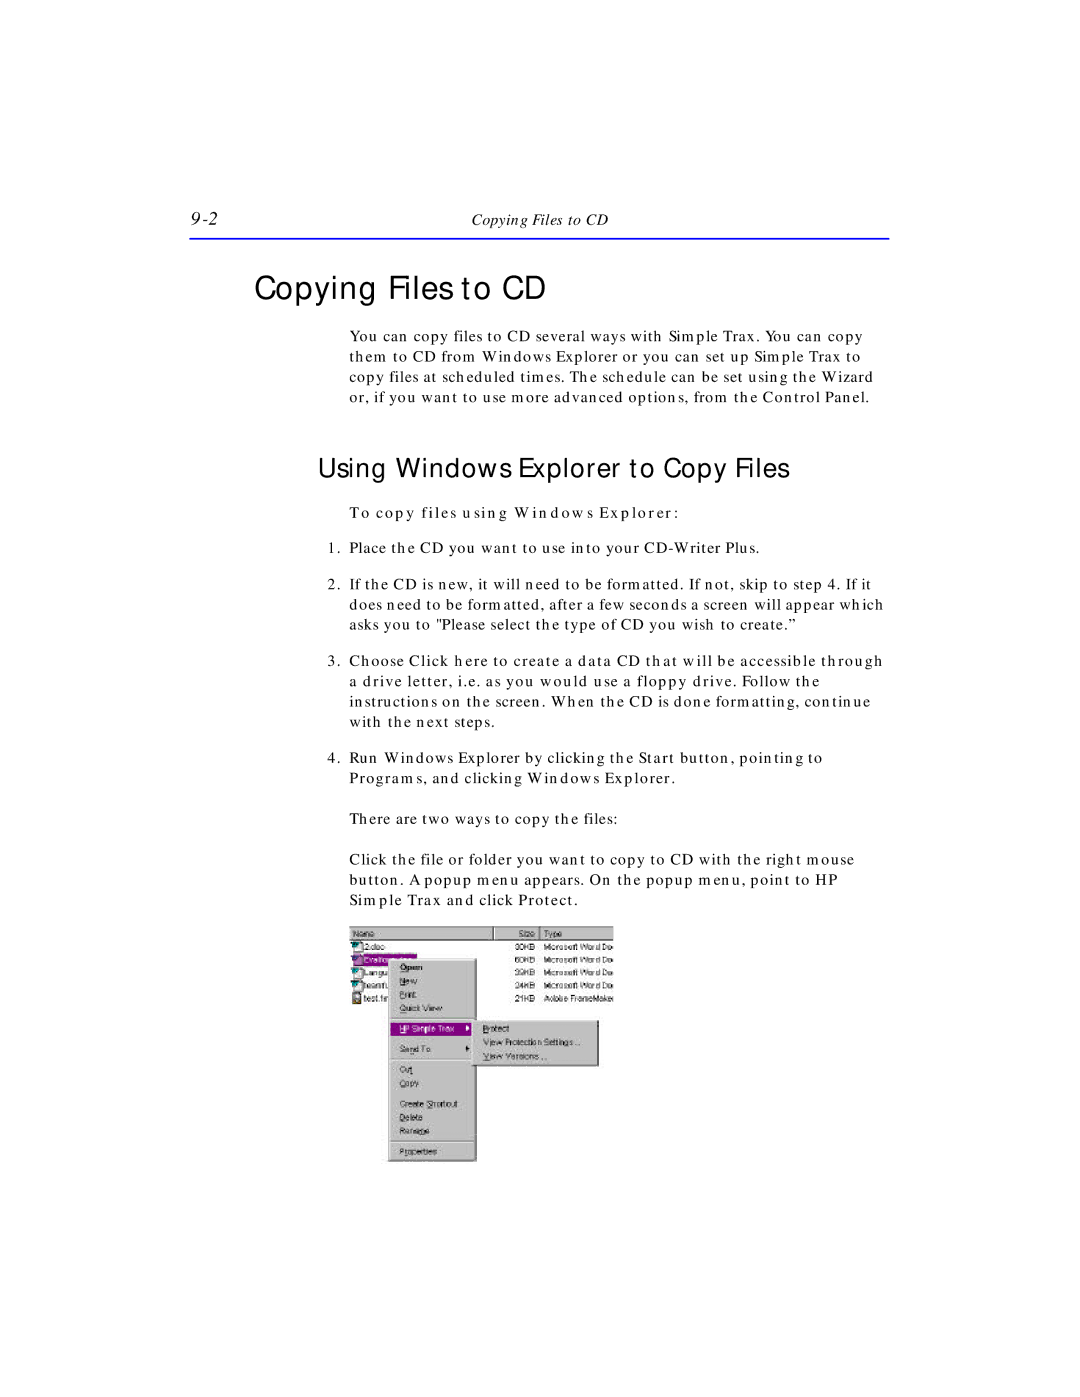
There are two ways to copy the files:
Click the file or folder you want to copy to CD with the right mouse button. A popup menu appears. On the popup menu, point to HP Simple Trax and click Protect.