Editing the style of a video project
You can change the style of a number of elements within your video project. The elements include:
■Background color and graphics on the menus and submenus.
■Button styles.
■Background music.
■Text format (font, color, and size).
■Import custom styles.
To edit the look of a video project:
1Click File, Open, and then select a video project that you created as described in “Creating a video project” on page 90.
2Click Edit Style.
3In the Edit Style dialog box, change any of the previously mentioned elements, and then click Apply To All Menus or Apply To This Menu.
Editing movie files
After you capture or import video files, you can edit them using Sonic MyDVD to:
■Add additional files.
■Add background music.
■Search for specific scenes.
■Delete scenes.
■Add transition effects between scenes.
■Superimpose colors, themes, and effects over video scenes.
■Superimpose text effects over video scenes.
To edit your video files:
1If your project is already open, click Edit Movie and skip to step 4.
2Click Start, All Programs, Sonic, and then DigitalMedia Home.
3Click the Video tab, and then File, New Project or Open Existing Project.
4If you have already captured video files for this project, they appear along the bottom as a storyboard. If you have video files on your hard disk drive you would like to add to this project, click Add Files.
5In the Sonic MyDVD window, click Edit Movie.
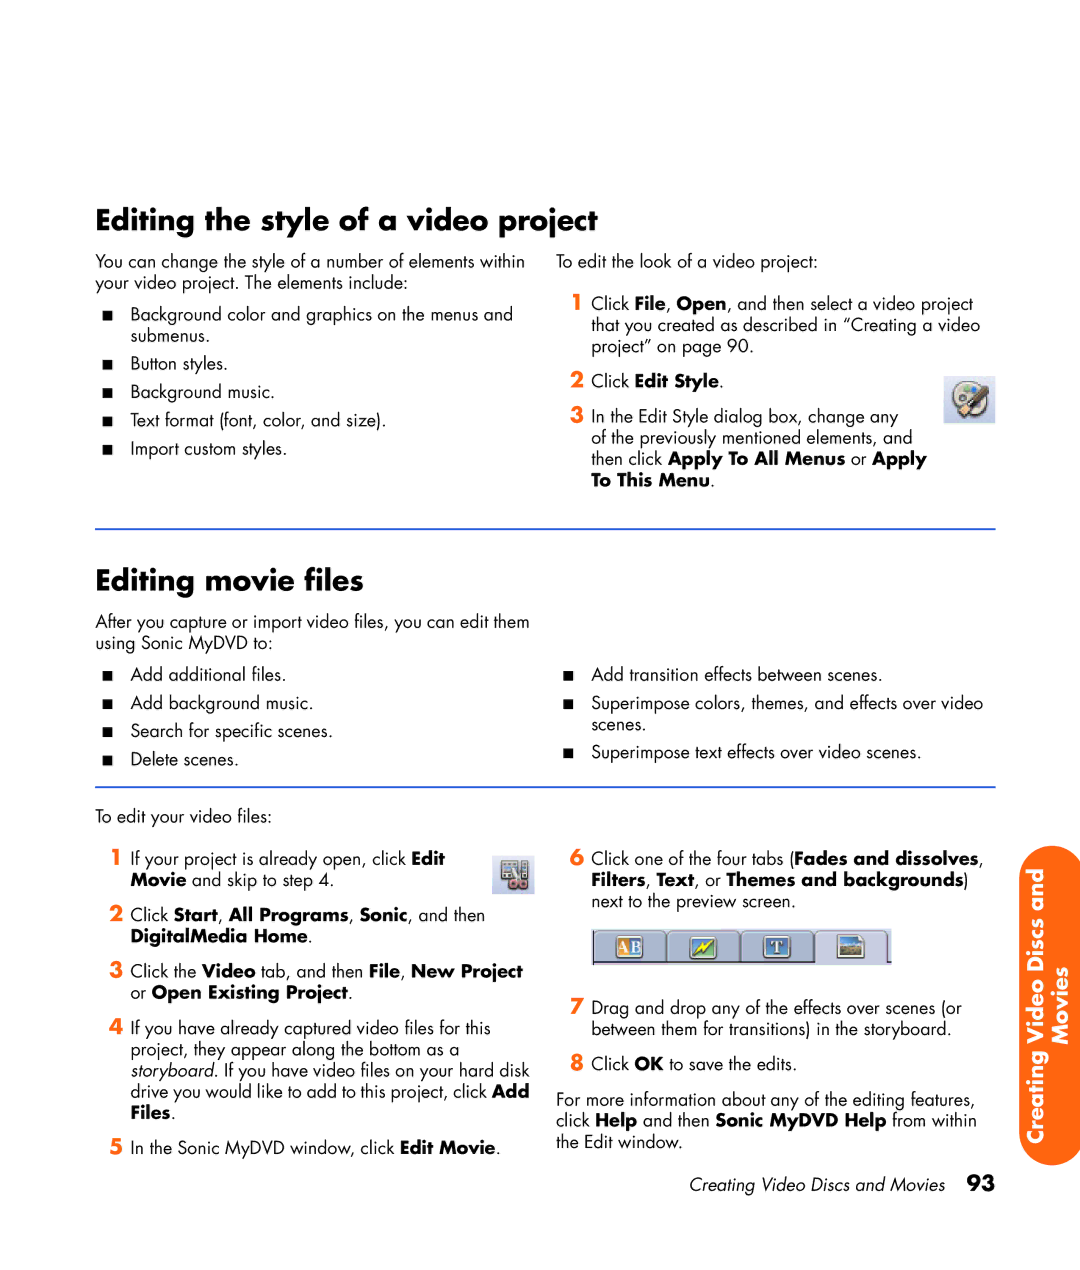
6Click one of the four tabs (Fades and dissolves, Filters, Text, or Themes and backgrounds) next to the preview screen.
7Drag and drop any of the effects over scenes (or between them for transitions) in the storyboard.
8Click OK to save the edits.
For more information about any of the editing features, click Help and then Sonic MyDVD Help from within the Edit window.
Video Discs and | Movies |
Creating |
|
Creating Video Discs and Movies 93
