Installing a hot-swap hard disk drive
The following notes describe the types of hard disk drives that the server supports and other information that you must consider when installing a hard disk drive:
vThe server supports up to six
vFor a list of supported options for the server, see http://www.ibm.com/servers/ eserver/serverproven/compat/us/.
vInspect the drive tray for signs of damage.
vMake sure that the drive is correctly installed in the tray.
vIf a RAID controller is installed in the server, see the documentation that comes with the controller for instructions for installing a hard disk drive.
vAll
vTo minimize the possibility of damage to the hard disk drives when you are installing the server in a rack configuration, install the server in the rack before installing the hard disk drives.
vYou do not have to turn off the server to install
vSome filler panels come with a slim filler.
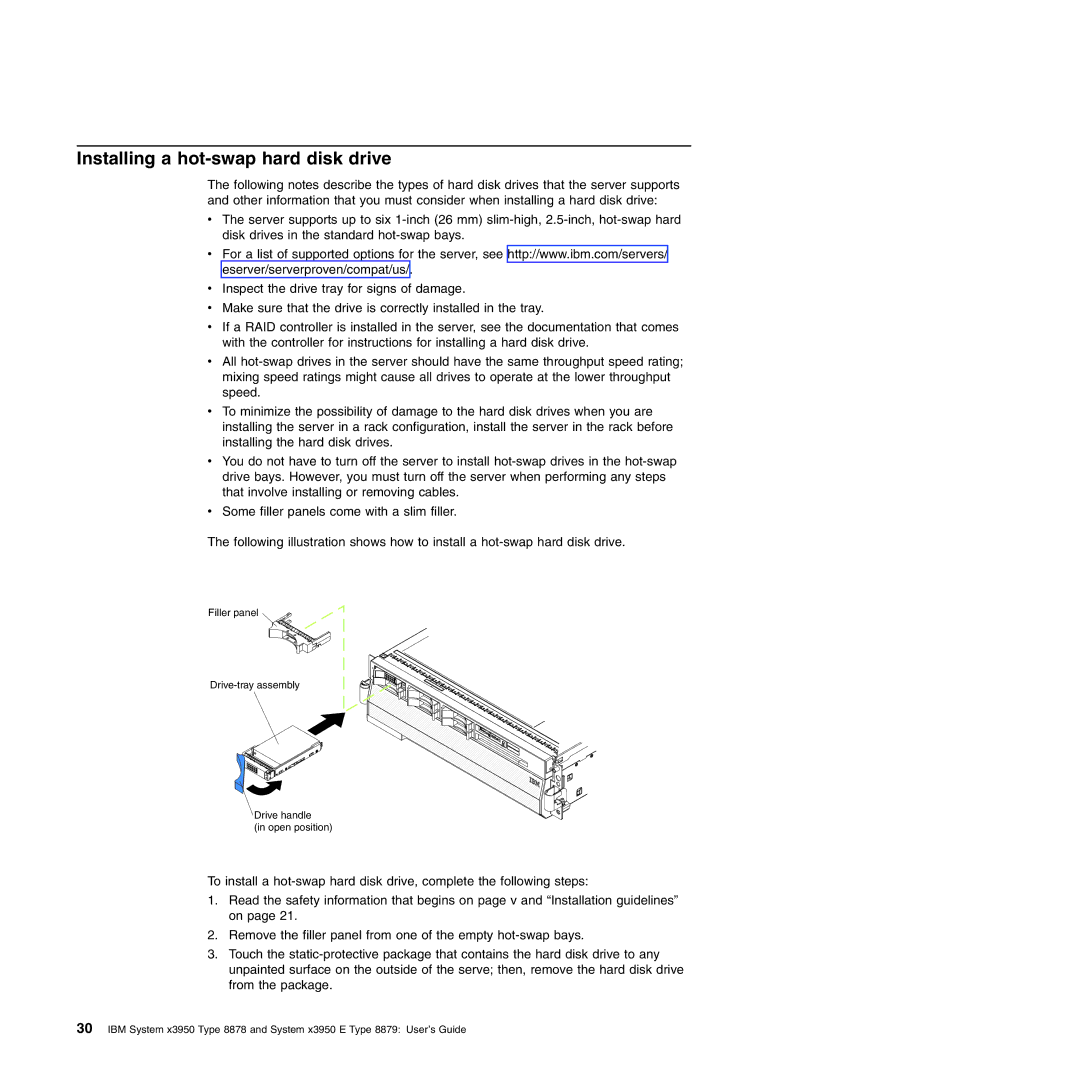
The following illustration shows how to install a
Filler panel
Drive handle
(in open position)
To install a
1.Read the safety information that begins on page v and “Installation guidelines” on page 21.
2.Remove the filler panel from one of the empty
3.Touch the
30IBM System x3950 Type 8878 and System x3950 E Type 8879: User’s Guide