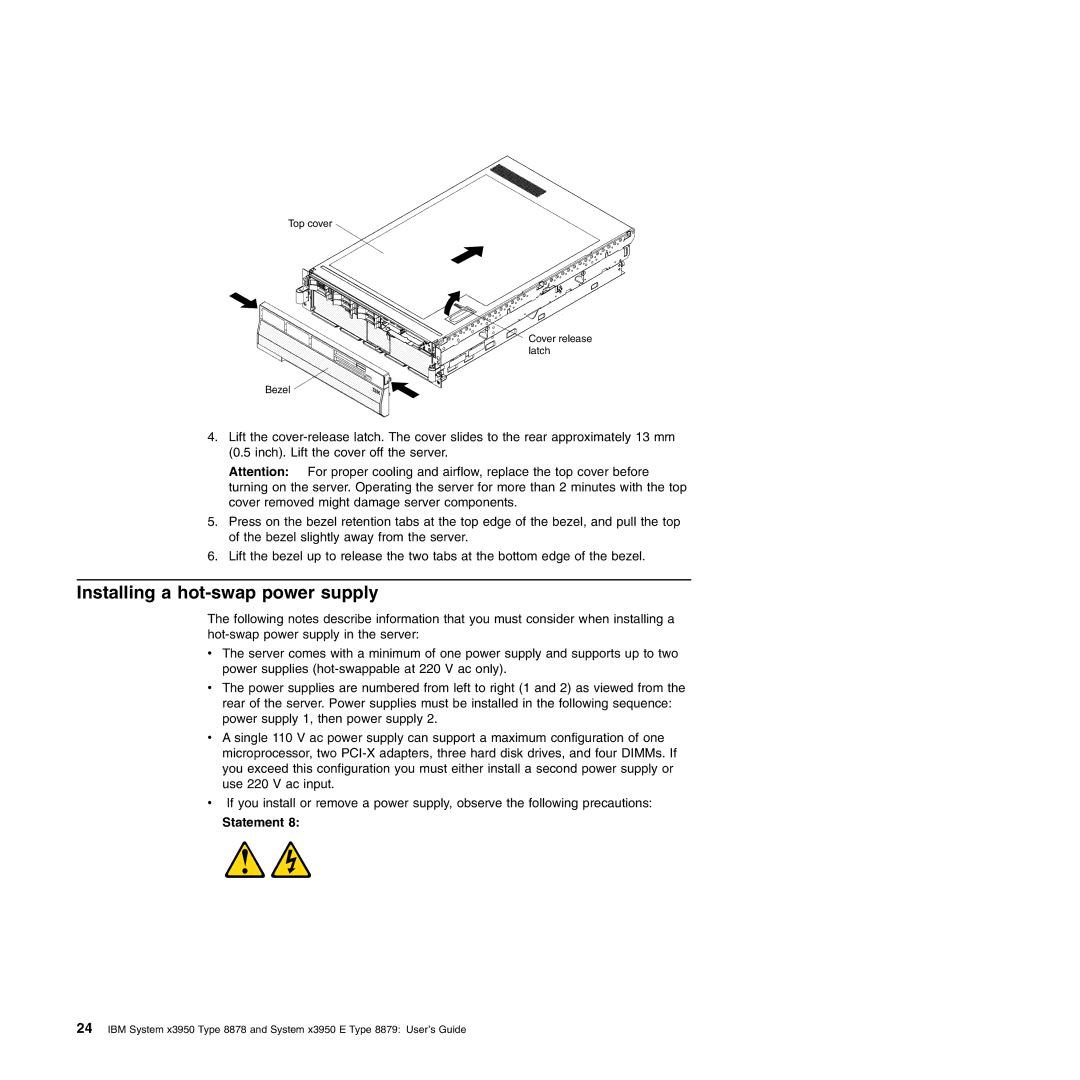
Top cover
Cover release latch
Bezel
4.Lift the
Attention: For proper cooling and airflow, replace the top cover before turning on the server. Operating the server for more than 2 minutes with the top cover removed might damage server components.
5.Press on the bezel retention tabs at the top edge of the bezel, and pull the top of the bezel slightly away from the server.
6.Lift the bezel up to release the two tabs at the bottom edge of the bezel.
Installing a hot-swap power supply
The following notes describe information that you must consider when installing a
vThe server comes with a minimum of one power supply and supports up to two power supplies
vThe power supplies are numbered from left to right (1 and 2) as viewed from the rear of the server. Power supplies must be installed in the following sequence: power supply 1, then power supply 2.
vA single 110 V ac power supply can support a maximum configuration of one microprocessor, two
vIf you install or remove a power supply, observe the following precautions:
Statement 8:
24IBM System x3950 Type 8878 and System x3950 E Type 8879: User’s Guide