a.Make sure that the
b.Close the tray levers and make sure that they are securely latched.
c.Press the
d.Reinstall the fans and memory cards in the server.
If you have other options to install or remove, do so now; otherwise, go to “Completing the installation.”
Completing the installation
To complete the installation, complete the following steps:
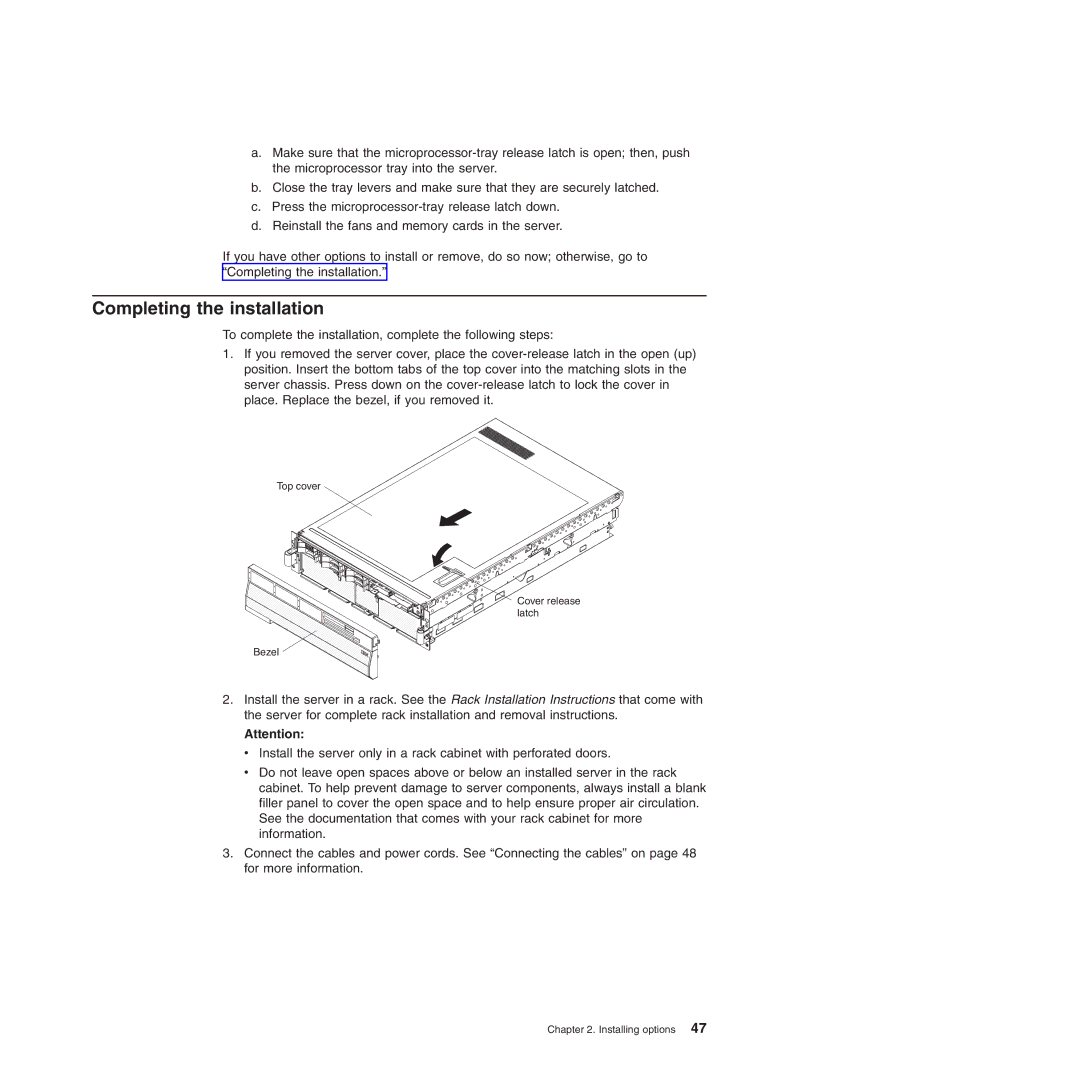
1.If you removed the server cover, place the
Top cover
Cover release latch
Bezel
2.Install the server in a rack. See the Rack Installation Instructions that come with the server for complete rack installation and removal instructions.
Attention:
vInstall the server only in a rack cabinet with perforated doors.
vDo not leave open spaces above or below an installed server in the rack cabinet. To help prevent damage to server components, always install a blank filler panel to cover the open space and to help ensure proper air circulation. See the documentation that comes with your rack cabinet for more information.
3.Connect the cables and power cords. See “Connecting the cables” on page 48 for more information.