1.Read the safety information beginning on page 87 and “Installation guidelines” on page 31 through “Handling
2.Remove the acoustic module option, if installed, from the rear of the BladeCenter unit. See “Installing and removing the acoustic module option” on page 40 for instructions.
Important:
a.If you are removing a functional power module, make sure before you remove the module that both the ac power LED and the dc power LED on the remaining power module are lit and that the power module error LED
b.If you are removing a management module, you might prefer to stop all management module local and remote sessions before proceeding, to avoid unexpected termination of sessions.
3.Disconnect any cables from the module. For a power module, disconnect the power cord from the module.
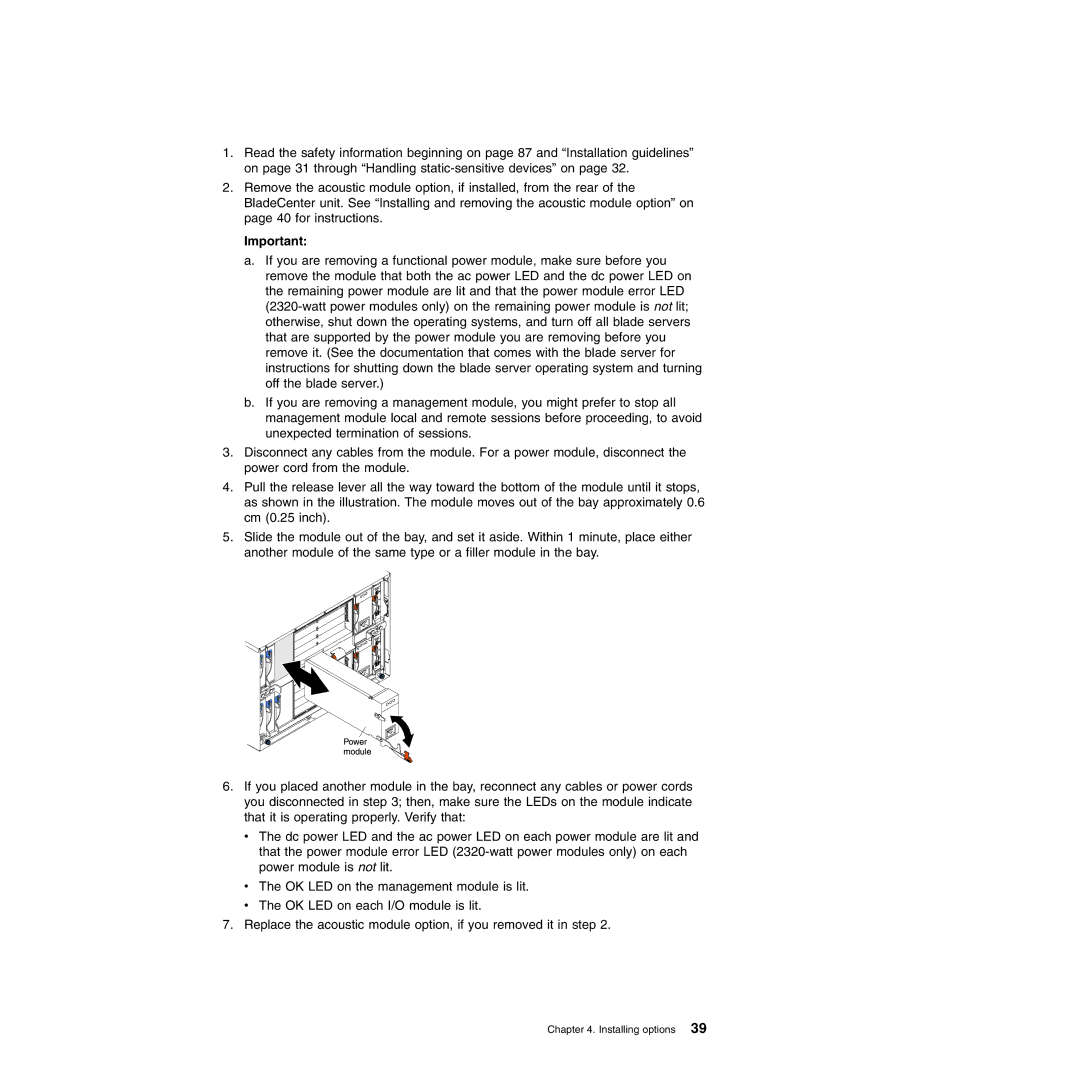
4.Pull the release lever all the way toward the bottom of the module until it stops, as shown in the illustration. The module moves out of the bay approximately 0.6 cm (0.25 inch).
5.Slide the module out of the bay, and set it aside. Within 1 minute, place either another module of the same type or a filler module in the bay.
6.If you placed another module in the bay, reconnect any cables or power cords you disconnected in step 3; then, make sure the LEDs on the module indicate that it is operating properly. Verify that:
vThe dc power LED and the ac power LED on each power module are lit and that the power module error LED
vThe OK LED on the management module is lit.
vThe OK LED on each I/O module is lit.
7.Replace the acoustic module option, if you removed it in step 2.
