5.Lift the end of the interposer board that is closer to the customer interface card, and slide it toward the customer interface card until the other end of the interposer board is free of the retaining bracket.
To install the replacement CD interposer board, reverse the previous steps, making sure to insert the tab on one end of the interposer board into the guide that is near the diskette drive.
Switch, power, and cooling (SPC) chassis
Complete the following steps to remove the
Note:
vRead “Installation guidelines” on page 31.
vRead the safety notices at “Safety information” on page 87.
vRead “Handling electrostatic
1.Shut down the operating systems, and turn off any blades in the BladeCenter.
2.Turn off the BladeCenter and any attached devices (see “Shutting down the BladeCenter unit” on page 12).
3.Disconnect the cables from the modules in the rear of the BladeCenter.
4.Remove the modules from the rear of the BladeCenter.
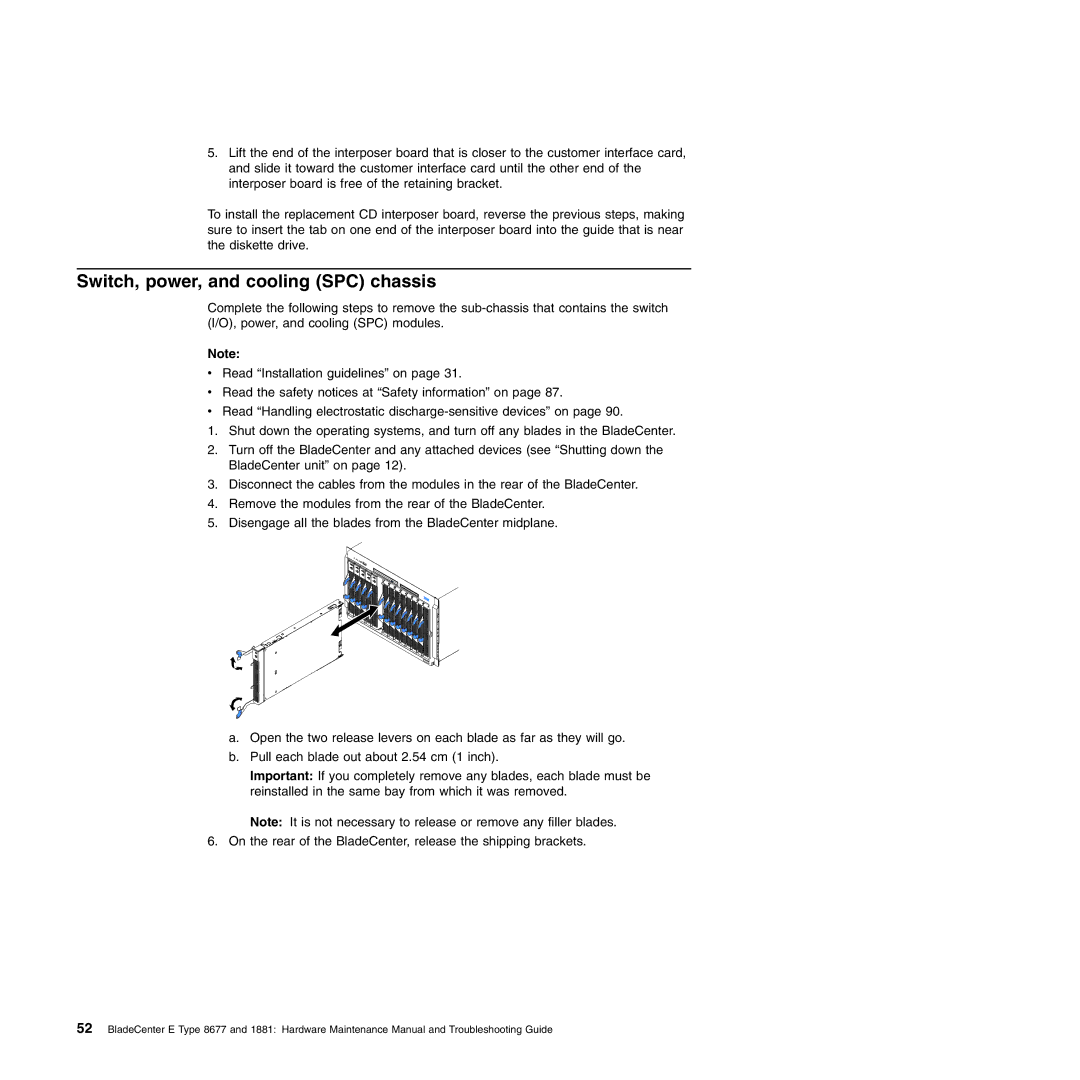
5.Disengage all the blades from the BladeCenter midplane.
a.Open the two release levers on each blade as far as they will go.
b.Pull each blade out about 2.54 cm (1 inch).
Important: If you completely remove any blades, each blade must be reinstalled in the same bay from which it was removed.
Note: It is not necessary to release or remove any filler blades.
6.On the rear of the BladeCenter, release the shipping brackets.
52BladeCenter E Type 8677 and 1881: Hardware Maintenance Manual and Troubleshooting Guide
