Completing the installation
After you connect the cables to the modules and route the cables (if necessary, see the Rack Installation Instructions for information about routing the cables), start the BladeCenter unit (if it is not already started), and verify that it is working properly, as follows:
1.Start the BladeCenter unit by connecting the
2.Make sure the LEDs on the modules indicate that they are operating properly. Verify that:
v The dc power LED and the ac power LED on each power module are lit and that the power module error LED
vThe OK LED on each management module is lit.
vThe OK LED on each I/O module is lit.
3.Make sure the
See “BladeCenter unit power, controls, and indicators” on page 11 for information about starting the BladeCenter unit and the location of the LEDs on the modules. See the Installation and User’s Guide for your blade server for the location of the LEDs on the blade servers.
Input/output connectors
Your BladeCenter has one Universal Serial Bus (USB) version 1.1 or 2.0 connector, depending on BladeCenter unit type, on the front of the BladeCenter unit. All other input/output connectors are provided by devices installed in the BladeCenter unit, such as management modules or I/O modules. See the documentation for these devices for information about the input/output connectors and their function.
Use the USB connector to connect a USB device other than a mouse or keyboard to the BladeCenter unit. Using Plug and Play technology, USB devices are configured automatically.
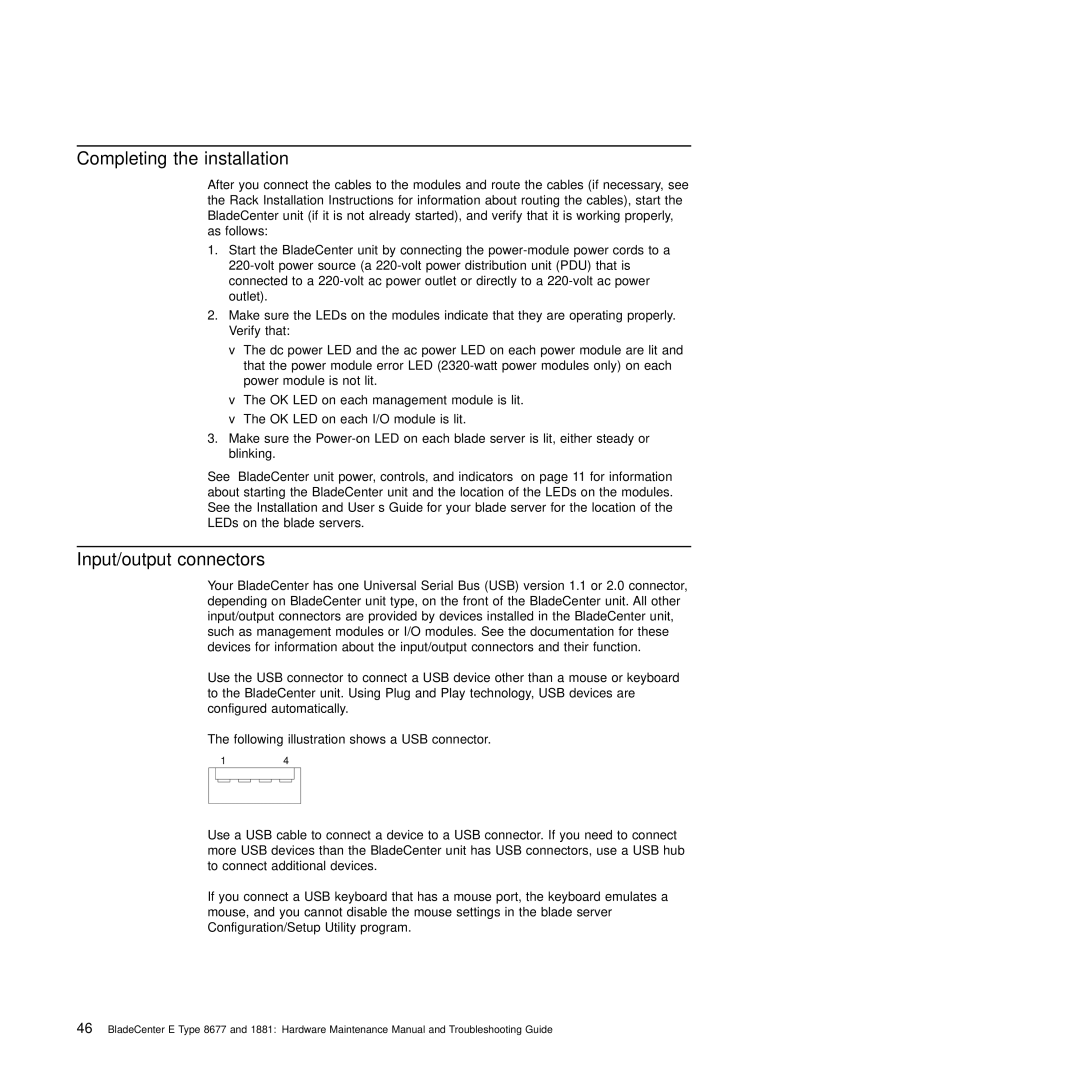
The following illustration shows a USB connector.
14
Use a USB cable to connect a device to a USB connector. If you need to connect more USB devices than the BladeCenter unit has USB connectors, use a USB hub to connect additional devices.
If you connect a USB keyboard that has a mouse port, the keyboard emulates a mouse, and you cannot disable the mouse settings in the blade server Configuration/Setup Utility program.
46BladeCenter E Type 8677 and 1881: Hardware Maintenance Manual and Troubleshooting Guide