Removing a blade server
Complete the following steps to remove a blade server from the BladeCenter unit.
Attention:
vTo maintain proper system cooling, do not operate the BladeCenter unit for more than one minute without either a blade server or a filler blade installed in each blade bay. If you fail to replace a blade server or filler blade within one minute, system performance might be affected.
vMake note of the bay number. Some configuration information and update options are established according to bay; if you reinstall the blade server in a different bay than the one from which it was removed, unintended consequences could occur.
1.Read the “Important safety information” on page vii, “Installation guidelines” on page 31, and “Handling electrostatic
2.Shut down the blade server operating system; then, press the blade server
Attention: Wait at least 30 seconds until the drives stop spinning, before proceeding to the next step.
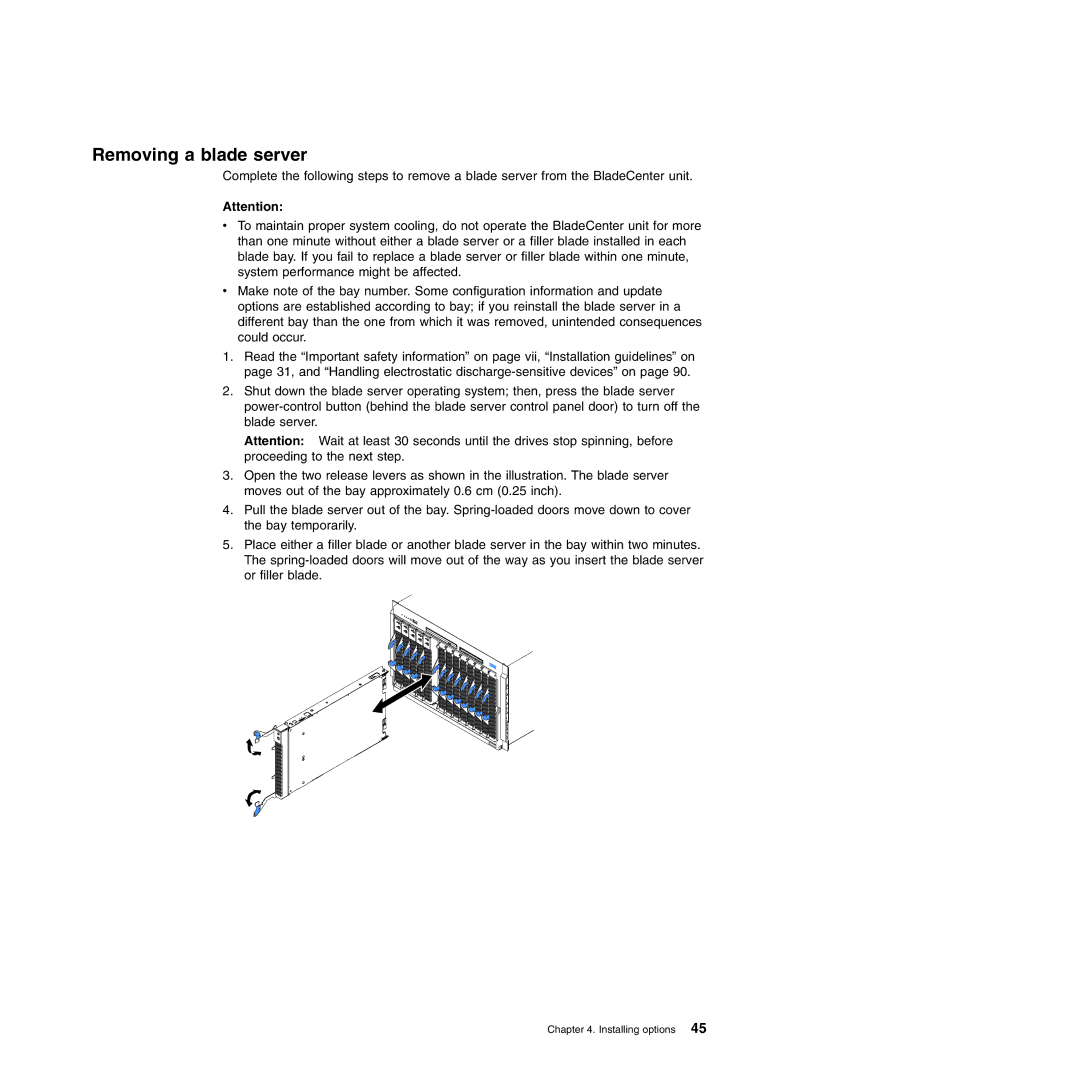
3.Open the two release levers as shown in the illustration. The blade server moves out of the bay approximately 0.6 cm (0.25 inch).
4.Pull the blade server out of the bay.
5.Place either a filler blade or another blade server in the bay within two minutes. The