Transferring Project Files
TRANSFERRING PROJECT FILES
From the “TRANSFER” menu you will be able to:
1)Transfer (Download) a completed project file to the
2)Upload a project file from the
3)Compare a loaded project file within the
4)Check the current application within the
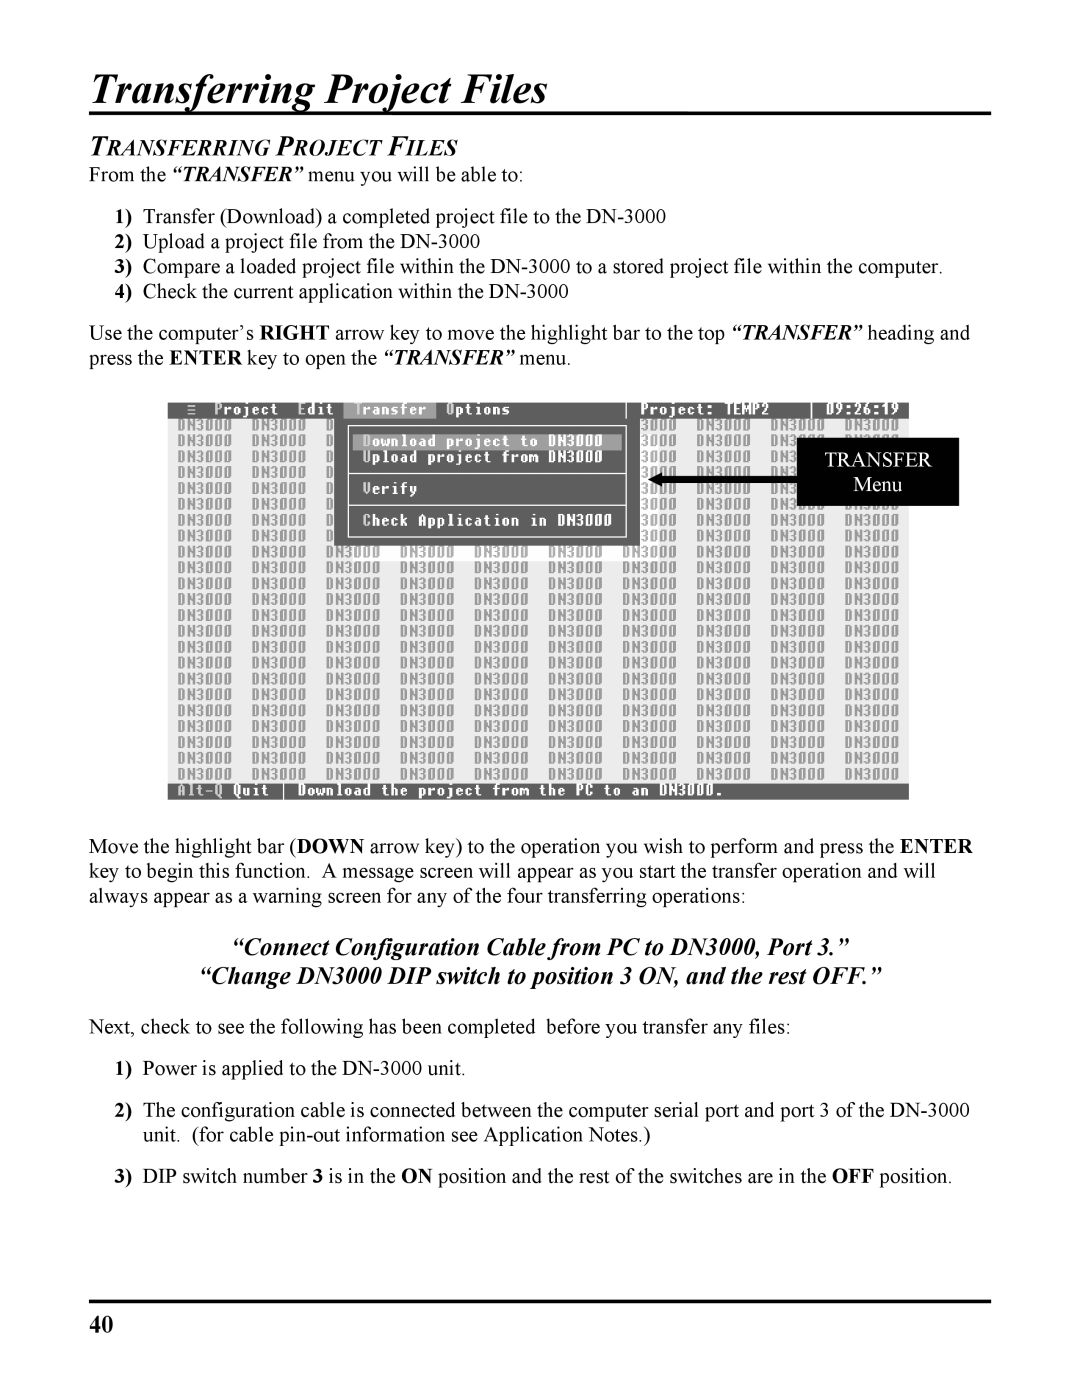
Use the computer’s RIGHT arrow key to move the highlight bar to the top “TRANSFER” heading and press the ENTER key to open the “TRANSFER” menu.
TRANSFER
Menu
Move the highlight bar (DOWN arrow key) to the operation you wish to perform and press the ENTER key to begin this function. A message screen will appear as you start the transfer operation and will always appear as a warning screen for any of the four transferring operations:
“Connect Configuration Cable from PC to DN3000, Port 3.”
“Change DN3000 DIP switch to position 3 ON, and the rest OFF.”
Next, check to see the following has been completed before you transfer any files:
1)Power is applied to the
2)The configuration cable is connected between the computer serial port and port 3 of the
3)DIP switch number 3 is in the ON position and the rest of the switches are in the OFF position.
40