SRX 210 specifications
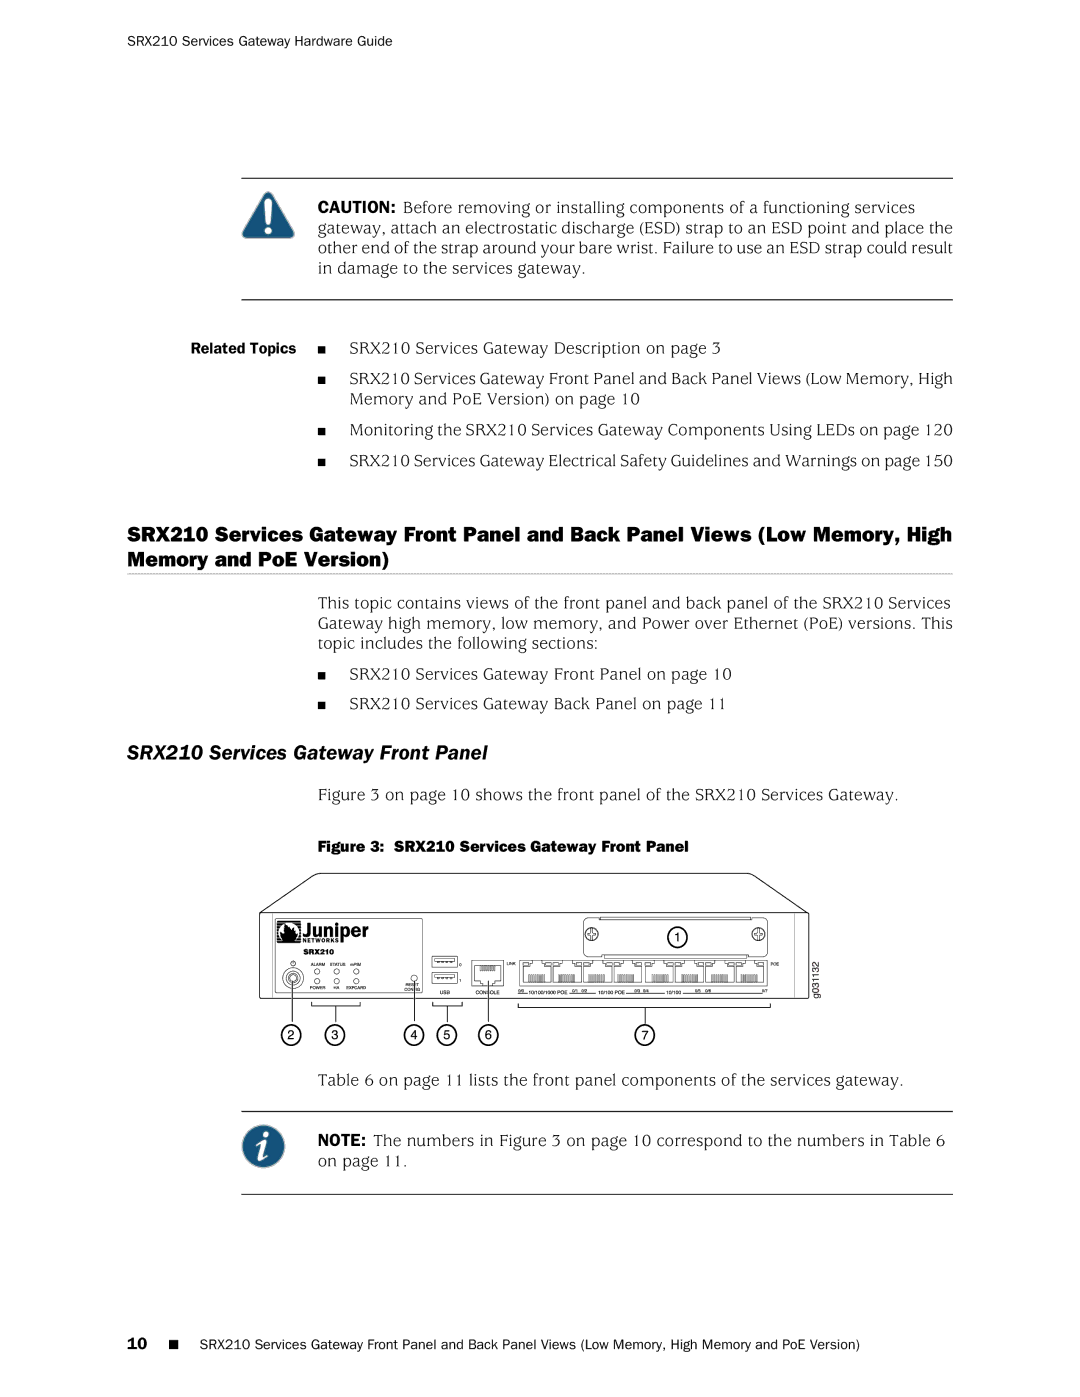
The Juniper Networks SRX 210 is a next-generation security gateway tailored to small and medium-sized enterprises. Offering robust security features and advanced networking capabilities, the SRX 210 is designed to provide a high level of performance in a compact form factor. This device is well-suited for organizations seeking to protect their networks while also ensuring seamless connectivity.One of the main features of the SRX 210 is its comprehensive security functionalities. It integrates a stateful firewall, intrusion prevention system (IPS), and application visibility and control, providing multiple layers of security to protect against sophisticated cyber threats. The firewall capabilities include zone-based policies, NAT, and support for VPN, ensuring that both internal and external traffic is managed effectively. The SRX 210 also incorporates SSL VPN technology, allowing remote users secure access to the corporate network.
In terms of performance, the SRX 210 supports throughput of up to 1 Gbps, making it effective for handling significant amounts of network traffic without compromising speed or reliability. The device supports multiple WAN connections, including broadband and fiber links, enabling load balancing and redundancy. This feature is crucial for maintaining uninterrupted service and efficient bandwidth utilization.
The SRX 210 also excels in its management and operational capabilities. It features Junos OS, an operating system renowned for its reliability and ease of use. This OS provides a consistent interface across Juniper products, enabling simplified configuration and management. The device can be managed via a web-based interface, command line, or through Juniper's Junos Space for centralized management, making it versatile for various management needs.
In addition to security and performance, the SRX 210 supports advanced networking technologies such as Virtual Local Area Networks (VLANs), Quality of Service (QoS), and dynamic routing protocols like OSPF and BGP. These technologies enhance network flexibility and efficiency, allowing organizations to prioritize critical applications and tailoring the network to specific needs.
Overall, the Juniper Networks SRX 210 combines strong security features with high performance and advanced networking capabilities. Its design and functionalities make it an ideal choice for businesses looking to bolster their network security while facilitating effective communication and connectivity. With its scalability and reliability, the SRX 210 continues to be a preferred solution for companies aiming to protect their assets in an increasingly complex digital landscape.

