Recording Other Sources onto an MD
1 Prepare the source to record from.
To record from FM/AM broadcasts:
1)Press FM/AM/AUX (or FM/AM on the unit) to select either “FM” or “AM.”
FM/AM | AUX/DVD |
/AUX | |
| FM/AM |
(On the remote control) | (On the unit) |
2) Tune in to a preset station you want (see page 14).
To record from a tape:
1)Insert a cassette into the cassette loading slot.
•If the current playing source is not “TAPE,” press TAPE 2 3, then 7 before going to the next step.
2) Press REV.MODE to select Reverse | REV. |
Mode (see page 26). | MODE |
|
To record from external equipment:
Press FM/AM/AUX (or AUX/DVD on the unit) to select “AUX” and prepare the external equipment to play.
FM/AM
/AUX
AUX/DVD
FM/AM
English
4 Press MD REC. | REC |
| MD |
The REC (MD recording) indicator starts flashing on the display.
When the source is “FM” or “AM,” recording starts.
When the source is “TAPE,” playback and recording
When the cassette player stops, recording also stops automatically.
When the source is “AUX,” starts playback after “AUX
=MD” appears on the display.
MD | TAPE |
REC | LP 2 |
GROUP x 1
Ex.: When recording a tape using LP2 and Group recording.
To stop recording, press 7.
“WRITING” flashes on the display and the unit beeps for a while if the
When recording from the external equipment
Recording starts automatically when the source sound comes into the unit, and stops automatically if no sound comes into the unit for about 30 seconds (Sound Synchronized Recording).
(On the remote control) | (On the unit) |
•Adjust the audio input level if necessary (see page 27).
•For operation of the external equipment, see the manuals supplied with it.
2 Insert a recordable MD into the MD loading slot.
•Set the MD recording length mode,
On the remote control ONLY:
3 Press CD REC MODE to select | MODE |
| CD REC |
track mark entry mode. |
|
•Each time you press the button, entry mode alternates between auto and manual entry:
MANUAL TRK REC 
 AUTO TRK REC
MANUAL TRK REC: Separates tracks manually by adding track marks at the places where you want.
•Press SET to add a track mark while recording.
AUTO TRK REC: The unit automatically separates and put a track mark if there is a silence of 3 seconds or more between tracks.
•By pressing SET, you can also enter a track mark manually.
*See “About the track marks” on page 28 for details.
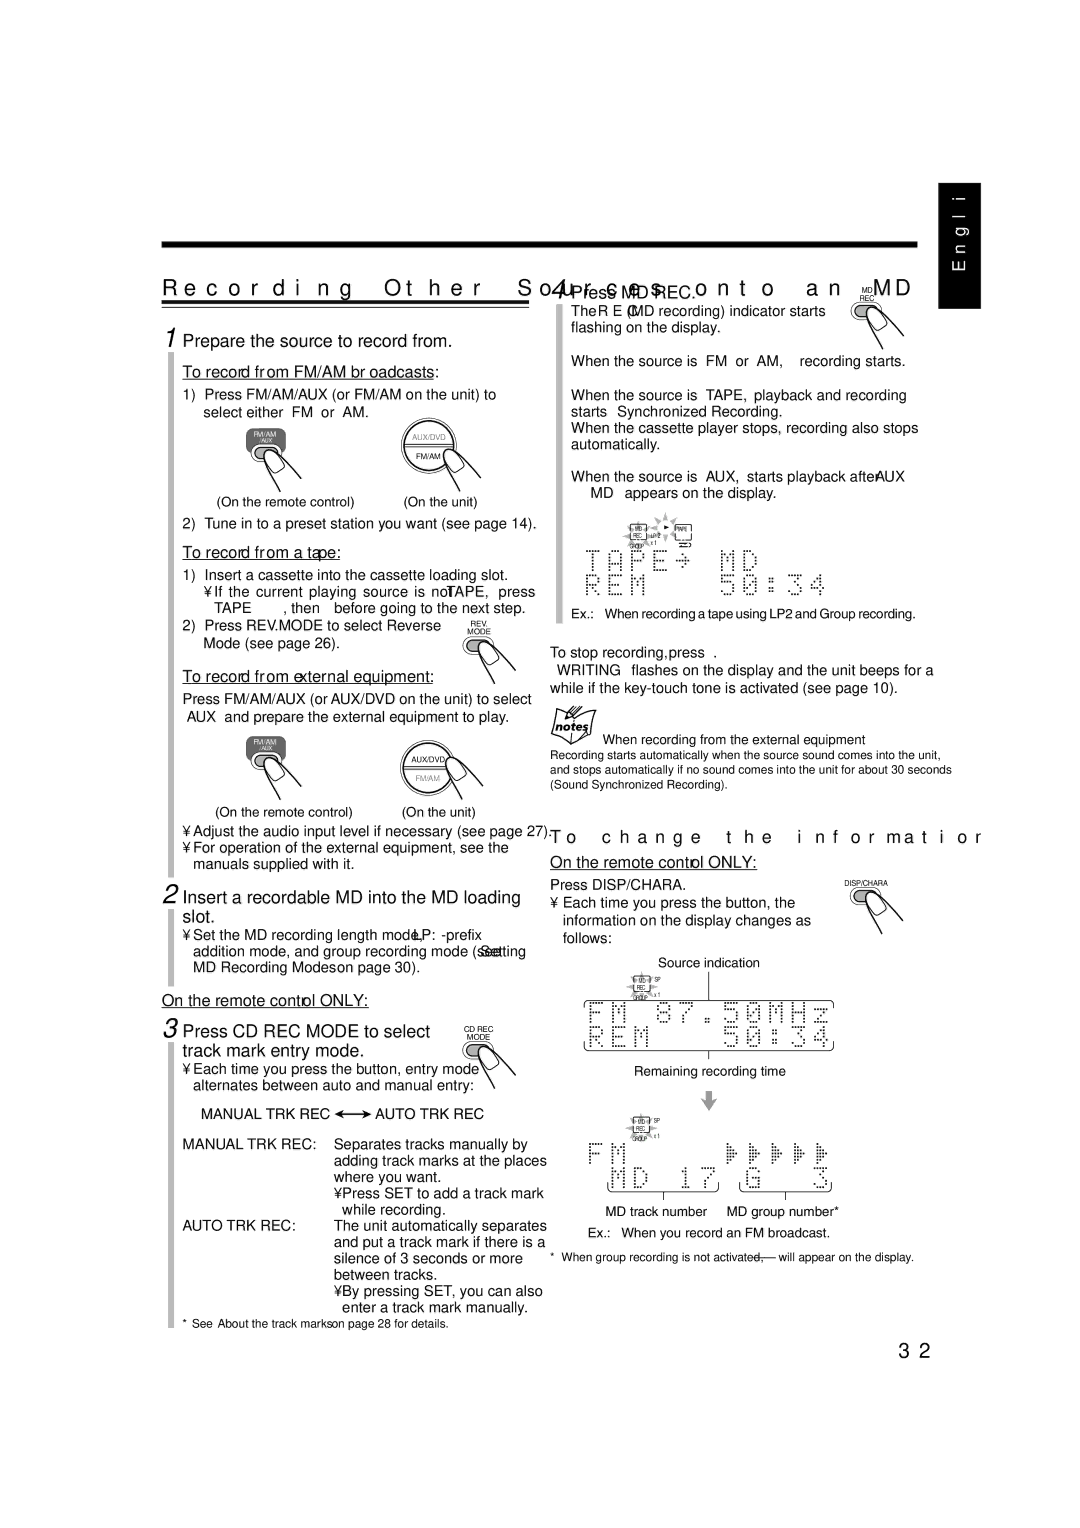
To change the information shown on the display
On the remote control ONLY:
Press DISP/CHARA. | DISP/CHARA |
|
• Each time you press the button, the information on the display changes as follows:
Source indication
![]() MD
MD![]() SP
SP
REC
GROUP x 1
Remaining recording time
![]() MD
MD![]() SP
SP
REC
GROUP x 1
MD track number MD group number*
Ex.: When you record an FM broadcast.
* When group recording is not activated, “–
32