34![]()
![]()
![]() EN
EN![]()
![]()
![]()
![]()
![]()
![]()
![]()
![]()
![]()
![]()
![]()
![]()
![]()
![]()
![]()
![]()
![]()
![]()
![]()
![]()
![]()
![]()
P
 LAYBACK

 AND
AND

 RECORDING

 FEATURES
 (cont.)


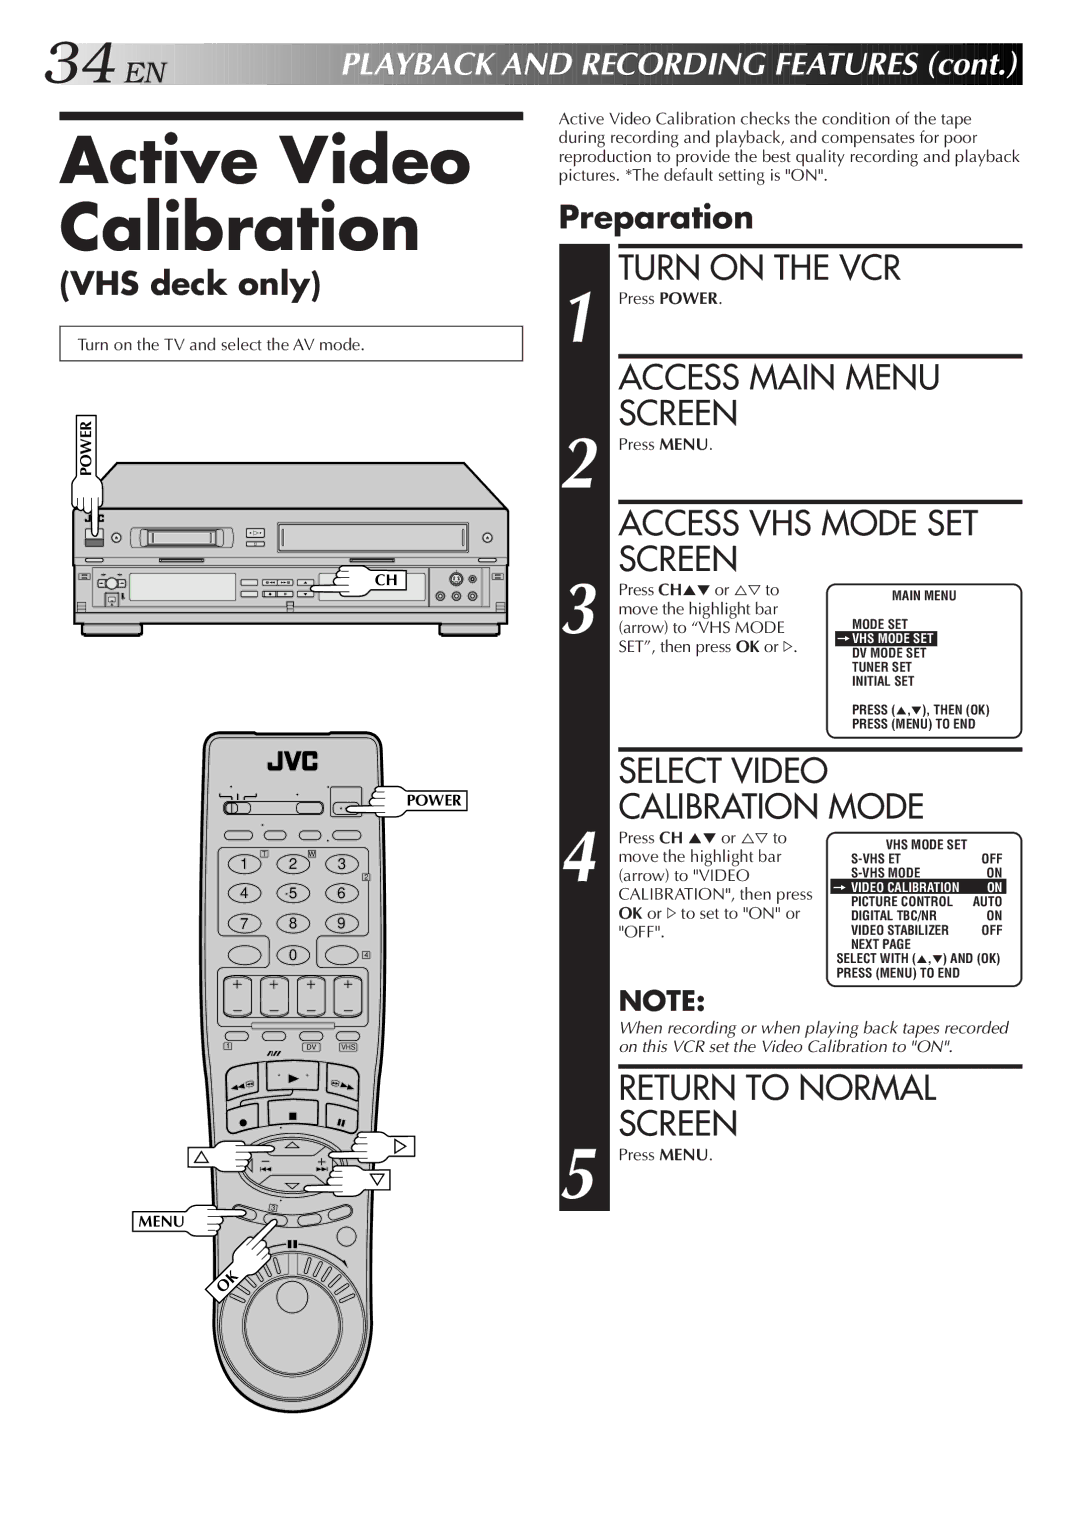
Active Video Calibration
(VHS deck only)
Turn on the TV and select the AV mode.
POWER
CH |
POWER
T | W |
1 2 3
2
4 5 6
7 8 9
0 4
1 | DV | VHS |
3
MENU
Active Video Calibration checks the condition of the tape during recording and playback, and compensates for poor reproduction to provide the best quality recording and playback pictures. *The default setting is "ON".
Preparation
| TURN ON THE VCR |
|
| |||
1 Press POWER. |
|
|
|
|
| |
| ACCESS MAIN MENU |
|
| |||
| SCREEN |
|
|
|
|
|
2 Press MENU. |
|
|
|
|
| |
| ACCESS VHS MODE SET | |||||
| SCREEN |
|
|
|
|
|
| Press CH5°or %Þ to |
| MAIN MENU |
|
| |
| move the highlight bar |
|
|
|
|
|
3 (arrow) to “VHS MODE |
| MODE SET |
|
| ||
| =VHS MODE SET |
|
|
| ||
| SET”, then press OK or #. |
|
|
|
|
|
|
| DV MODE SET |
|
| ||
|
|
| TUNER SET |
|
| |
|
|
| INITIAL SET |
|
| |
|
|
| PRESS (5,°), THEN (OK) | |||
|
|
| PRESS (MENU) TO END | |||
|
|
|
|
|
|
|
| SELECT VIDEO |
|
|
|
|
|
| CALIBRATION MODE |
|
| |||
| Press CH 5° or %Þ to |
| VHS MODE SET |
|
| |
| move the highlight bar |
| OFF | |||
4 (arrow) to "VIDEO |
| ON | ||||
= VIDEO CALIBRATION | ON |
| ||||
| CALIBRATION", then press |
| PICTURE CONTROL | AUTO | ||
| OK or #to set to "ON" or |
| ||||
|
| DIGITAL TBC/NR | ON | |||
| "OFF". |
| VIDEO STABILIZER | OFF | ||
|
|
| NEXT PAGE |
|
| |
|
|
| SELECT WITH (5,°) AND (OK) | |||
|
|
| PRESS (MENU) TO END |
|
| |
NOTE:
When recording or when playing back tapes recorded on this VCR set the Video Calibration to "ON".
RETURN TO NORMAL
SCREEN
5 Press MENU.
OK