38![]()
![]()
![]() EN
EN![]()
![]()
![]()
![]()
![]()
![]()
![]()
![]()
![]()
![]()
![]()
![]()
![]()
![]()
![]()
![]()
![]()
![]()
![]()
![]()
![]()
![]()
P
 LAYBACK

 AND
AND

 RECORDING

 FEATURES
 (cont.)


CH |
3
MENU
OK
S-VHS (Super VHS), S-VHS
ET and VHS (VHS deck only)
Your VCR can record in
By using
To record in S-VHS;
●perform the steps 1 – 4 below to set the
●then, insert a cassette marked
The
To record in
●press
To record in VHS;
●insert a cassette marked "VHS".
●press
The VHS recording mode will be automatically selected regardless of the
To record in VHS on an S-VHS cassette;
●insert the cassette marked
●then, perform the steps 1 – 4 below to set the
The VHS recording mode will be selected.
|
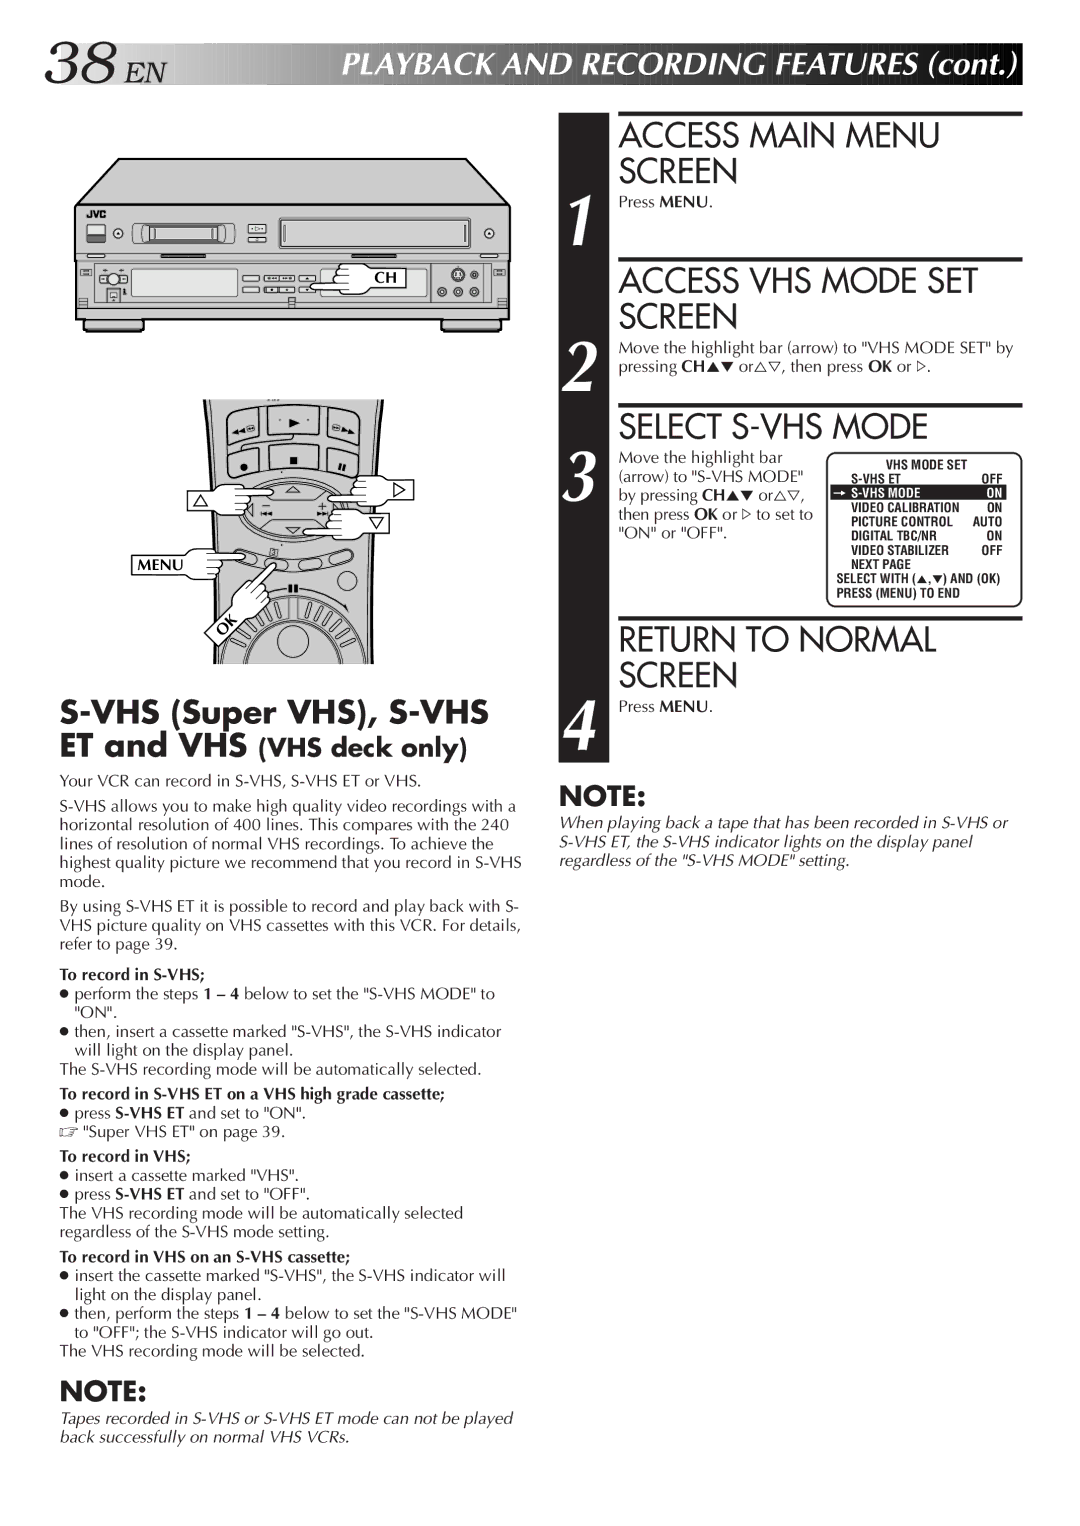
| ACCESS MAIN MENU |
|
| |
1 |
| SCREEN |
|
|
|
| Press MENU. |
|
|
| |
|
| ACCESS VHS MODE SET | |||
2 |
| SCREEN |
|
|
|
| Move the highlight bar (arrow) to "VHS MODE SET" by | ||||
| pressing CH5° or%Þ, then press OK or #. |
|
| ||
3 |
| SELECT |
|
| |
| Move the highlight bar | VHS MODE SET |
|
| |
| (arrow) to |
|
| ||
| OFF | ||||
| by pressing CH5° or%Þ, | = | ON |
| |
| VIDEO CALIBRATION | ON |
| ||
|
| then press OK or #to set to | PICTURE CONTROL | AUTO | |
|
| "ON" or "OFF". | DIGITAL TBC/NR | ON | |
|
|
| VIDEO STABILIZER | OFF | |
|
|
| NEXT PAGE |
|
|
|
|
| SELECT WITH (5,°) AND (OK) | ||
|
|
| PRESS (MENU) TO END |
|
|
|
|
|
|
| |
|
| RETURN TO NORMAL |
|
| |
4 |
| SCREEN |
|
|
|
| Press MENU. |
|
|
| |
NOTE:
When playing back a tape that has been recorded in
NOTE:
Tapes recorded in