![]()
![]()
![]()
![]()
![]()
![]()
![]()
![]()
![]()
![]()
![]()
![]()
![]()
![]()
![]()
![]()
![]()
![]()
![]()
![]()
![]()
![]()
![]()
![]()
![]()
![]()
![]()
![]()
![]()
![]()
![]()
![]()
![]()
![]()
![]()
![]()
![]()
![]()
![]()
![]()
![]()
![]()
![]()
![]()
![]()
![]()
![]()
![]()
![]()
![]()
![]()
![]()
![]()
![]()
![]()
![]()
![]()
![]()
![]()
![]()
![]()
![]()
![]()
![]()
![]()
![]()
![]()
![]()
![]()
![]()
![]()
![]()
![]()
![]()
![]()
![]()
![]()
![]()
![]()
![]()
![]()
![]()
![]()
![]()
![]()
![]()
![]()
![]()
![]()
![]()
![]() EN
EN![]()
![]() 53
53![]()
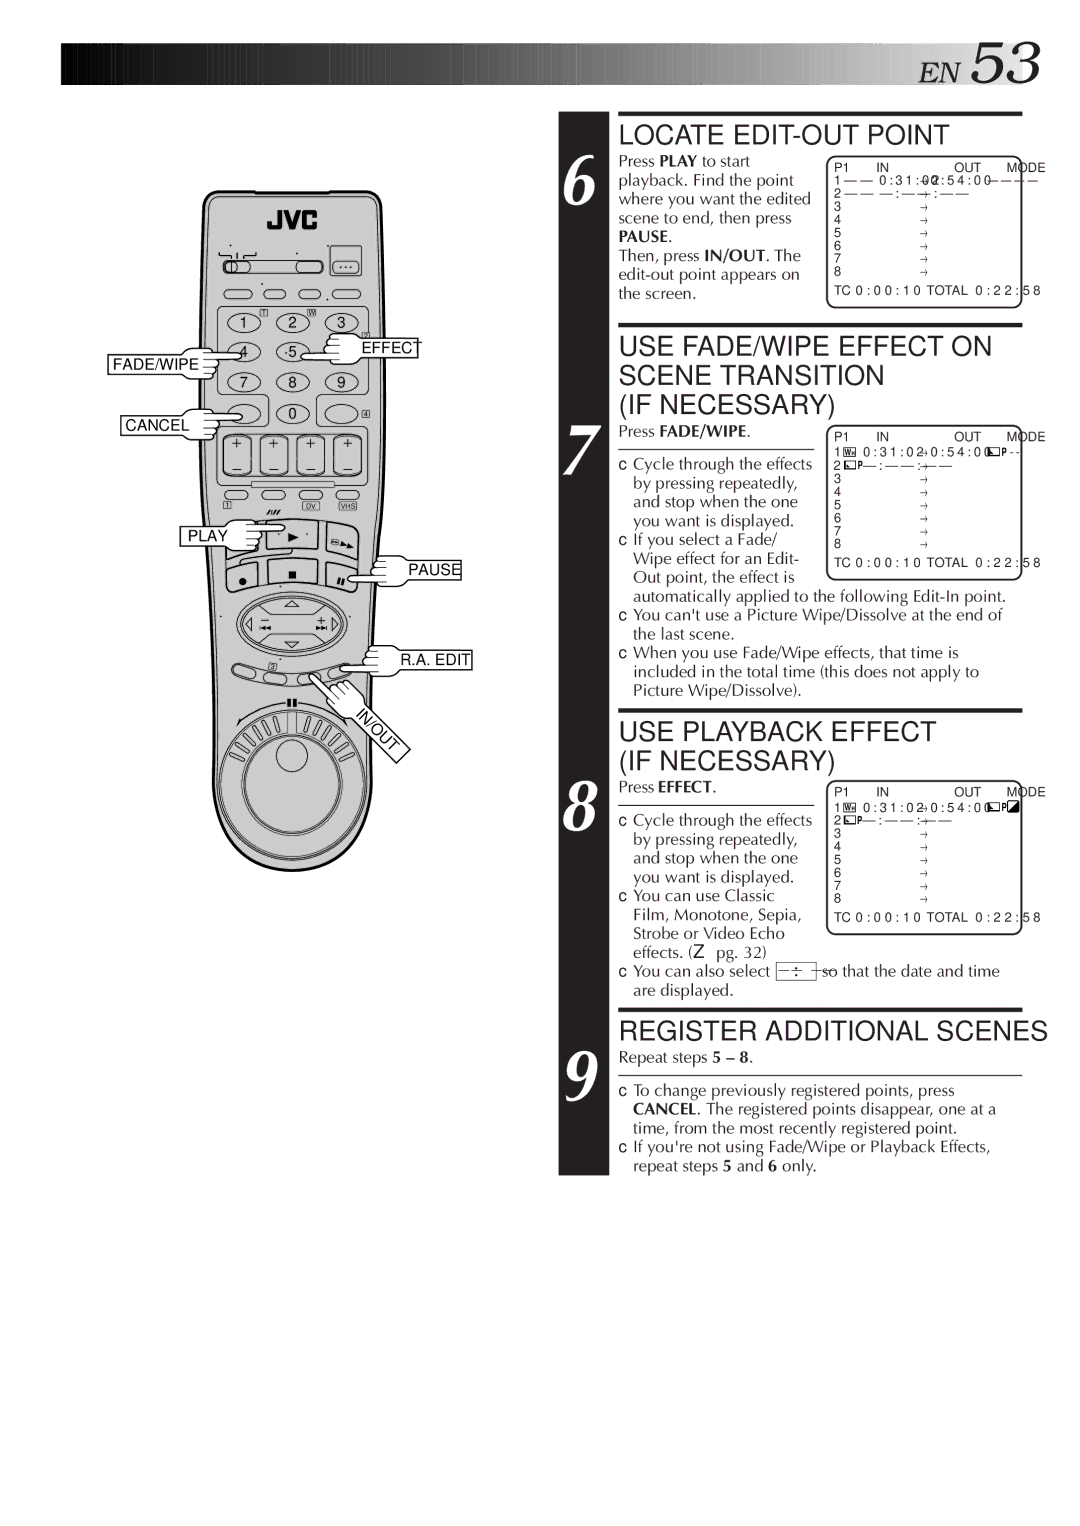
LOCATE EDIT-OUT POINT
6
Press PLAY to start playback. Find the point where you want the edited scene to end, then press
PAUSE.
Then, press IN/OUT. The
P1 IN | OUT MODE |
1 – – 0 : 3 1 : 0 2 | → 0 : 5 4 : 0 0 – – – – |
2– –
3→
4→
5→
6→
7→
8→
TC 0 : 0 0 : 1 0 TOTAL 0 : 2 2 : 5 8
T | W | 3 |
|
1 | 2 |
| |
|
|
| 2 |
4 | 5 | 6 | EFFECT |
FADE/WIPE | 8 | 9 |
|
7 |
| ||
CANCEL | 0 |
| 4 |
|
| ||
|
|
| |
1 | DV | VHS |
|
PLAY |
|
|
|
PAUSE
3 | R.A. EDIT |
| IN/OUT |
7
USE FADE/WIPE EFFECT ON SCENE TRANSITION
(IF NECESSARY)
Press FADE/WIPE. | P1 | IN | OUT MODE | |
| 1 WH 0 : 3 1 : 0 2 → 0 : 5 4 : 0 0 P - - | |||
● Cycle through the effects | ||||
2 |
| |||
by pressing repeatedly, | 3 | → |
| |
and stop when the one | 4 | → |
| |
5 | → |
| ||
you want is displayed. | 6 | → |
| |
● If you select a Fade/ | 7 | → |
| |
8 | → |
| ||
Wipe effect for an Edit- | TC 0 : 0 0 : 1 0 TOTAL 0 : 2 2 : 5 8 | |||
Out point, the effect is |
|
|
| |
automatically applied to the following
●You can't use a Picture Wipe/Dissolve at the end of the last scene.
●When you use Fade/Wipe effects, that time is included in the total time (this does not apply to Picture Wipe/Dissolve).
USE PLAYBACK EFFECT (IF NECESSARY)
8
Press EFFECT.
●Cycle through the effects by pressing repeatedly, and stop when the one you want is displayed.
●You can use Classic Film, Monotone, Sepia, Strobe or Video Echo effects. (☞ pg. 32)
●You can also select – – ![]() – – are displayed.
– – are displayed.
P1 IN | OUT MODE |
1WH 0 : 3 1 : 0 2 → 0 : 5 4 : 0 0 ![]() P
P![]()
2![]()
3→
4→
5→
6→
7→
8→
TC 0 : 0 0 : 1 0 TOTAL 0 : 2 2 : 5 8
so that the date and time
9
REGISTER ADDITIONAL SCENES
Repeat steps 5 – 8.
●To change previously registered points, press CANCEL. The registered points disappear, one at a time, from the most recently registered point.
●If you're not using Fade/Wipe or Playback Effects, repeat steps 5 and 6 only.