CH |
T | W | 3 |
1 | 2 | |
|
| 2 |
4 | 5 | 6 |
7 | 8 | 9 |
NUMBER "0" | 0 | 4 |
|
| |
1 | DV | VHS |
3
MENU
OK
![]()
![]()
![]()
![]()
![]()
![]()
![]()
![]()
![]()
![]()
![]()
![]()
![]()
![]()
![]()
![]()
![]()
![]()
![]()
![]()
![]()
![]()
![]()
![]()
![]()
![]()
![]()
![]()
![]()
![]()
![]()
![]()
![]()
![]()
![]()
![]()
![]()
![]()
![]()
![]()
![]()
![]()
![]()
![]()
![]()
![]()
![]() EN
EN![]()
![]() 59
59![]()
SET RECORDER’S INPUT
MODE
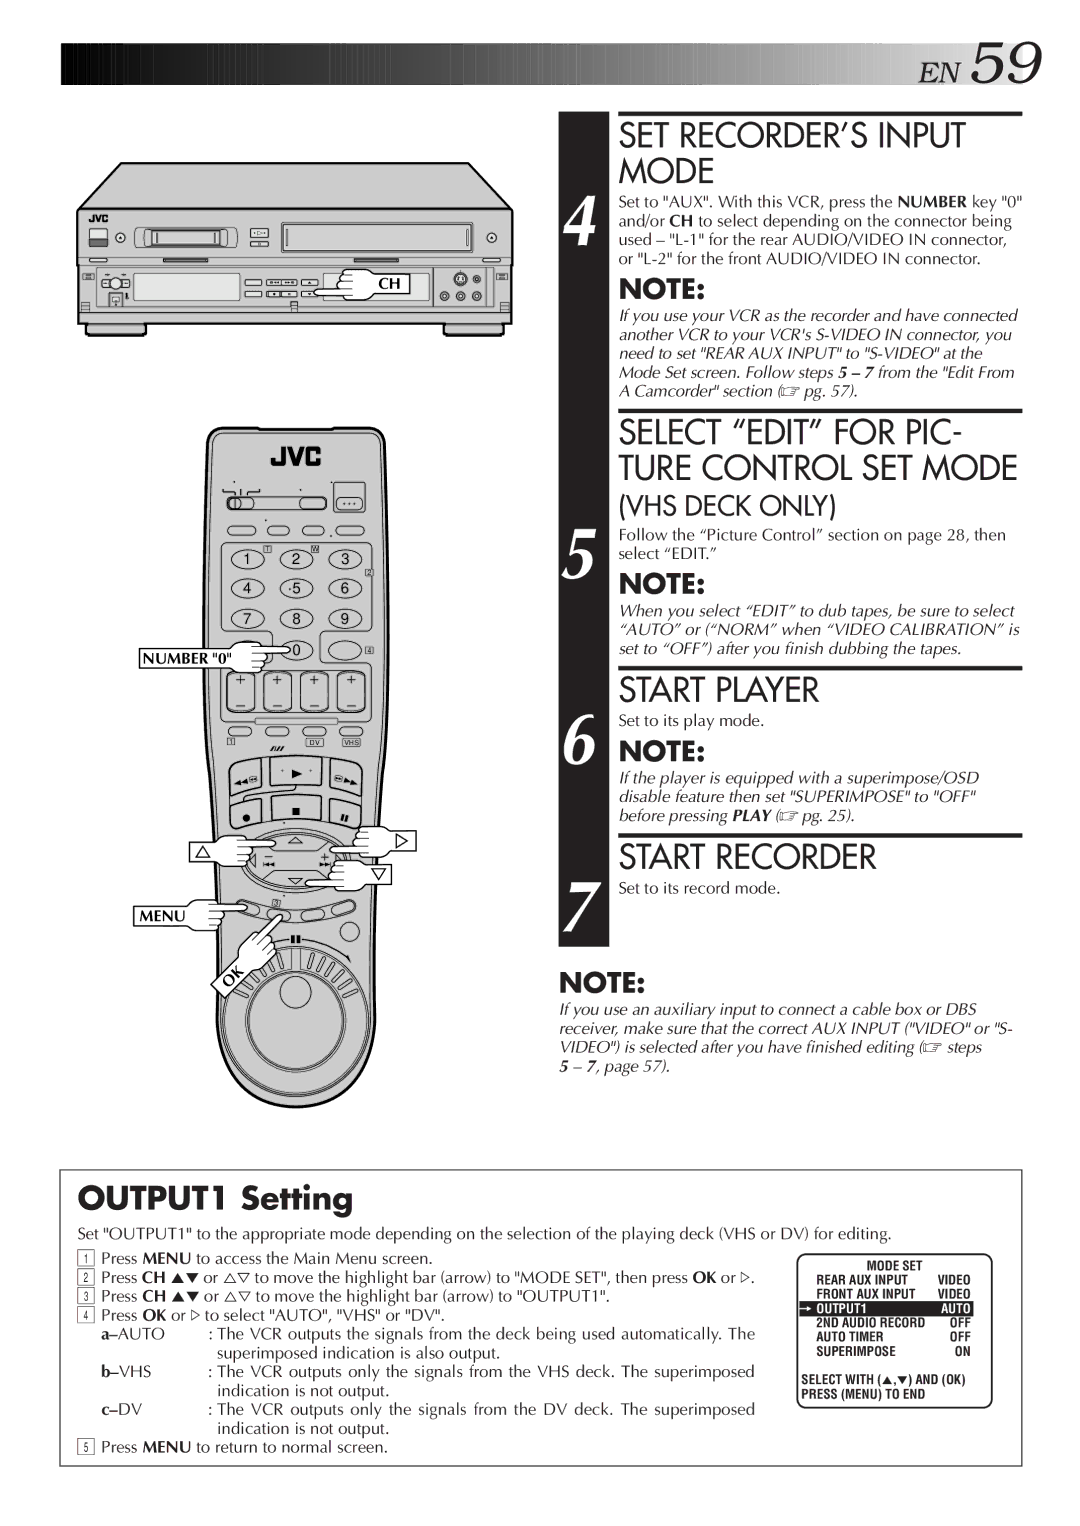
4 Set to "AUX". With this VCR, press the NUMBER key "0" and/or CH to select depending on the connector being used –
NOTE:
If you use your VCR as the recorder and have connected another VCR to your VCR's
| SELECT “EDIT” FOR PIC- |
| TURE CONTROL SET MODE |
5 | (VHS DECK ONLY) |
Follow the “Picture Control” section on page 28, then | |
NOTE:select “EDIT.” | |
| When you select “EDIT” to dub tapes, be sure to select |
| “AUTO” or (“NORM” when “VIDEO CALIBRATION” is |
| set to “OFF”) after you finish dubbing the tapes. |
6 | START PLAYER |
Set to its play mode. | |
NOTE: | |
| If the player is equipped with a superimpose/OSD |
| disable feature then set "SUPERIMPOSE" to "OFF" |
| before pressing PLAY (☞ pg. 25). |
START RECORDER
7 Set to its record mode.
NOTE:
If you use an auxiliary input to connect a cable box or DBS receiver, make sure that the correct AUX INPUT ("VIDEO" or "S- VIDEO") is selected after you have finished editing (☞ steps
5– 7, page 57).
OUTPUT1 Setting
Set "OUTPUT1" to the appropriate mode depending on the selection of the playing deck (VHS or DV) for editing.
1Press MENU to access the Main Menu screen.
2Press CH 5° or %Þ to move the highlight bar (arrow) to "MODE SET", then press OK or #.
3 Press CH 5° or %Þ to move the highlight bar (arrow) to "OUTPUT1". 4 Press OK or #to select "AUTO", "VHS" or "DV".
: The VCR outputs the signals from the deck being used automatically. The | |
| superimposed indication is also output. |
: The VCR outputs only the signals from the VHS deck. The superimposed | |
| indication is not output. |
: The VCR outputs only the signals from the DV deck. The superimposed | |
| indication is not output. |
5Press MENU to return to normal screen.
MODE SET |
|
REAR AUX INPUT | VIDEO |
FRONT AUX INPUT | VIDEO |
= OUTPUT1 | AUTO |
2ND AUDIO RECORD | OFF |
AUTO TIMER | OFF |
SUPERIMPOSE | ON |
SELECT WITH (5,°) AND (OK)
PRESS (MENU) TO END