Introduction
Thank you for purchasing this product. (These instructions are for
Before beginning to operate this unit, please read the instruction manual carefully in order to make sure that the best possible performance is obtained.
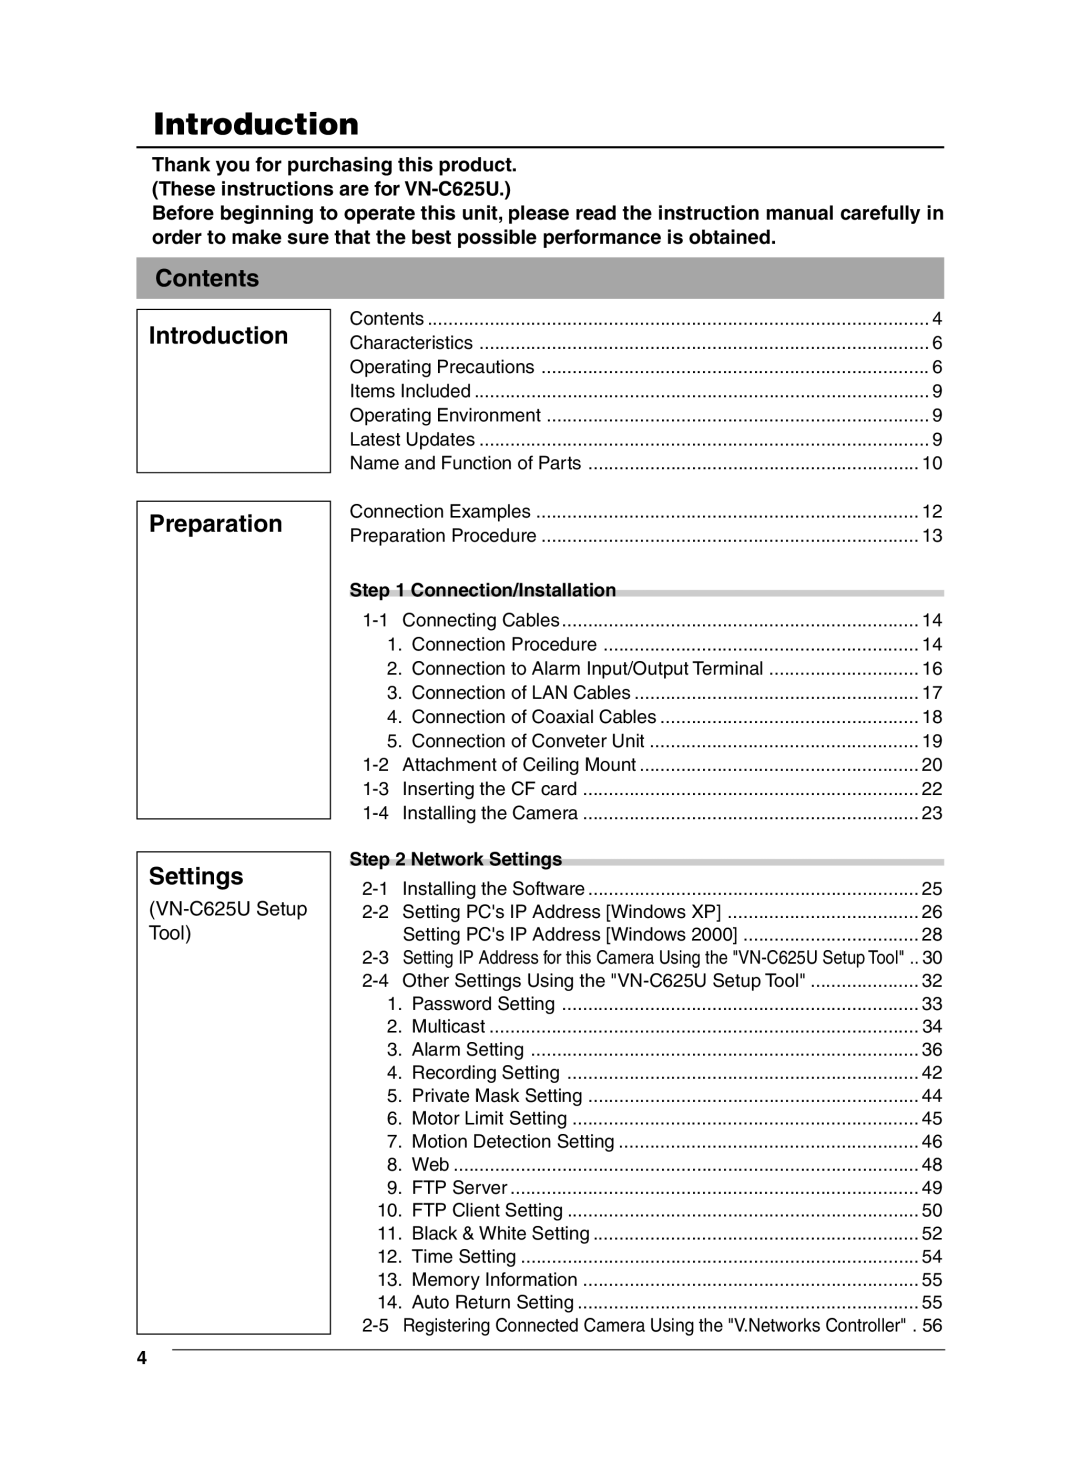
Contents
Introduction
Contents | 4 |
Characteristics | 6 |
Operating Precautions | 6 |
Items Included | 9 |
Operating Environment | 9 |
Latest Updates | 9 |
Name and Function of Parts | 10 |
Preparation
Settings
Connection Examples | 12 | |
Preparation Procedure | 13 | |
Step 1 Connection/Installation |
| |
Connecting Cables | 14 | |
1. | Connection Procedure | 14 |
2. | Connection to Alarm Input/Output Terminal | 16 |
3. | Connection of LAN Cables | 17 |
4. | Connection of Coaxial Cables | 18 |
5. | Connection of Conveter Unit | 19 |
20 | ||
22 | ||
Installing the Camera | 23 | |
Step 2 Network Settings |
| |
Installing the Software | 25 | |
26 | ||
| Setting PC's IP Address [Windows 2000] | 28 |
30 | ||
32 | ||
1. | Password Setting | 33 |
2. | Multicast | 34 |
3. | Alarm Setting | 36 |
4. | Recording Setting | 42 |
5. | Private Mask Setting | 44 |
6. | Motor Limit Setting | 45 |
7. | Motion Detection Setting | 46 |
8. | Web | 48 |
9. | FTP Server | 49 |
10. | FTP Client Setting | 50 |
11. | Black & White Setting | 52 |
12. | Time Setting | 54 |
13. | Memory Information | 55 |
14. | Auto Return Setting | 55 |
4