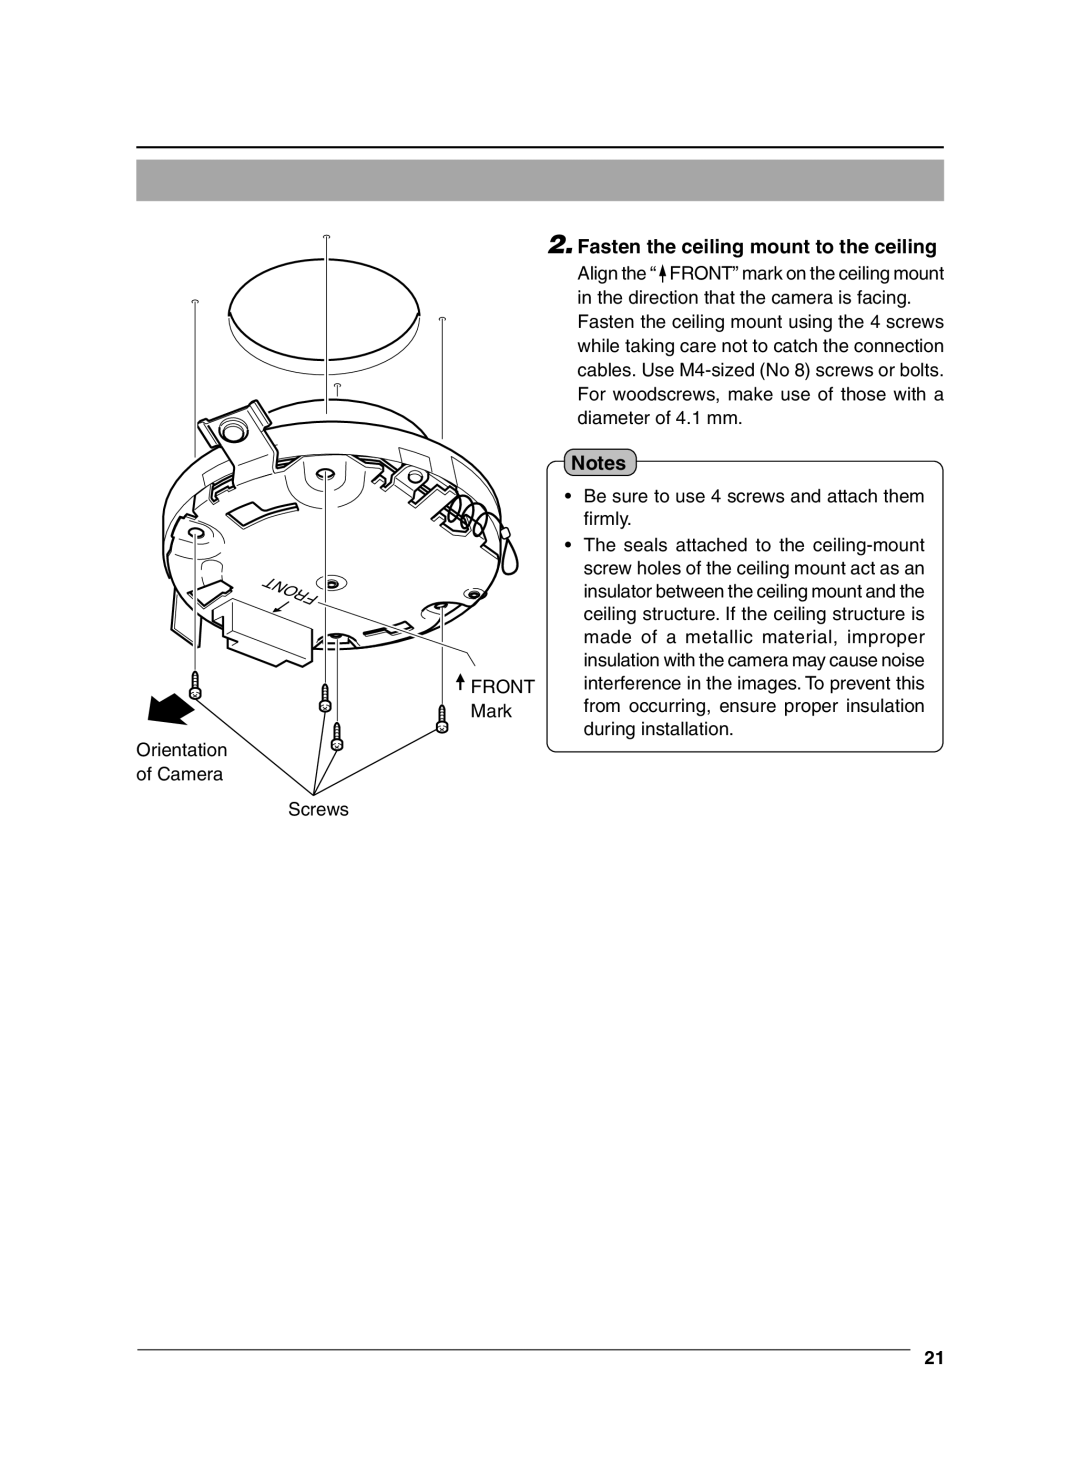
FRONT

Mark

Orientation

of Camera

Screws

2.Fasten the ceiling mount to the ceiling Align the “FRONT” mark on the ceiling mount in the direction that the camera is facing.

Fasten the ceiling mount using the 4 screws while taking care not to catch the connection cables. Use M4-sized (No 8) screws or bolts. For woodscrews, make use of those with a diameter of 4.1 mm.

Notes

Be sure to use 4 screws and attach them firmly.

The seals attached to the ceiling-mount screw holes of the ceiling mount act as an insulator between the ceiling mount and the ceiling structure. If the ceiling structure is made of a metallic material, improper insulation with the camera may cause noise interference in the images. To prevent this from occurring, ensure proper insulation during installation.

21

Page 21
Image 21
JVC VN-C625 manual Front