Basic Controls
This chapter discusses the basic operations that are used to play the Concert Performer, such as sound selection, Part configuration and effect settings.
Selecting a Part to Play
When the CP’s main play screen is displayed (For example, when the CP is first turned on), you are presented with four sound Parts that can be played from the keyboard. These four Parts are named LEFT/SPLIT, RIGHT 1, RIGHT 2, and SOLO, and each one has an instrument sound assigned to it. You can selectively turn on/off any combination of these four Parts, allowing you to have up to four different sounds at the same time across the keyboard.
Sounds assigned to Parts RIGHT 1, RIGHT 2 and SOLO will be layered on top of each other when all three Parts are active at the same time. Activating the LEFT/SPLIT Part automatically splits the keyboard so that only the sound that is assigned to the LEFT/SPLIT Part is heard when you play in the lower octave keys. Each Part has a dedicated button on the front panel that selects and turns on/off that Part. You can Also select a Part by pressing the appropriate L or R button.
Selecting a Part is easy:
1)Press the PART button for the Part you wish to activate. The PART button LED will light.
2)Press the PART button again to turn that Part off.
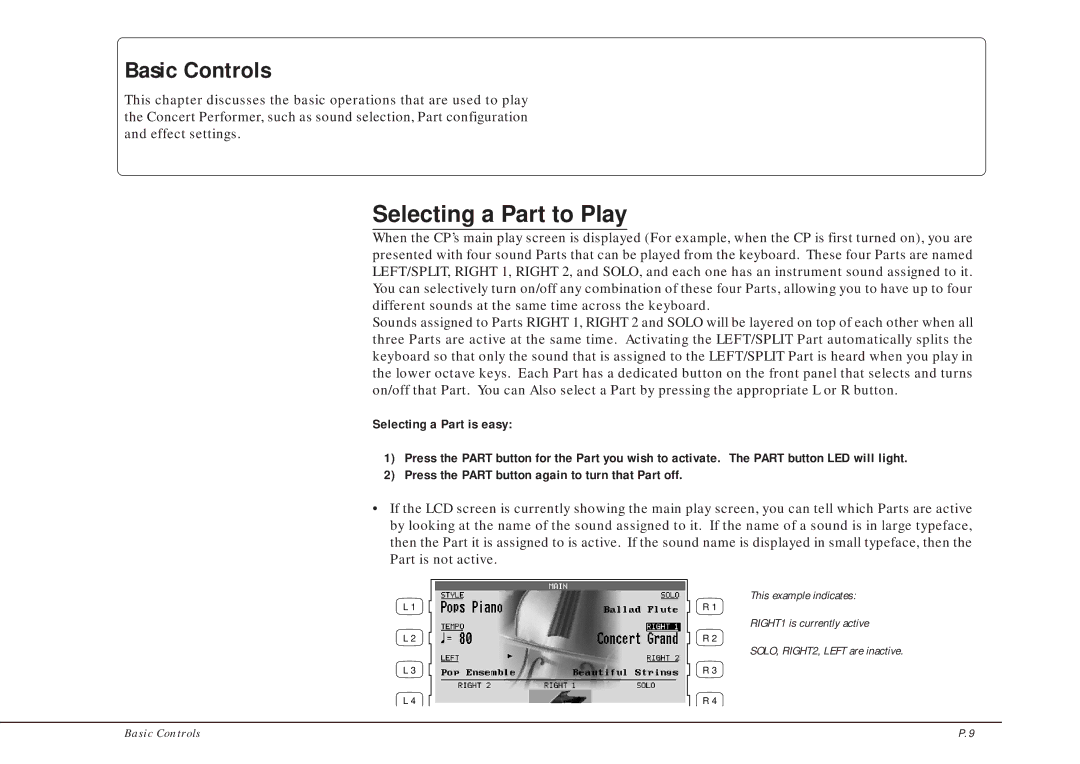
•If the LCD screen is currently showing the main play screen, you can tell which Parts are active by looking at the name of the sound assigned to it. If the name of a sound is in large typeface, then the Part it is assigned to is active. If the sound name is displayed in small typeface, then the Part is not active.
L1
L 2
L 3
This example indicates:
R 1
RIGHT1 is currently active
R 2
SOLO, RIGHT2, LEFT are inactive.
R 3
L 4
R 4
Basic Controls | P. 9 |
