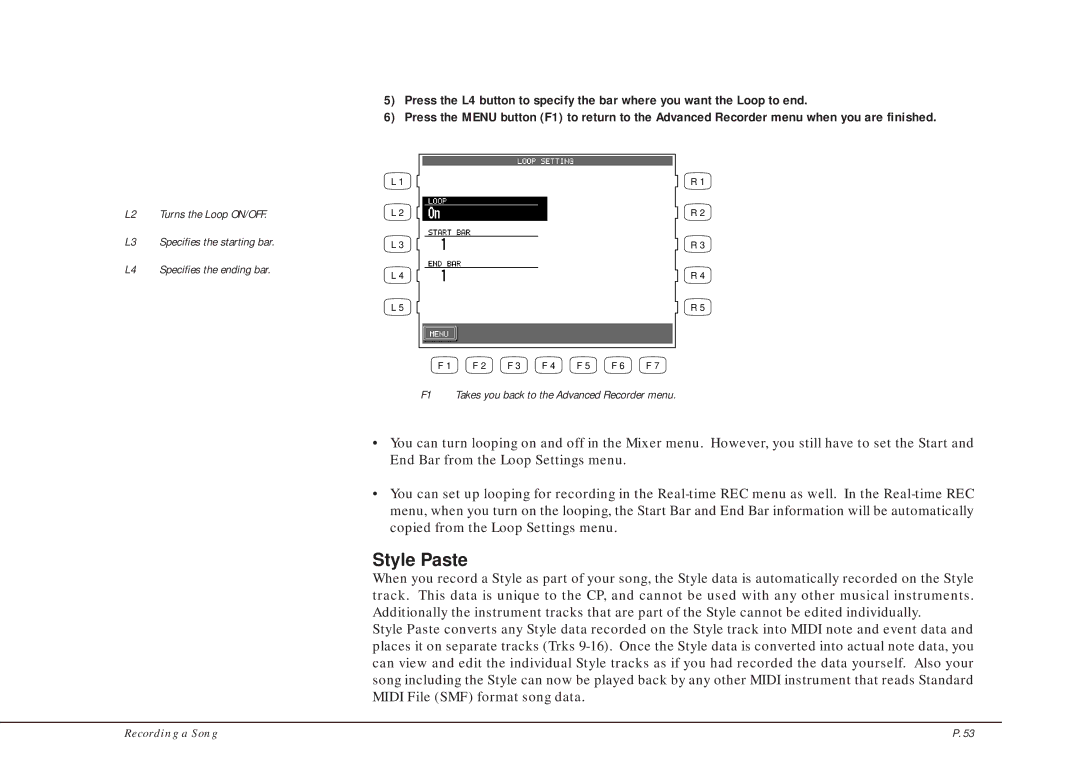
L2 Turns the Loop ON/OFF.
L3 Specifies the starting bar.
L4 Specifies the ending bar.
5)Press the L4 button to specify the bar where you want the Loop to end.
6)Press the MENU button (F1) to return to the Advanced Recorder menu when you are finished.
L 1 | R 1 |
L 2 | R 2 |
L 3 | R 3 |
L 4 | R 4 |
L 5 | R 5 |
F 1 | F 2 | F 3 | F 4 | F 5 | F 6 | F 7 |
F1 Takes you back to the Advanced Recorder menu.
•You can turn looping on and off in the Mixer menu. However, you still have to set the Start and End Bar from the Loop Settings menu.
•You can set up looping for recording in the
Style Paste
When you record a Style as part of your song, the Style data is automatically recorded on the Style track. This data is unique to the CP, and cannot be used with any other musical instruments. Additionally the instrument tracks that are part of the Style cannot be edited individually.
Style Paste converts any Style data recorded on the Style track into MIDI note and event data and places it on separate tracks (Trks
Recording a Song | P. 53 |
