TRADITIONAL COOKING
Bakingand Roasting
The BAKE function is ideal for baking, roasting or heating casseroles.
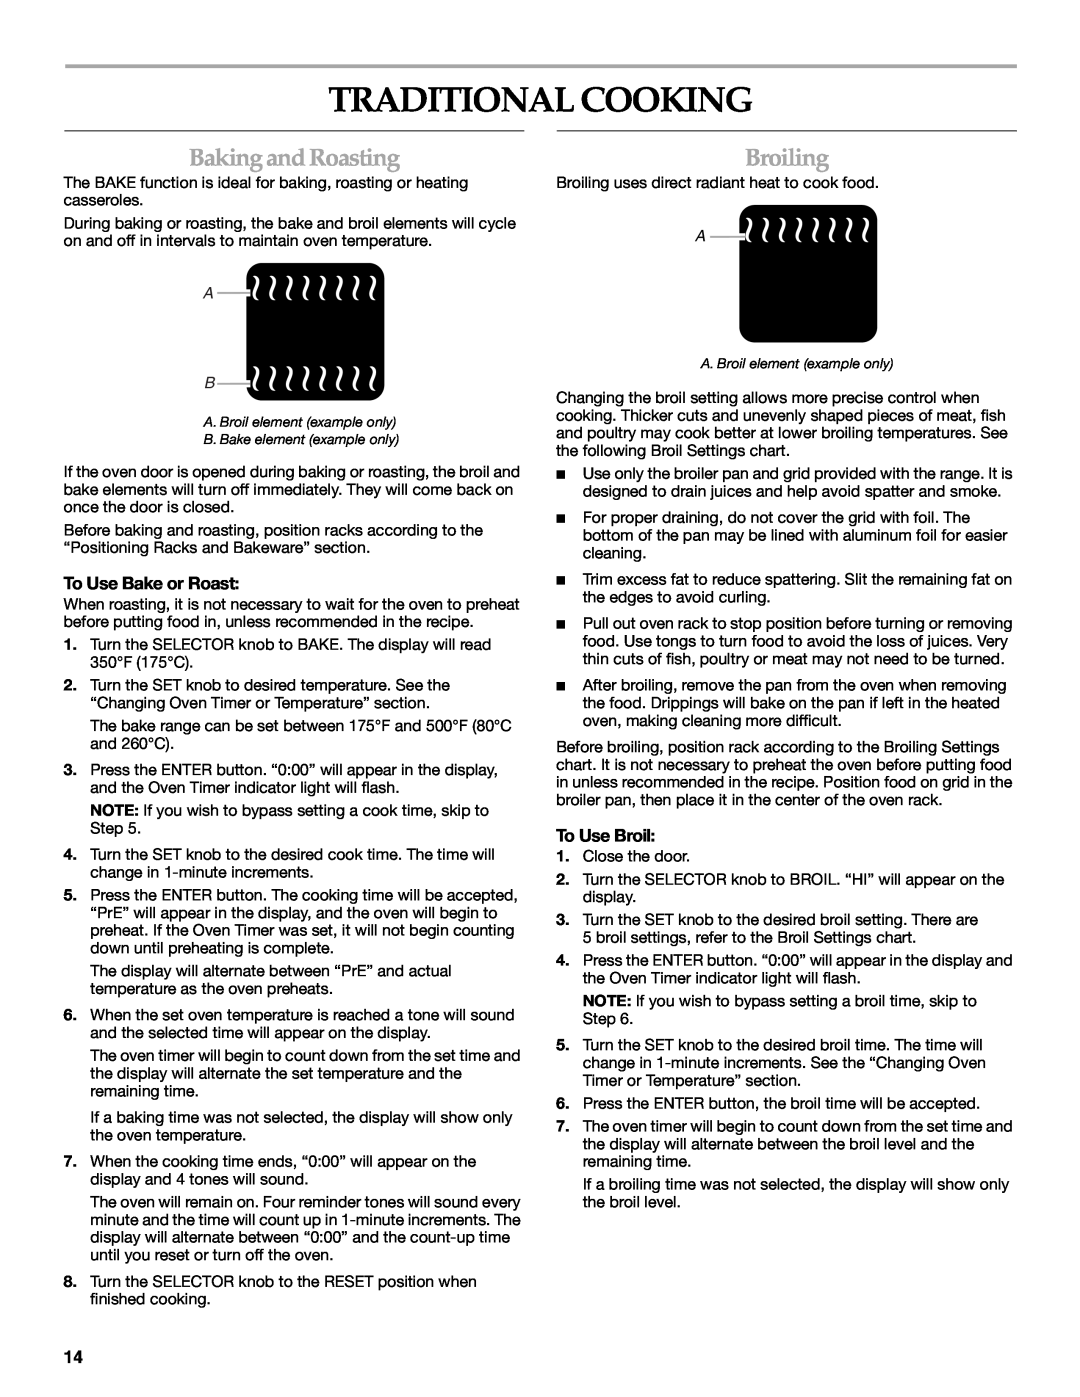
During baking or roasting, the bake and broil elements will cycle on and off in intervals to maintain oven temperature.
A ![]()
![]()
B ![]()
![]()
A. Broil element (example only)
B. Bake element (example only)
If the oven door is opened during baking or roasting, the broil and bake elements will turn off immediately. They will come back on once the door is closed.
Before baking and roasting, position racks according to the “Positioning Racks and Bakeware” section.
To Use Bake or Roast:
When roasting, it is not necessary to wait for the oven to preheat before putting food in, unless recommended in the recipe.
1.Turn the SELECTOR knob to BAKE. The display will read 350°F (175°C).
2.Turn the SET knob to desired temperature. See the “Changing Oven Timer or Temperature” section.
The bake range can be set between 175°F and 500°F (80°C and 260°C).
3.Press the ENTER button. “0:00” will appear in the display, and the Oven Timer indicator light will flash.
NOTE: If you wish to bypass setting a cook time, skip to Step 5.
4.Turn the SET knob to the desired cook time. The time will change in
5.Press the ENTER button. The cooking time will be accepted, “PrE” will appear in the display, and the oven will begin to preheat. If the Oven Timer was set, it will not begin counting down until preheating is complete.
The display will alternate between “PrE” and actual temperature as the oven preheats.
6.When the set oven temperature is reached a tone will sound and the selected time will appear on the display.
The oven timer will begin to count down from the set time and the display will alternate the set temperature and the remaining time.
If a baking time was not selected, the display will show only the oven temperature.
7.When the cooking time ends, “0:00” will appear on the display and 4 tones will sound.
The oven will remain on. Four reminder tones will sound every minute and the time will count up in
8.Turn the SELECTOR knob to the RESET position when finished cooking.
Broiling
Broiling uses direct radiant heat to cook food.
A ![]()
![]()
![]()
![]()
![]()
![]()
![]()
![]()
A. Broil element (example only)
Changing the broil setting allows more precise control when cooking. Thicker cuts and unevenly shaped pieces of meat, fish and poultry may cook better at lower broiling temperatures. See the following Broil Settings chart.
■Use only the broiler pan and grid provided with the range. It is designed to drain juices and help avoid spatter and smoke.
■For proper draining, do not cover the grid with foil. The bottom of the pan may be lined with aluminum foil for easier cleaning.
■Trim excess fat to reduce spattering. Slit the remaining fat on the edges to avoid curling.
■Pull out oven rack to stop position before turning or removing food. Use tongs to turn food to avoid the loss of juices. Very thin cuts of fish, poultry or meat may not need to be turned.
■After broiling, remove the pan from the oven when removing the food. Drippings will bake on the pan if left in the heated oven, making cleaning more difficult.
Before broiling, position rack according to the Broiling Settings chart. It is not necessary to preheat the oven before putting food in unless recommended in the recipe. Position food on grid in the broiler pan, then place it in the center of the oven rack.
To Use Broil:
1.Close the door.
2.Turn the SELECTOR knob to BROIL. “HI” will appear on the display.
3.Turn the SET knob to the desired broil setting. There are 5 broil settings, refer to the Broil Settings chart.
4.Press the ENTER button. “0:00” will appear in the display and the Oven Timer indicator light will flash.
NOTE: If you wish to bypass setting a broil time, skip to Step 6.
5.Turn the SET knob to the desired broil time. The time will change in
6.Press the ENTER button, the broil time will be accepted.
7.The oven timer will begin to count down from the set time and the display will alternate between the broil level and the remaining time.
If a broiling time was not selected, the display will show only the broil level.
14
