Wireless-G Access Point
2.Press the Access Point’s orange Cisco logo on its front panel. When the logo turns white and begins to flash, press the SecureEasySetup button on another device. The Access Point’s Cisco logo will stop flashing when the device has been added to the network. Then repeat this procedure for each additional SecureEasySetup device.
When you have finished configuring the devices in your wireless network, click the Next button to continue.
NOTE: You can only add one SecureEasySetup device at a time.
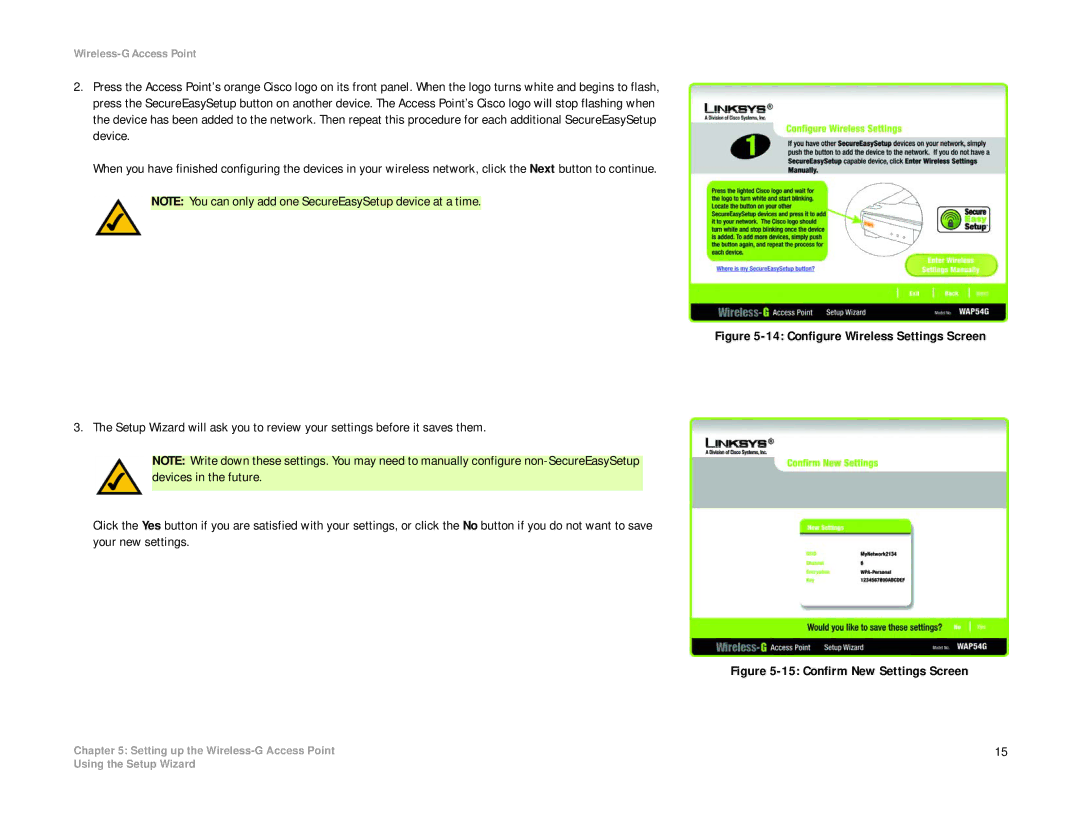
Figure 5-14: Configure Wireless Settings Screen
3. The Setup Wizard will ask you to review your settings before it saves them.
NOTE: Write down these settings. You may need to manually configure
Click the Yes button if you are satisfied with your settings, or click the No button if you do not want to save your new settings.
Figure 5-15: Confirm New Settings Screen
Chapter 5: Setting up the | 15 |
Using the Setup Wizard