2
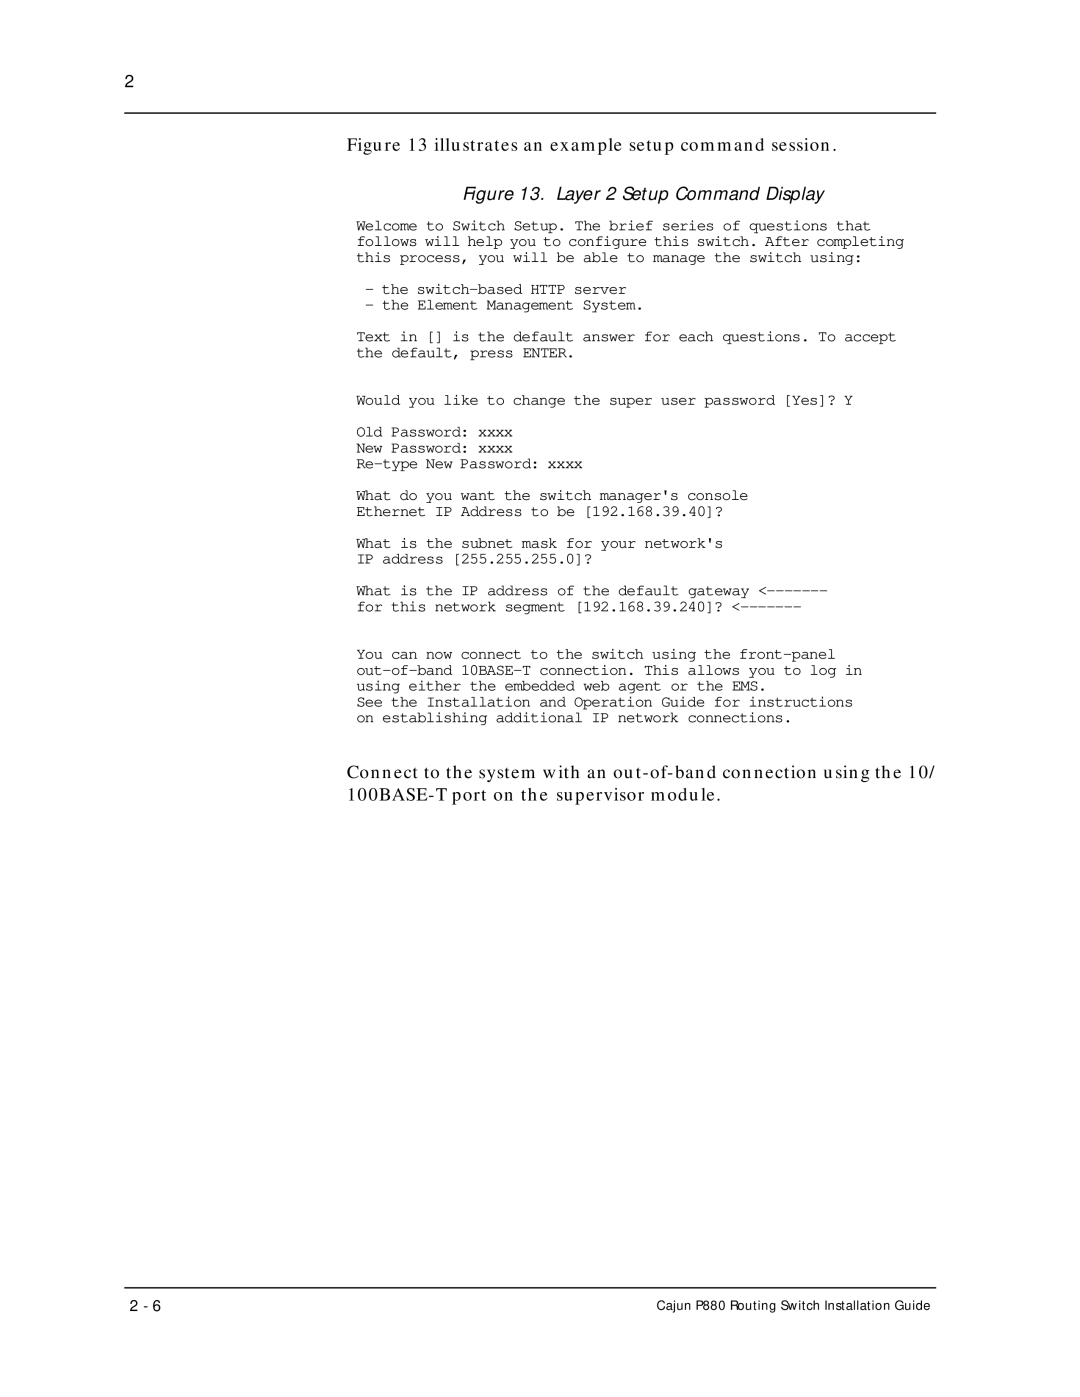
Figure 13 illustrates an example setup command session.
Figure 13. Layer 2 Setup Command Display
Welcome to Switch Setup. The brief series of questions that follows will help you to configure this switch. After completing this process, you will be able to manage the switch using:
-the
-the Element Management System.
Text in [] is the default answer for each questions. To accept the default, press ENTER.
Would you like to change the super user password [Yes]? Y
Old Password: xxxx
New Password: xxxx
What do you want the switch manager's console
Ethernet IP Address to be [192.168.39.40]?
What is the subnet mask for your network's
IP address [255.255.255.0]?
What is the IP address of the default gateway
for this network segment [192.168.39.240]?
You can now connect to the switch using the
See the Installation and Operation Guide for instructions on establishing additional IP network connections.
Connect to the system with an
2 - 6 | Cajun P880 Routing Switch Installation Guide |
