ReadyNAS Pro Business Edition User Guide
•X-RAID2:
–
–You can start out with one disk, and add more disks as you need them or can afford them.
–Volume management is automatic. Add a second disk, and it becomes a mirror to the first. Add a third disk and your capacity doubles; add a fourth, and your capacity triples, and so on up to a
–In the future, you will be able to replace disks, one at a time, have each one finish rebuilding and, after new redundant space becomes available, your volume will automatically expand to utilize the new capacity.
Volume Management for Flex-RAID
If you want to reconfigure the default volume C, split it into multiple volumes, specify a different RAID level, or specify a larger reserved space for snapshots, you need to reconfigure your volume. The first step is to delete the existing volume you want to replace.
Deleting a Volume
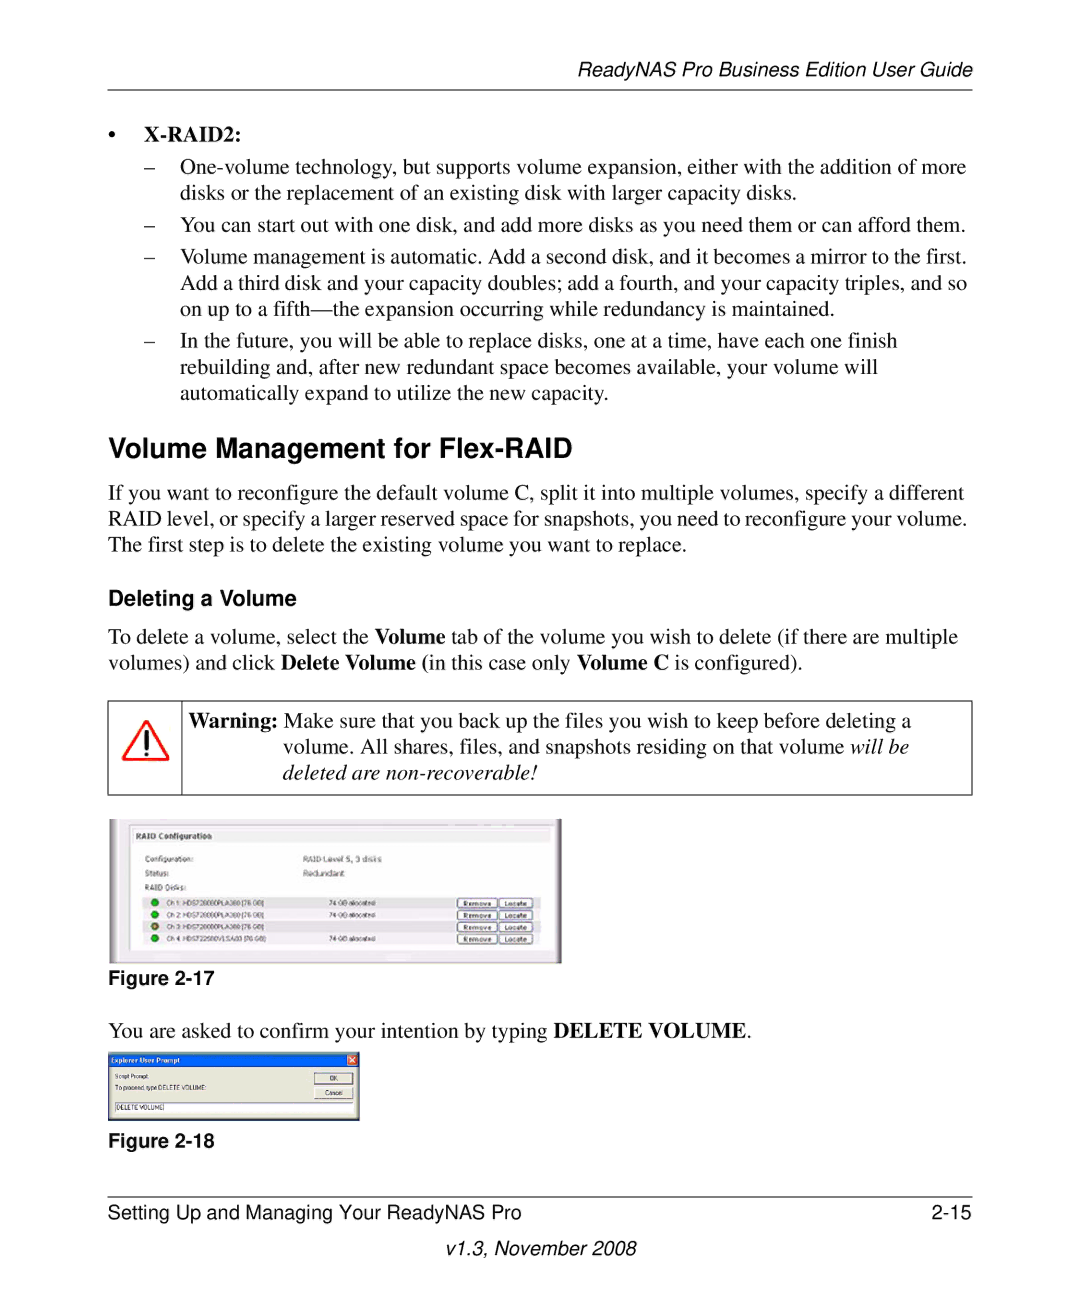
To delete a volume, select the Volume tab of the volume you wish to delete (if there are multiple volumes) and click Delete Volume (in this case only Volume C is configured).
Warning: Make sure that you back up the files you wish to keep before deleting a volume. All shares, files, and snapshots residing on that volume will be deleted are
Figure
You are asked to confirm your intention by typing DELETE VOLUME.
Figure
Setting Up and Managing Your ReadyNAS Pro |