Chapter 1 Contivity 4600 Option Installation 27
Replacing a Contivity 4600 hard disk drive
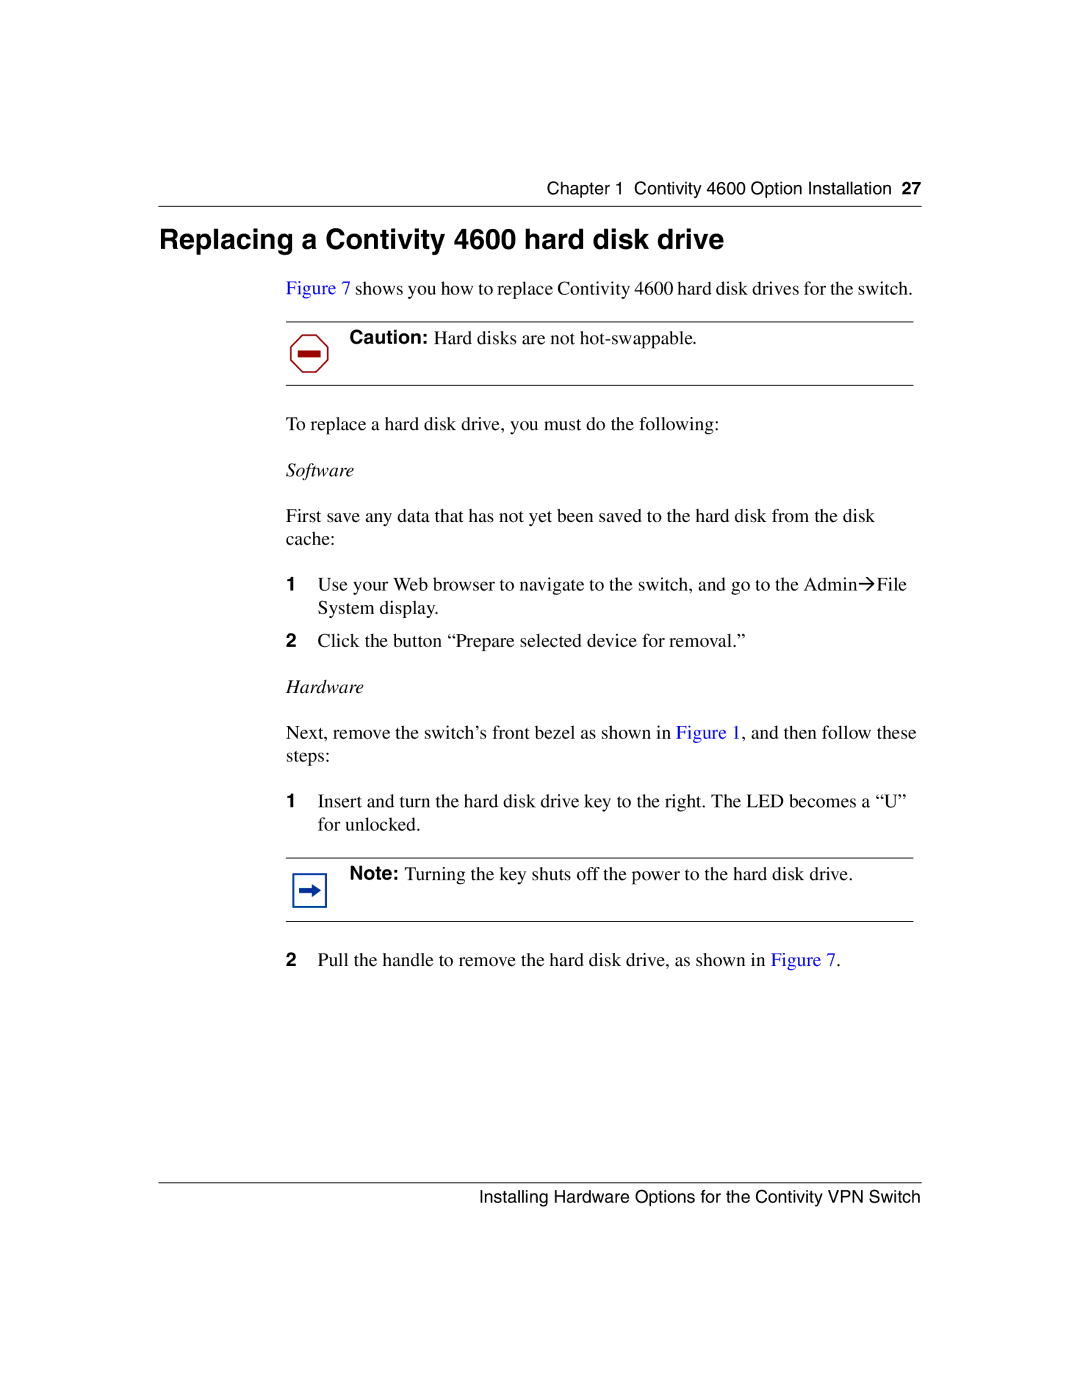
Figure 7 shows you how to replace Contivity 4600 hard disk drives for the switch.
Caution: Hard disks are not
To replace a hard disk drive, you must do the following:
Software
First save any data that has not yet been saved to the hard disk from the disk cache:
1Use your Web browser to navigate to the switch, and go to the Admin!File System display.
2Click the button “Prepare selected device for removal.”
Hardware
Next, remove the switch’s front bezel as shown in Figure 1, and then follow these steps:
1Insert and turn the hard disk drive key to the right. The LED becomes a “U” for unlocked.
Note: Turning the key shuts off the power to the hard disk drive.
2Pull the handle to remove the hard disk drive, as shown in Figure 7.
Installing Hardware Options for the Contivity VPN Switch