Self-diagnostic test
With the printer power switched on, press the
Printed
EthernetBoard OkiLAN 7300e Version 1.1.0
*** Diagnostic report ***
ROM check: Ok stat:7C31 FFFF 0000 0000
RAM check: Ok stat:0000 0000 0000 0000
EEPROM Check: Ok stat:8954 8954 0000 0000
NIC check: Ok addr:00:80:92:00:13 9D
DIPSW1:OFF(ON:Test use only
DIPSW2:OFF(ON:Initialize configuration)
DIPSW3:OFF(ON:Reserved)
DIPSW4:OFF(ON:Diagnostic print)
00:80:92:00:13:9D is the Ethernet address.
If “NG” is displayed instead of “OK” see the “Troubleshooting” chapter.
Printed configuration settings sample
OkiLAN 7300e Version 1.1.0
*** Configuration report ***
TCP/IP protocol:ENABLE
IP address:192.168.20.127 Subnet mask:255.255.255.0 Gateway address:192.168.20.1 RARP protocol:DISABLE DHCP/BOOTP protocol:ENABLE DNS server (Pri.):192.168.20.2 DNS server (Sec.):192.168.20.3 root password:““
Authentic community:“******” Trap communit:“public” Trap address:0.0.0.0 SysContact:““
SysName:““
SysLocation:““
DefaultTTL:255 Enable AuthenTrap:2 Network protocol:ENABLE OkiLan7300e Packet type:AUTO
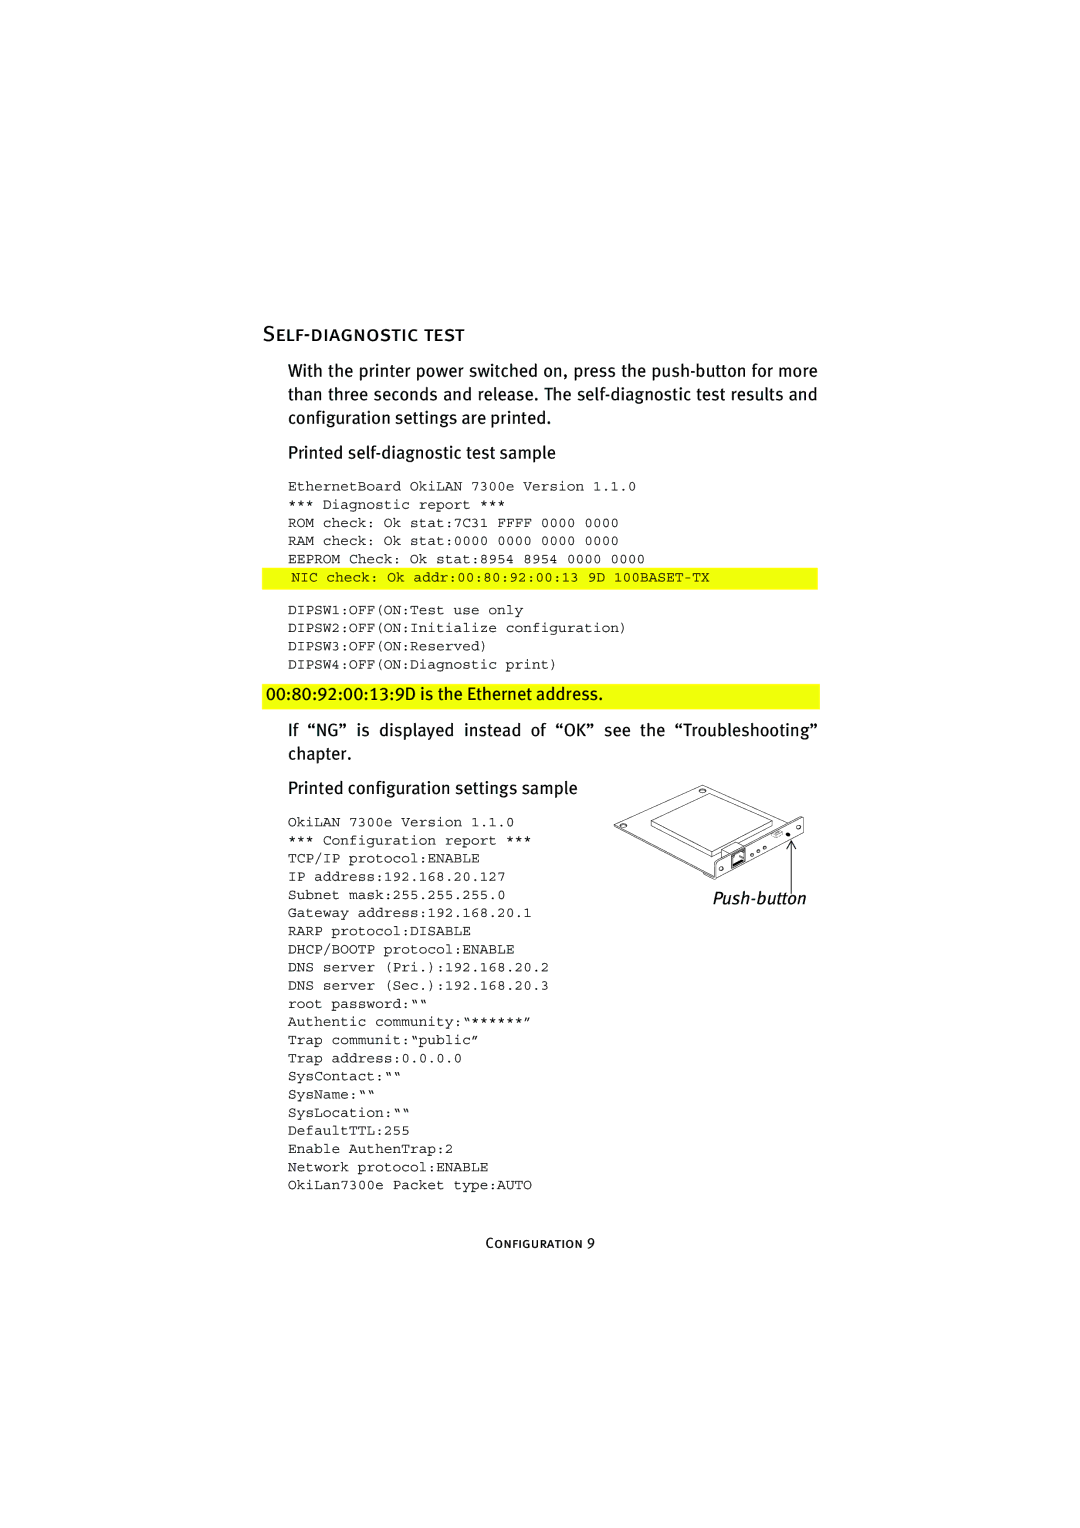
Push-button
Configuration 9