Connections
$ Connecting the base connector rear panel and the base connector front panel
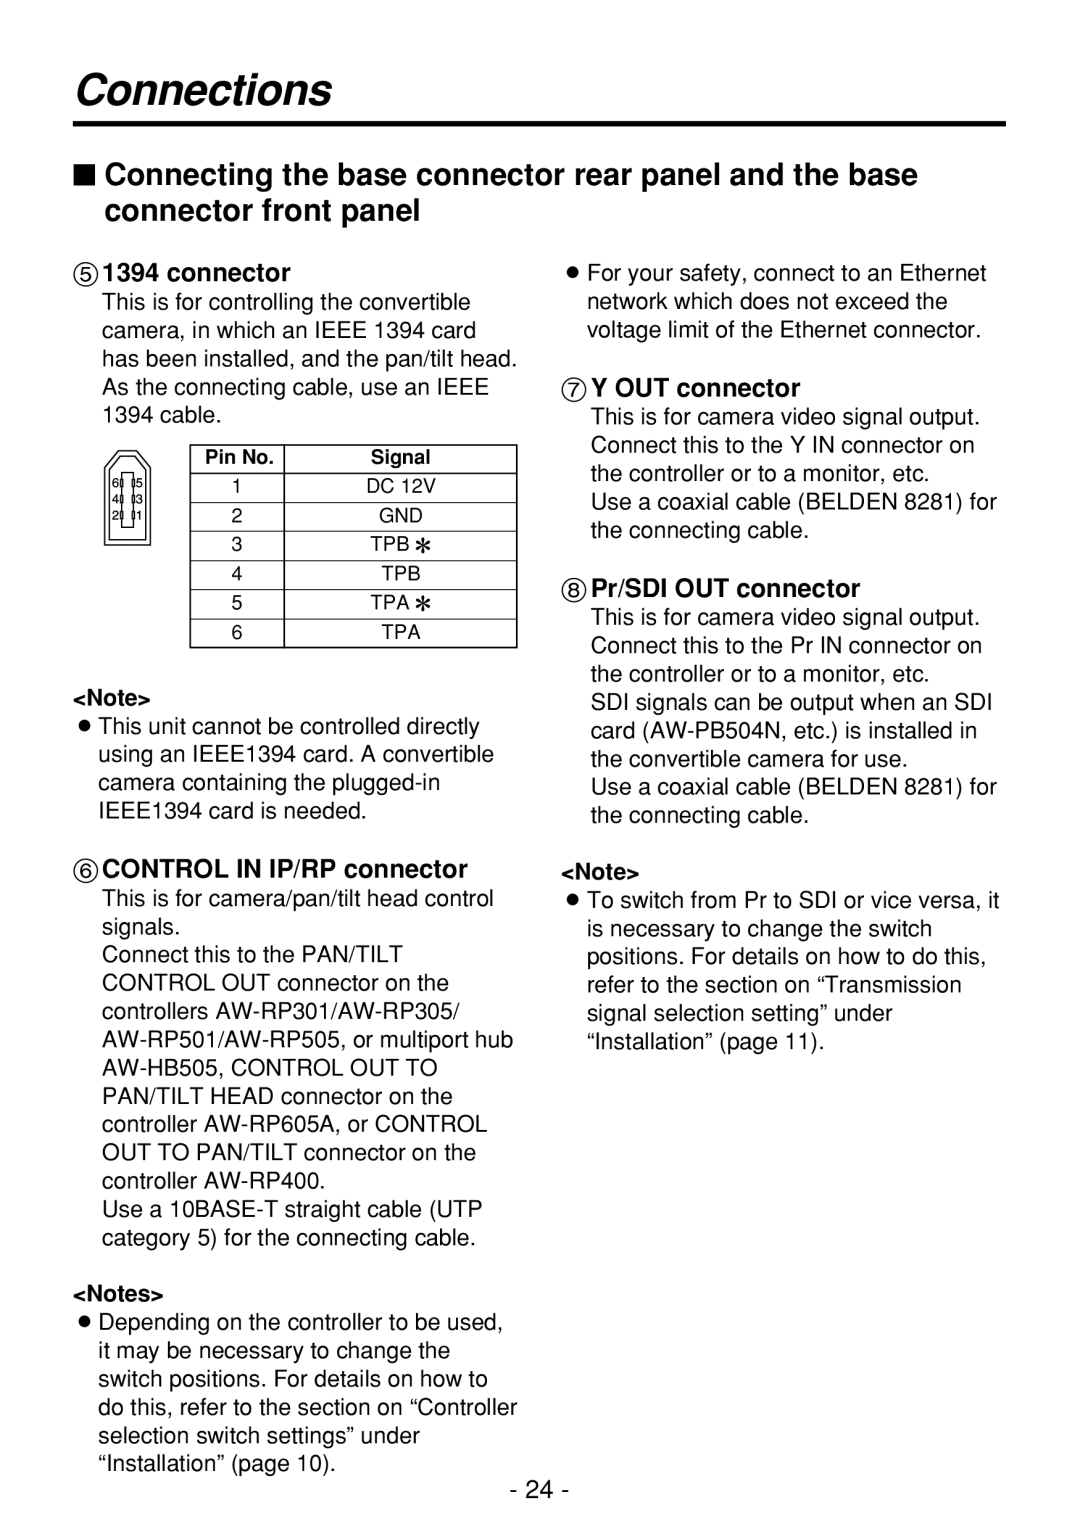
51394 connector
This is for controlling the convertible camera, in which an IEEE 1394 card has been installed, and the pan/tilt head. As the connecting cable, use an IEEE 1394 cable.
Pin No. | Signal |
1 | DC 12V |
|
|
2 | GND |
|
|
3 | TPB 2 |
|
|
4 | TPB |
|
|
5 | TPA 2 |
|
|
6 | TPA |
|
|
<Note>
OThis unit cannot be controlled directly using an IEEE1394 card. A convertible camera containing the
6CONTROL IN IP/RP connector
This is for camera/pan/tilt head control signals.
Connect this to the PAN/TILT CONTROL OUT connector on the controllers
Use a
<Notes>
ODepending on the controller to be used, it may be necessary to change the switch positions. For details on how to do this, refer to the section on “Controller selection switch settings” under “Installation” (page 10).
OFor your safety, connect to an Ethernet network which does not exceed the voltage limit of the Ethernet connector.
7Y OUT connector
This is for camera video signal output. Connect this to the Y IN connector on the controller or to a monitor, etc.
Use a coaxial cable (BELDEN 8281) for the connecting cable.
8Pr/SDI OUT connector
This is for camera video signal output. Connect this to the Pr IN connector on the controller or to a monitor, etc.
SDI signals can be output when an SDI card
Use a coaxial cable (BELDEN 8281) for the connecting cable.
<Note>
OTo switch from Pr to SDI or vice versa, it is necessary to change the switch positions. For details on how to do this, refer to the section on “Transmission signal selection setting” under “Installation” (page 11).
- 24 -