Record images on the SD memory card manually
Images displayed on the "Live" page can be recorded on the SD memory card manually.
This button is operable only when "Manual" is selected for "Save trigger" on the setup menu. (☞ Page 31) Images recorded on the SD memory card can be copied onto the PC. (☞ Page 19)
Step1
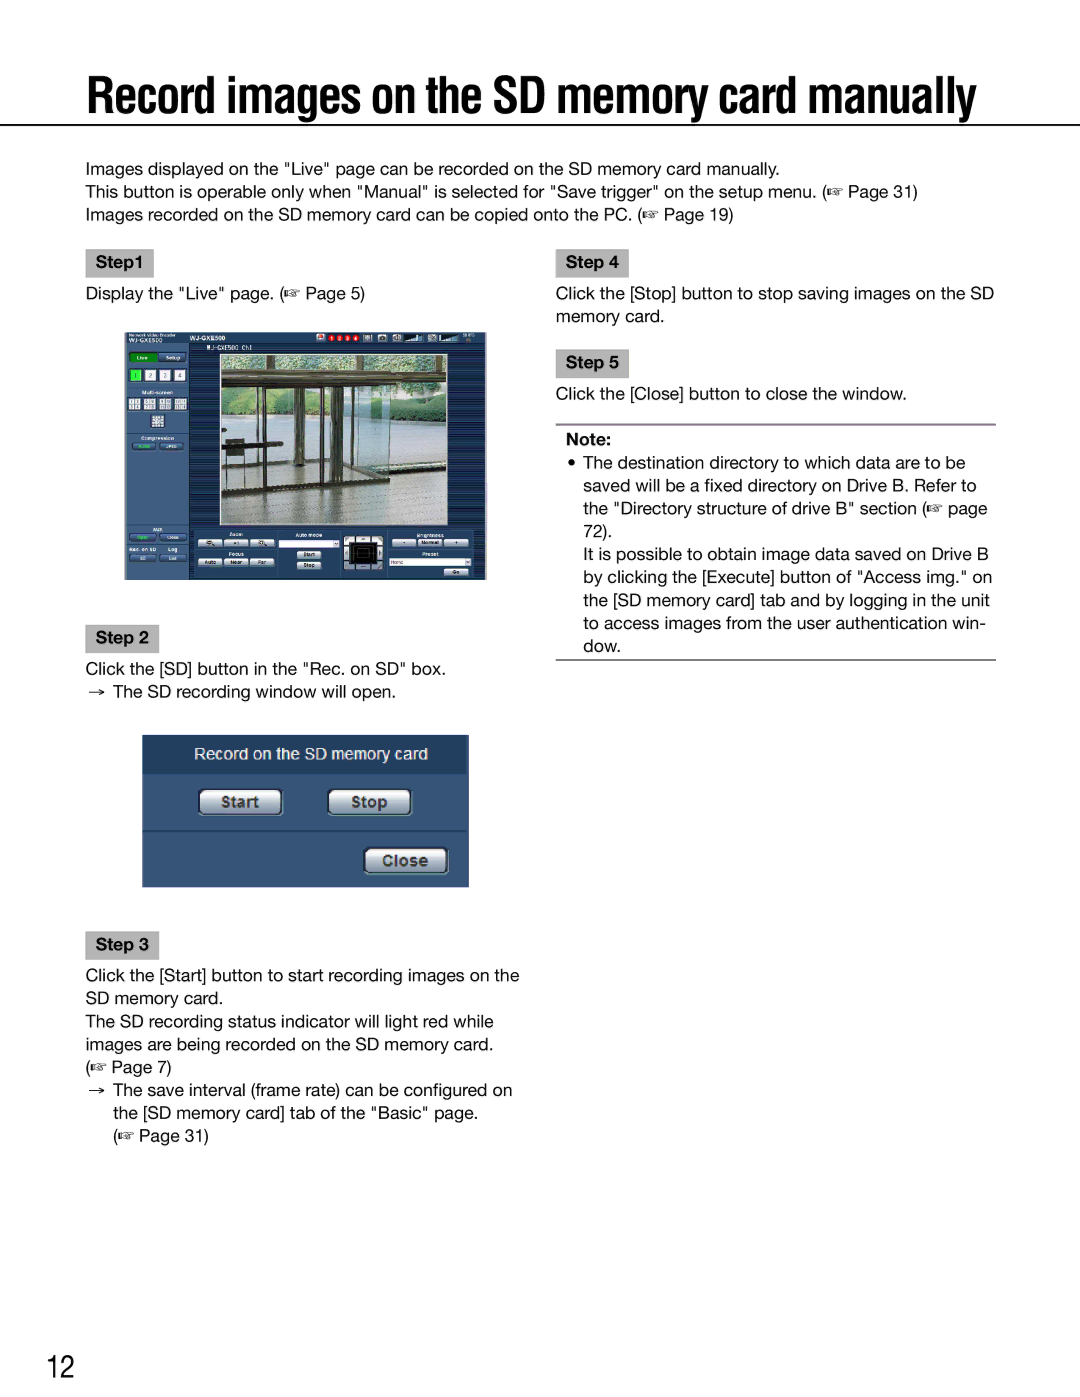
Display the "Live" page. (☞ Page 5)
Step 2
Click the [SD] button in the "Rec. on SD" box.
→The SD recording window will open.
Step 3
Click the [Start] button to start recording images on the SD memory card.
The SD recording status indicator will light red while images are being recorded on the SD memory card. (☞ Page 7)
→The save interval (frame rate) can be configured on the [SD memory card] tab of the "Basic" page.
(☞ Page 31)
Step 4
Click the [Stop] button to stop saving images on the SD memory card.
Step 5
Click the [Close] button to close the window.
Note:
•The destination directory to which data are to be saved will be a fixed directory on Drive B. Refer to the "Directory structure of drive B" section (☞ page 72).
It is possible to obtain image data saved on Drive B by clicking the [Execute] button of "Access img." on the [SD memory card] tab and by logging in the unit to access images from the user authentication win- dow.
12
