8.Dwell Time
Move the cursor to DWELL TIME, and select a time with the Joystick.
When the time specified here elapses after motion detection, the camera will notify the connected device of the alarm activation. The default setting is 2 seconds.
Selectable times (seconds): 2s, 5s, 10s, 30s
![]() 2S
2S ![]()
![]() 5S
5S ![]()
![]() 10S
10S ![]()
![]() 30S
30S ![]()
Important Notices:
•The following conditions should be met for motion detection.
1)The picture size on the screen should be larg- er than 1/48 of the actual picture size.
2)The contrast ratio between the object and the background picture should be more than 5 % at the maximum detection level.
3)The time it takes the object to move from one end of the screen to the other should be more than 0.1 seconds.
•Also under the following conditions, mask or adjust the detection level to prevent malfunction.
1)When leaves, or curtains, etc., are swayed by the wind.
2)When a picture has a high noise content due to low light conditions.
3)When the object is illuminated by lighting equipment that constantly turns on and off.
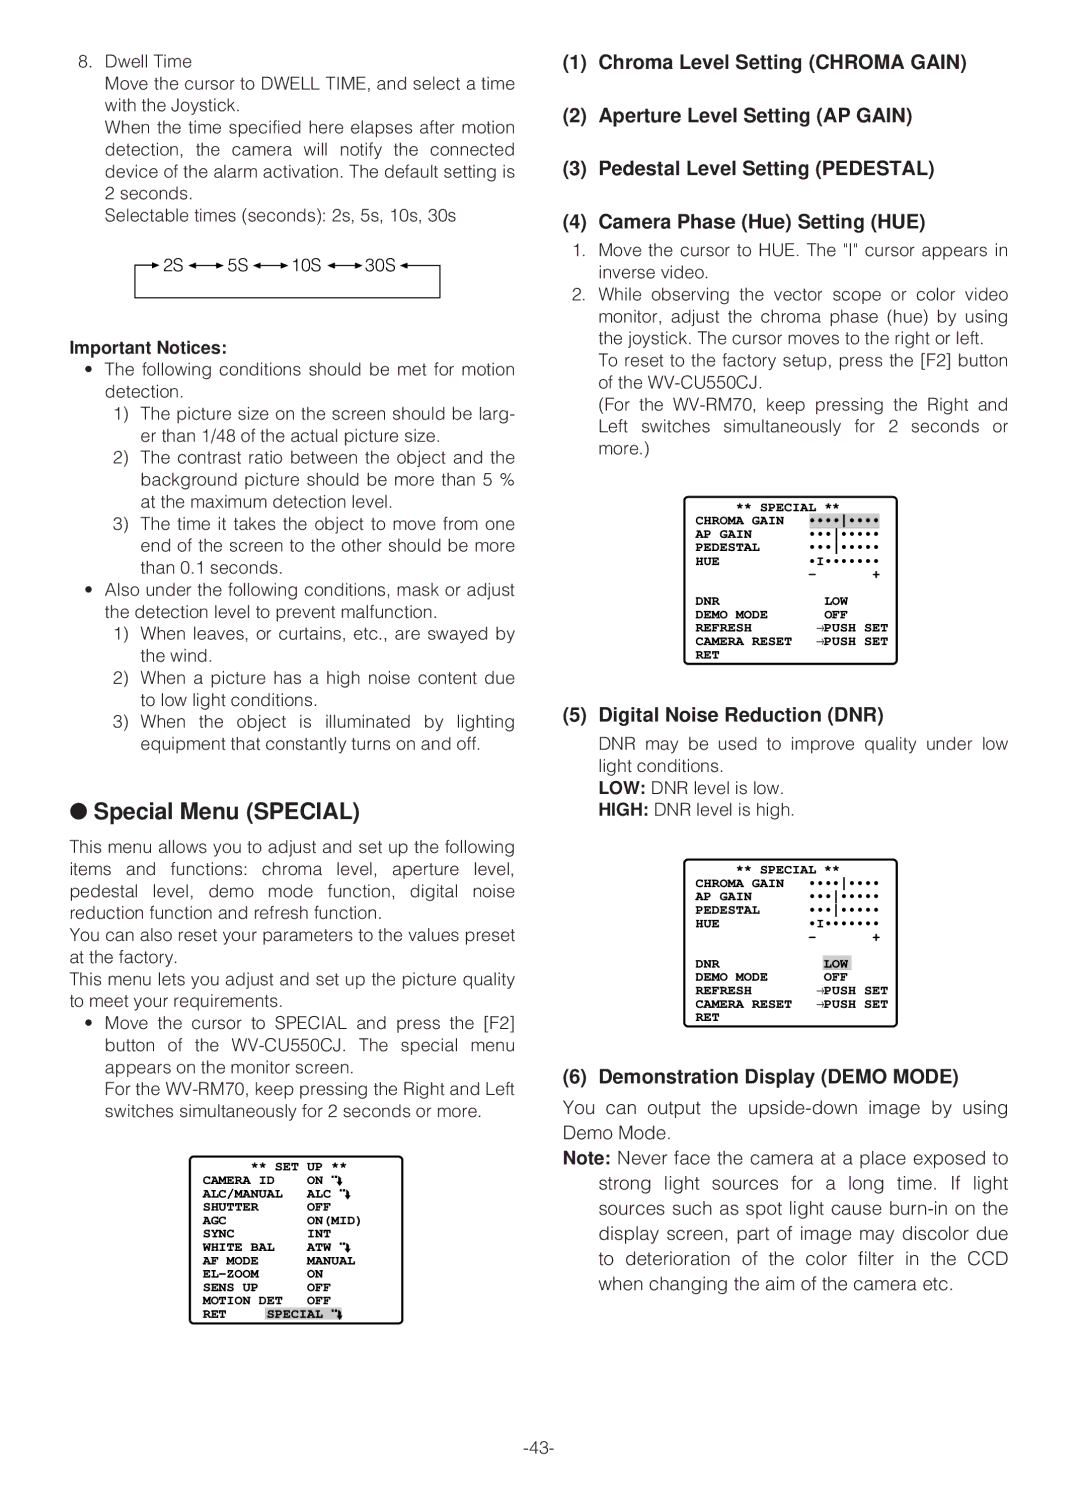
●Special Menu (SPECIAL)
This menu allows you to adjust and set up the following items and functions: chroma level, aperture level, pedestal level, demo mode function, digital noise reduction function and refresh function.
You can also reset your parameters to the values preset at the factory.
This menu lets you adjust and set up the picture quality to meet your requirements.
•Move the cursor to SPECIAL and press the [F2] button of the
For the
** SET | UP ** | |||
CAMERA ID | ON | O | ||
ALC/MANUAL | ALC | O | ||
SHUTTER |
| OFF |
|
|
AGC |
| ON(MID) | ||
SYNC |
| INT | O | |
WHITE BAL | ATW | |||
AF MODE |
| MANUAL | ||
| ON |
|
| |
SENS UP |
| OFF |
|
|
MOTION DET | OFF |
|
| |
RET | SPECIAL | O |
| |
(1)Chroma Level Setting (CHROMA GAIN)
(2)Aperture Level Setting (AP GAIN)
(3)Pedestal Level Setting (PEDESTAL)
(4)Camera Phase (Hue) Setting (HUE)
1.Move the cursor to HUE. The "I" cursor appears in inverse video.
2.While observing the vector scope or color video monitor, adjust the chroma phase (hue) by using the joystick. The cursor moves to the right or left.
To reset to the factory setup, press the [F2] button of the
(For the
** SPECIAL **
CHROMA GAIN | •••••••• | |
AP GAIN | •••••••• | |
PEDESTAL | •••••••• | |
HUE | •I••••••• | |
| – | + |
DNR | LOW |
DEMO MODE | OFF |
REFRESH | →PUSH SET |
CAMERA RESET | →PUSH SET |
RET |
|
(5)Digital Noise Reduction (DNR)
DNR may be used to improve quality under low light conditions.
LOW: DNR level is low.
HIGH: DNR level is high.
** SPECIAL **
CHROMA GAIN | •••••••• | |
AP GAIN | •••••••• | |
PEDESTAL | •••••••• | |
HUE | •I••••••• | |
| – | + |
DNR |
| LOW |
|
DEMO MODE |
| OFF | |
REFRESH | →PUSH SET | ||
CAMERA RESET | →PUSH SET | ||
RET |
|
|
|
(6) Demonstration Display (DEMO MODE)
You can output the
Note: Never face the camera at a place exposed to strong light sources for a long time. If light sources such as spot light cause