Note: Input an external alarm signal of more than
100 ms.
3.Alarm Preset
Select the item by pressing the [o] button, and click the [SET] button.
1POSI: Camera performs according to Preset posi- tion 1 when there is input at ALARM IN 1.
2POSI: Camera performs according to Preset posi- tion 2 when there is input at ALARM IN 2.
OFF: No alarm preset used. Set Preset position 1 and 2 in advance when using this function.
The default setting is OFF.
4.
Sender
It is named "NW_Camera@(IP address of cam- era)" when input without the @ mark.
•Select ON or OFF for Attach Image.
ON: Attaches the alarmed picture to the e- mail.
OFF: No picture attached. The default setting is OFF.
•Click the [SET & REBOOT] button.
•Enter up to 4 destination
•Click the [DEL (delete)] button after selecting an unwanted
Notes:
•The
•Sending mails is not possible in an environ- ment that requires authentication for SMPTE or POP3.
5.Recording Setup
The image fields before and after an alarm input are stored in the memories of the cameras.
•Set the number of image frames for pre recording (0 - 20) and post recording (1 - 20).
•Set the recording rate (fps: frame per second).
•Click the [SET & REBOOT] button.
6.Panasonic Protocol Setup
•Select ON or OFF.
ON: Sends alarm notice mails to the cus- tomized destinations.
OFF: Does not send.
•Enter the destination port. The port number is exclusively assigned to this function, and any other usage is not allowed.
•Enter a number of retries from 1 to 25.
•Click the [SET] button.
•Enter a maximum of 8 destination IP addresses, and click the [SET] button.
•Click the [DEL (delete)] button after select- ing an unwanted destination to cancel it.
Destination IP Address
Input the Panasonic Protocol Destination IP Address, and click the [SET] button.
7.External Terminal Output Setup
Alarm output is supplied from the Alarm OUT con- nector when Terminal 1, Terminal 2 or VMD is in use.
•Select a signal type :
Pulse: Holds active status during the specified time width.
Latch: Holds active status until reset manually.
•Enter the pulse width (necessary number x
100ms) if you selected Pulse. A number from
1to 100 is applicable.
•Click the [SET & REBOOT] button.
8.External Alarm Reset
•Click the [Alarm Reset] button to cancel the activated alarm.
Note: Wait around 5 seconds or more when exe- cuting [SET&REBOOT] button.
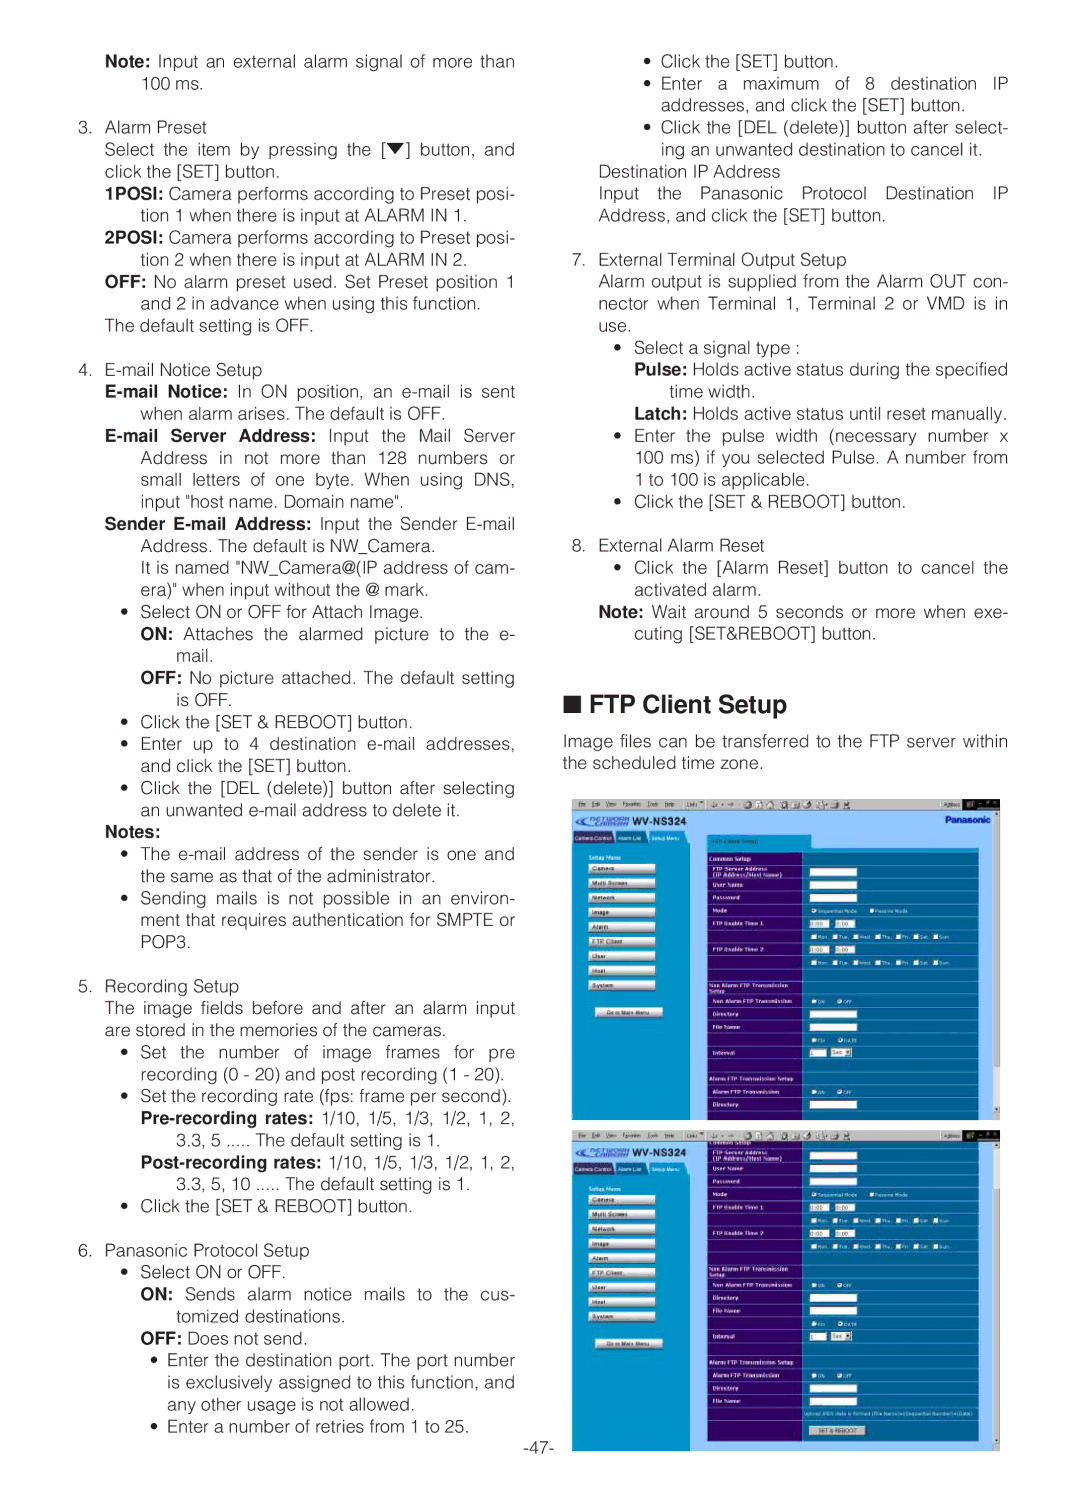
■FTP Client Setup
Image files can be transferred to the FTP server within the scheduled time zone.