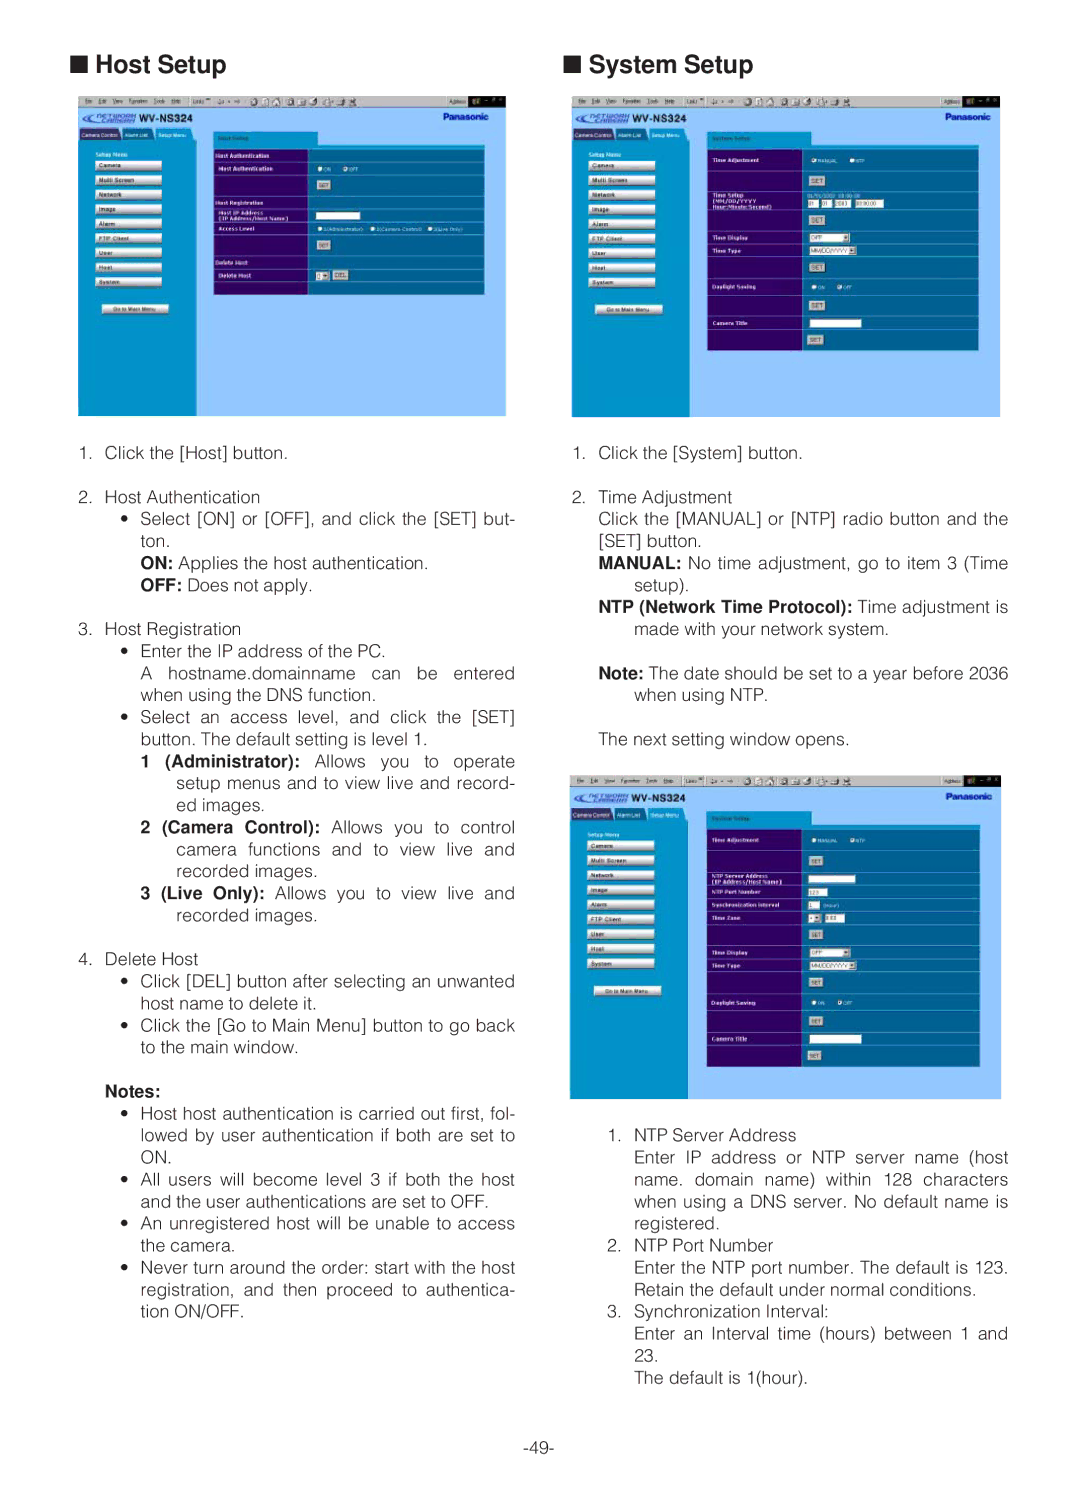
■ Host Setup | ■ System Setup |
1.Click the [Host] button.
2.Host Authentication
•Select [ON] or [OFF], and click the [SET] but- ton.
ON: Applies the host authentication.
OFF: Does not apply.
3.Host Registration
•Enter the IP address of the PC.
A hostname.domainname can be entered when using the DNS function.
•Select an access level, and click the [SET] button. The default setting is level 1.
1(Administrator): Allows you to operate setup menus and to view live and record- ed images.
2(Camera Control): Allows you to control camera functions and to view live and recorded images.
3(Live Only): Allows you to view live and recorded images.
4.Delete Host
•Click [DEL] button after selecting an unwanted host name to delete it.
•Click the [Go to Main Menu] button to go back to the main window.
Notes:
•Host host authentication is carried out first, fol- lowed by user authentication if both are set to ON.
•All users will become level 3 if both the host and the user authentications are set to OFF.
•An unregistered host will be unable to access the camera.
•Never turn around the order: start with the host registration, and then proceed to authentica- tion ON/OFF.
1.Click the [System] button.
2.Time Adjustment
Click the [MANUAL] or [NTP] radio button and the [SET] button.
MANUAL: No time adjustment, go to item 3 (Time setup).
NTP (Network Time Protocol): Time adjustment is made with your network system.
Note: The date should be set to a year before 2036 when using NTP.
The next setting window opens.
1.NTP Server Address
Enter IP address or NTP server name (host name. domain name) within 128 characters when using a DNS server. No default name is registered.
2.NTP Port Number
Enter the NTP port number. The default is 123. Retain the default under normal conditions.
3.Synchronization Interval:
Enter an Interval time (hours) between 1 and 23.
The default is 1(hour).