■Reviewing Alarm Pictures
The alarm pictures stored in the camera can be reviewed on the PC.
1. In the main window, click the [Alarm List] button.
2.Click the pertinent Data/Time in the list.
You can confirm the pictures of past alarm events.
Type | TRM1: Alarm through Terminal 1 |
| TRM2: Alarm through Terminal 2 |
| VMD: Alarm through Video Motion |
| Detector |
| 1: One alarm event picture attached |
| : More than one alarm event pic- |
| ture attached |
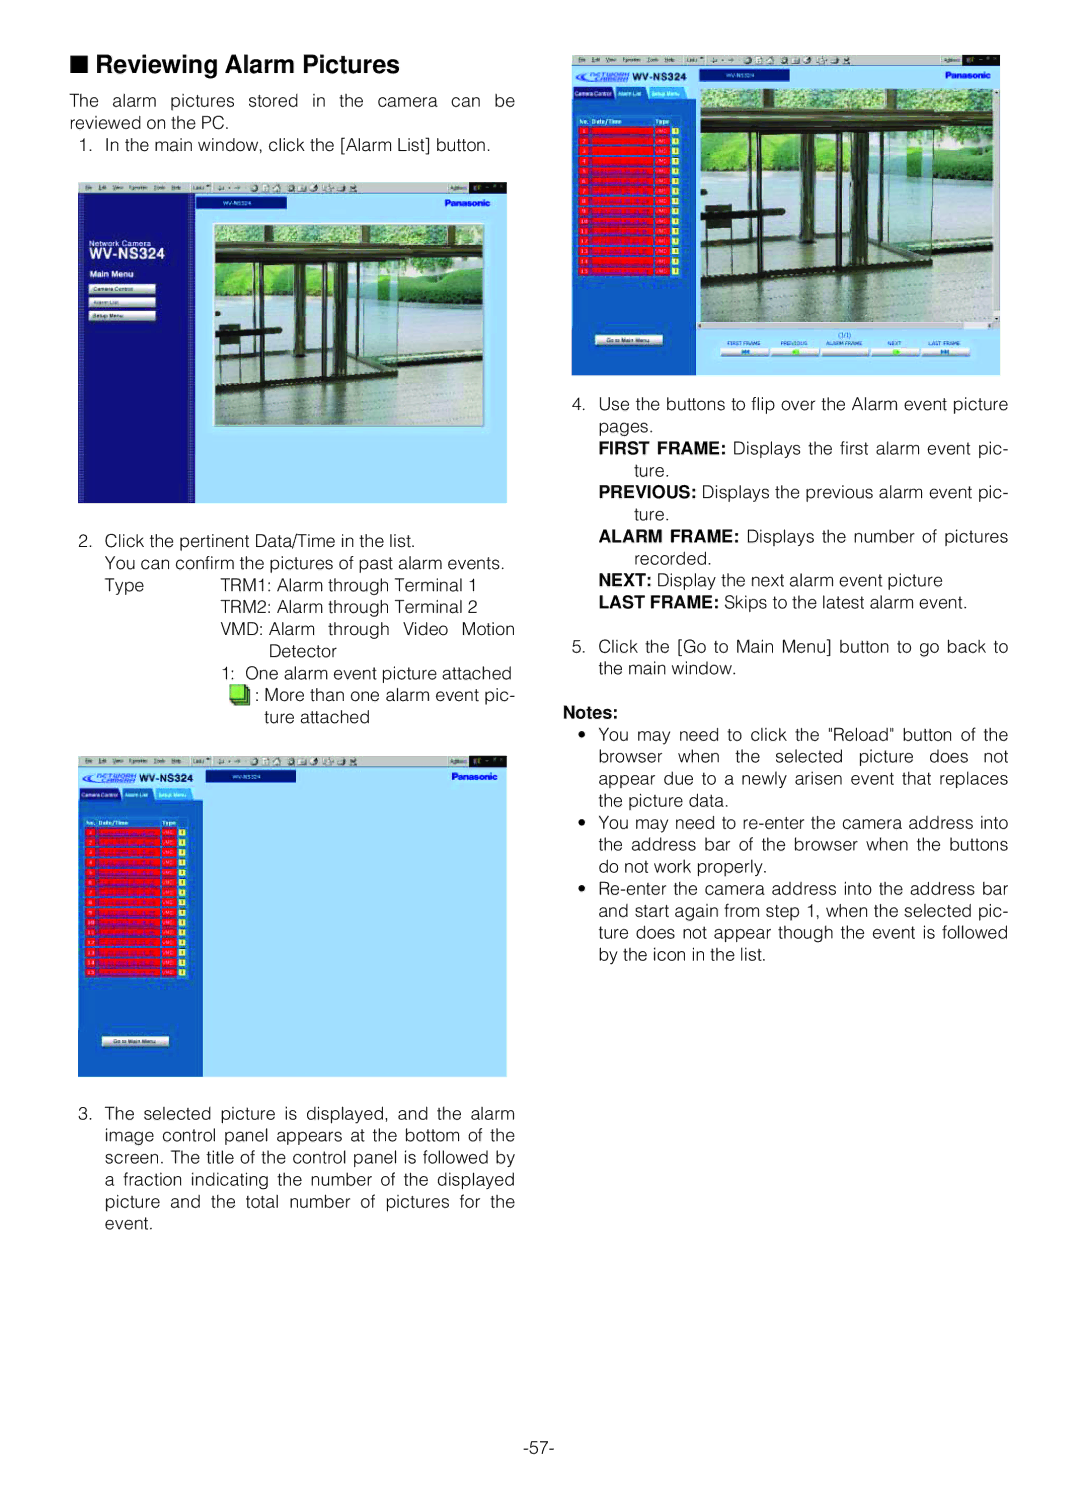
3.The selected picture is displayed, and the alarm image control panel appears at the bottom of the screen. The title of the control panel is followed by a fraction indicating the number of the displayed picture and the total number of pictures for the event.
4.Use the buttons to flip over the Alarm event picture pages.
FIRST FRAME: Displays the first alarm event pic- ture.
PREVIOUS: Displays the previous alarm event pic- ture.
ALARM FRAME: Displays the number of pictures recorded.
NEXT: Display the next alarm event picture
LAST FRAME: Skips to the latest alarm event.
5.Click the [Go to Main Menu] button to go back to the main window.
Notes:
•You may need to click the "Reload" button of the browser when the selected picture does not appear due to a newly arisen event that replaces the picture data.
•You may need to
•