1.Click the [FTP Client] button.
2.Common Setup
•Enter the FTP server address.
A hostname.domainname can be entered when using the DNS function.
•Enter the user name in a maximum of 16 char- acters.
•Enter user name and password in a maximum of 16 characters to access the FTP server.
•Select Sequential or Passive as the transmis- sion mode. Passive is recommended when Sequential does not perform properly.
•Complete schedule 1 and 2 by specifying the transmission time zone and the day of the week.
3.
•Select ON or OFF to transmit ordinary image files except in an alarm condition.
ON: Transmits files when a scheduled time comes.
OFF: Does not transmit, and no schedule is applied.
•Enter the receiver directory.
•Enter the file name and click FIX or DATE.
FIX: Uses repeatedly a single file name when overwriting new data.
DATE: Creates and attaches a serial number and a
•Select the transmission interval by pressing the [o] button.
Available times (seconds): 0.2 - 0.9, 1 - 1 440
Available times (minutes): 1 - 1 440
Notes:
•The transmission may be longer due to the network speed and/or traffic conditions.
•An alarm image precedes a
4.Alarm (FTP) Image Transmission Setup
The alarm setup window specifies the profile of the file transmission such as the number of files and the frame rate (fps).
•Select ON or OFF to transmit the image files. ON: Transmits the files when alarm arises. OFF: Does not transmit.
•Enter the receiver directory.
•Enter the file name.
5.Click the [SET & REBOOT] button.
Note: Wait around 5 seconds or more when exe- cuting [SET&REBOOT] button.
6.Click the [Go to Main Menu] button to go back to the main window.
Note: Set the file system on the FTP server to the UNIX mode when using the FTP client function.
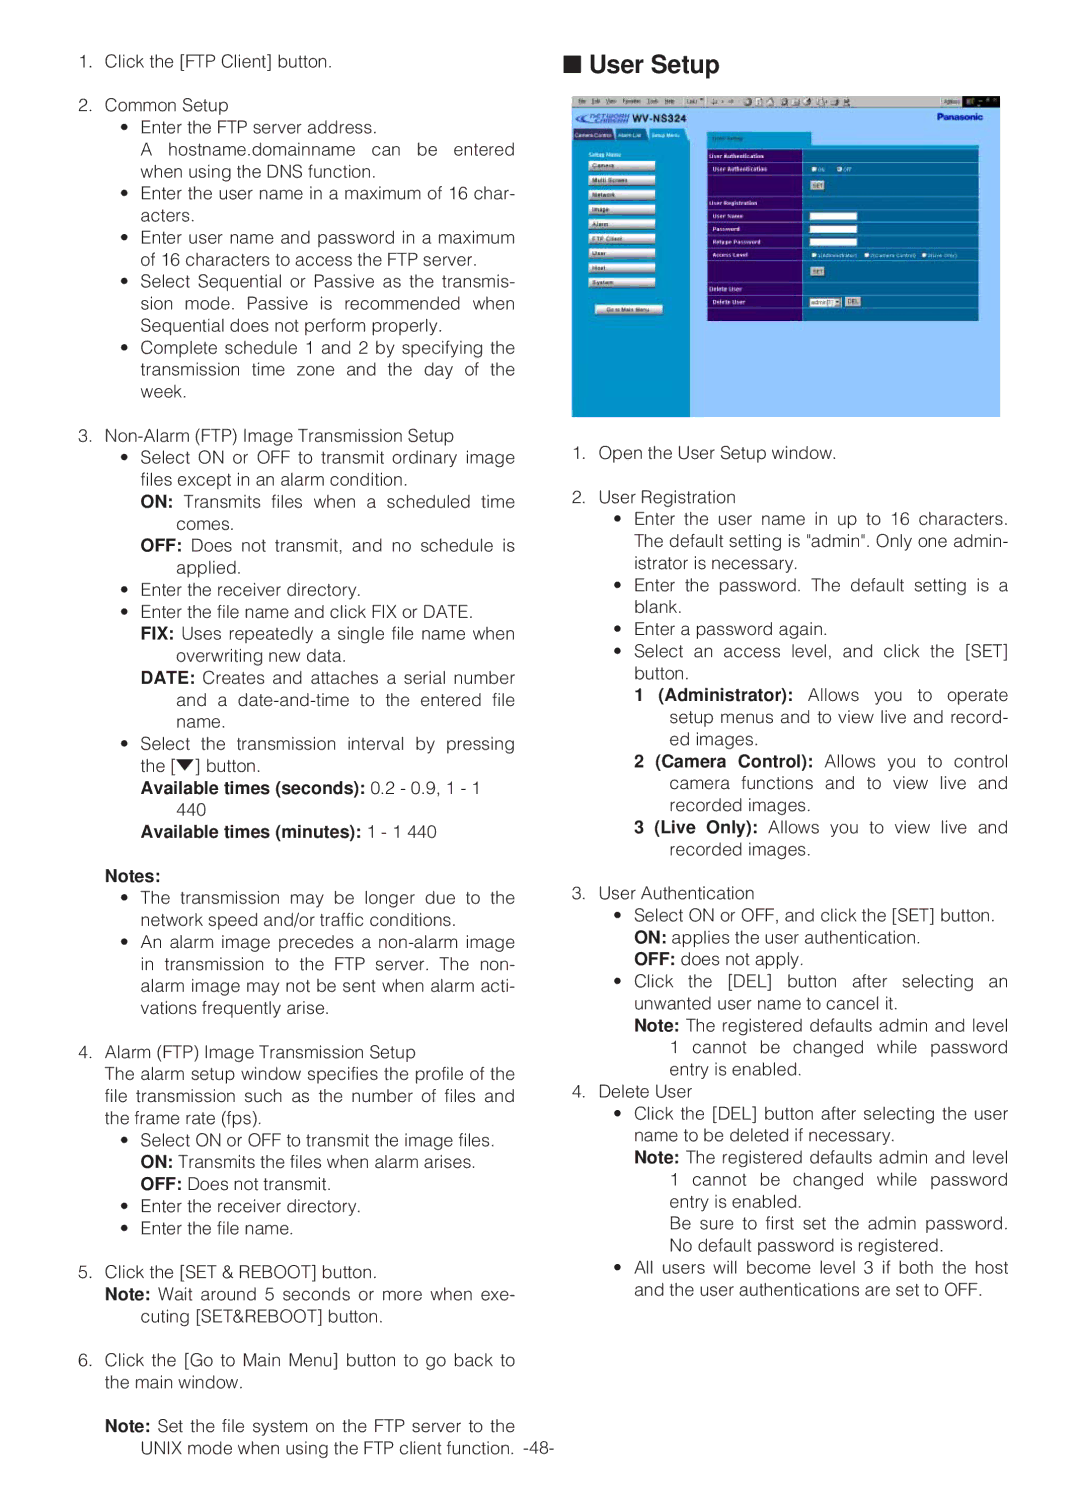
■User Setup
1.Open the User Setup window.
2.User Registration
•Enter the user name in up to 16 characters. The default setting is "admin". Only one admin- istrator is necessary.
•Enter the password. The default setting is a blank.
•Enter a password again.
•Select an access level, and click the [SET] button.
1(Administrator): Allows you to operate setup menus and to view live and record- ed images.
2(Camera Control): Allows you to control camera functions and to view live and recorded images.
3(Live Only): Allows you to view live and recorded images.
3.User Authentication
•Select ON or OFF, and click the [SET] button. ON: applies the user authentication.
OFF: does not apply.
•Click the [DEL] button after selecting an unwanted user name to cancel it.
Note: The registered defaults admin and level 1 cannot be changed while password entry is enabled.
4.Delete User
•Click the [DEL] button after selecting the user name to be deleted if necessary.
Note: The registered defaults admin and level 1 cannot be changed while password entry is enabled.
Be sure to first set the admin password. No default password is registered.
•All users will become level 3 if both the host and the user authentications are set to OFF.