Changing the Printer Setup
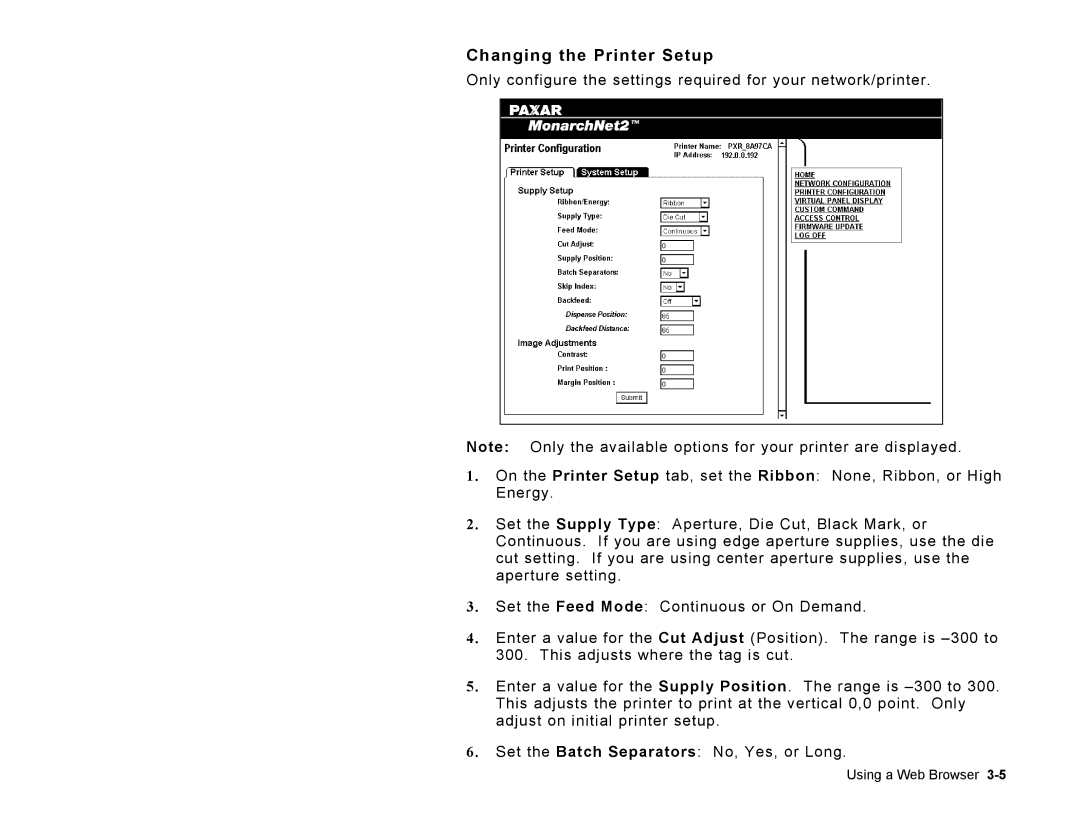
Only configure the settings required for your network/printer.
Note: Only the available options for your printer are displayed.
1.On the Printer Setup tab, set the Ribbon: None, Ribbon, or High Energy.
2.Set the Supply Type: Aperture, Die Cut, Black Mark, or Continuous. If you are using edge aperture supplies, use the die cut setting. If you are using center aperture supplies, use the aperture setting.
3.Set the Feed Mode: Continuous or On Demand.
4.Enter a value for the Cut Adjust (Position). The range is
5.Enter a value for the Supply Position. The range is
6.Set the Batch Separators: No, Yes, or Long.