Getting started
When using the Capture feature
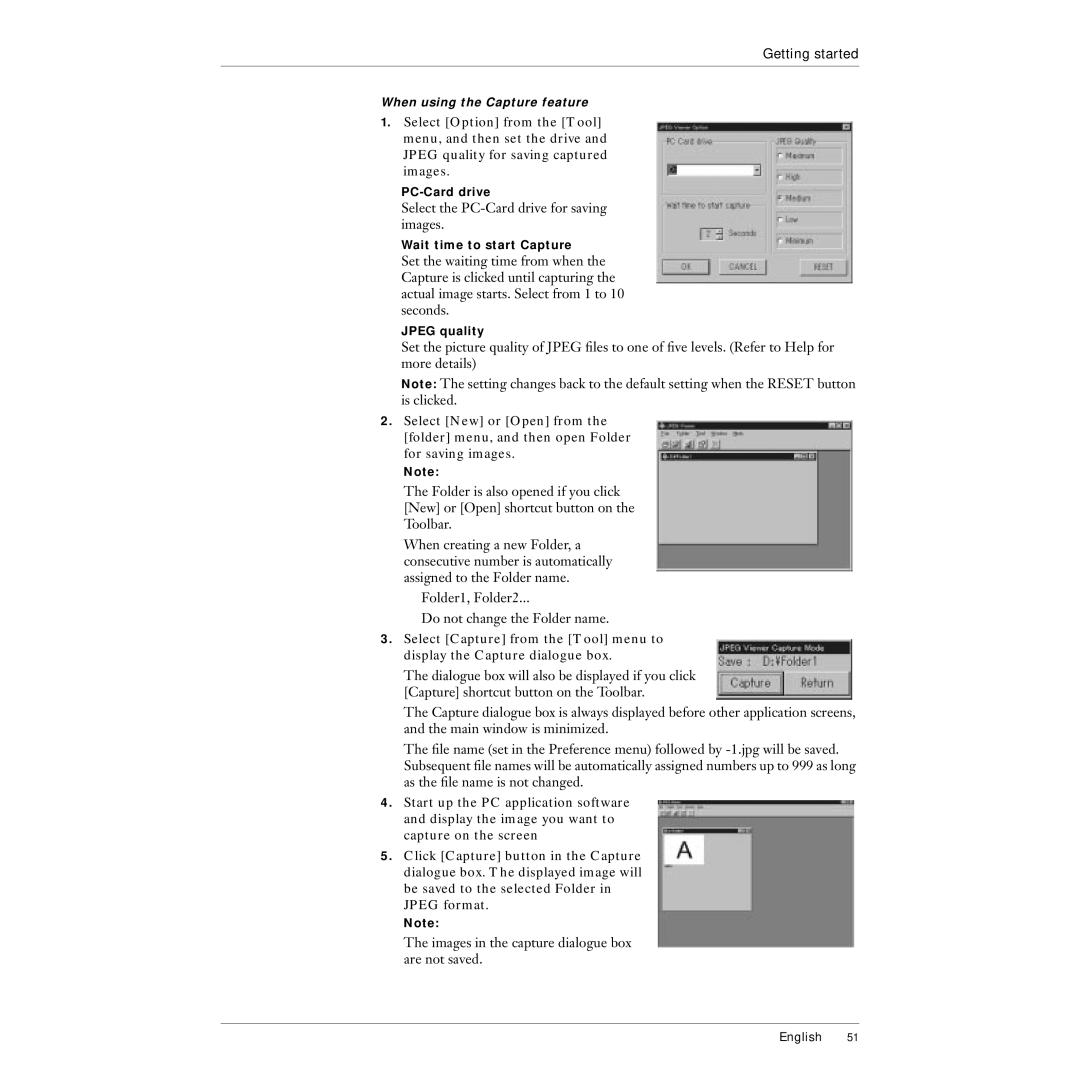
1.Select [Option] from the [Tool] menu, and then set the drive and JPEG quality for saving captured images.
Select the PC-Card drive for saving images.
Wait time to start Capture
Set the waiting time from when the Capture is clicked until capturing the actual image starts. Select from 1 to 10 seconds.
JPEG quality
Set the picture quality of JPEG files to one of five levels. (Refer to Help for more details)
Note: The setting changes back to the default setting when the RESET button is clicked.
2.Select [New] or [Open] from the [folder] menu, and then open Folder for saving images.
Note:
The Folder is also opened if you click [New] or [Open] shortcut button on the Toolbar.
When creating a new Folder, a consecutive number is automatically assigned to the Folder name.
Folder1, Folder2...
Do not change the Folder name.
3.Select [Capture] from the [Tool] menu to display the Capture dialogue box.
The dialogue box will also be displayed if you click [Capture] shortcut button on the Toolbar.
The Capture dialogue box is always displayed before other application screens, and the main window is minimized.
The file name (set in the Preference menu) followed by
4.Start up the PC application software and display the image you want to capture on the screen
5.Click [Capture] button in the Capture dialogue box. The displayed image will be saved to the selected Folder in JPEG format.
Note:
The images in the capture dialogue box are not saved.
English 51
