8Rotate the lamp latch screw clockwise to lock it in place.
9Carefully attach the ribbon cable to the board on the inside front panel.
10Slide the front panel over the zoom lens.
11Align the foot button with the hole in the front panel.
12Continue to seat the front panel first on the lower left corner until you hear a click.
13Snap the top corners into place and reinstall the lower screws.
CLEANING THE LENS
From time to time, you’ll need to clean the lens.
1Form a piece of lens tissue into a loose swab. Wet it with lens cleaning fluid or denatured alcohol, and gently move it over the lens surface.
2Take a part of the lens tissue that you haven’t touched, and repeat the process, going over the lens in another direction.
![]() CAUTION! Your projector contains electric circuitry and sensitive optics. Protect it from potential fluid spills.
CAUTION! Your projector contains electric circuitry and sensitive optics. Protect it from potential fluid spills.
CHANGING REMOTE CONTROL BATTERIES
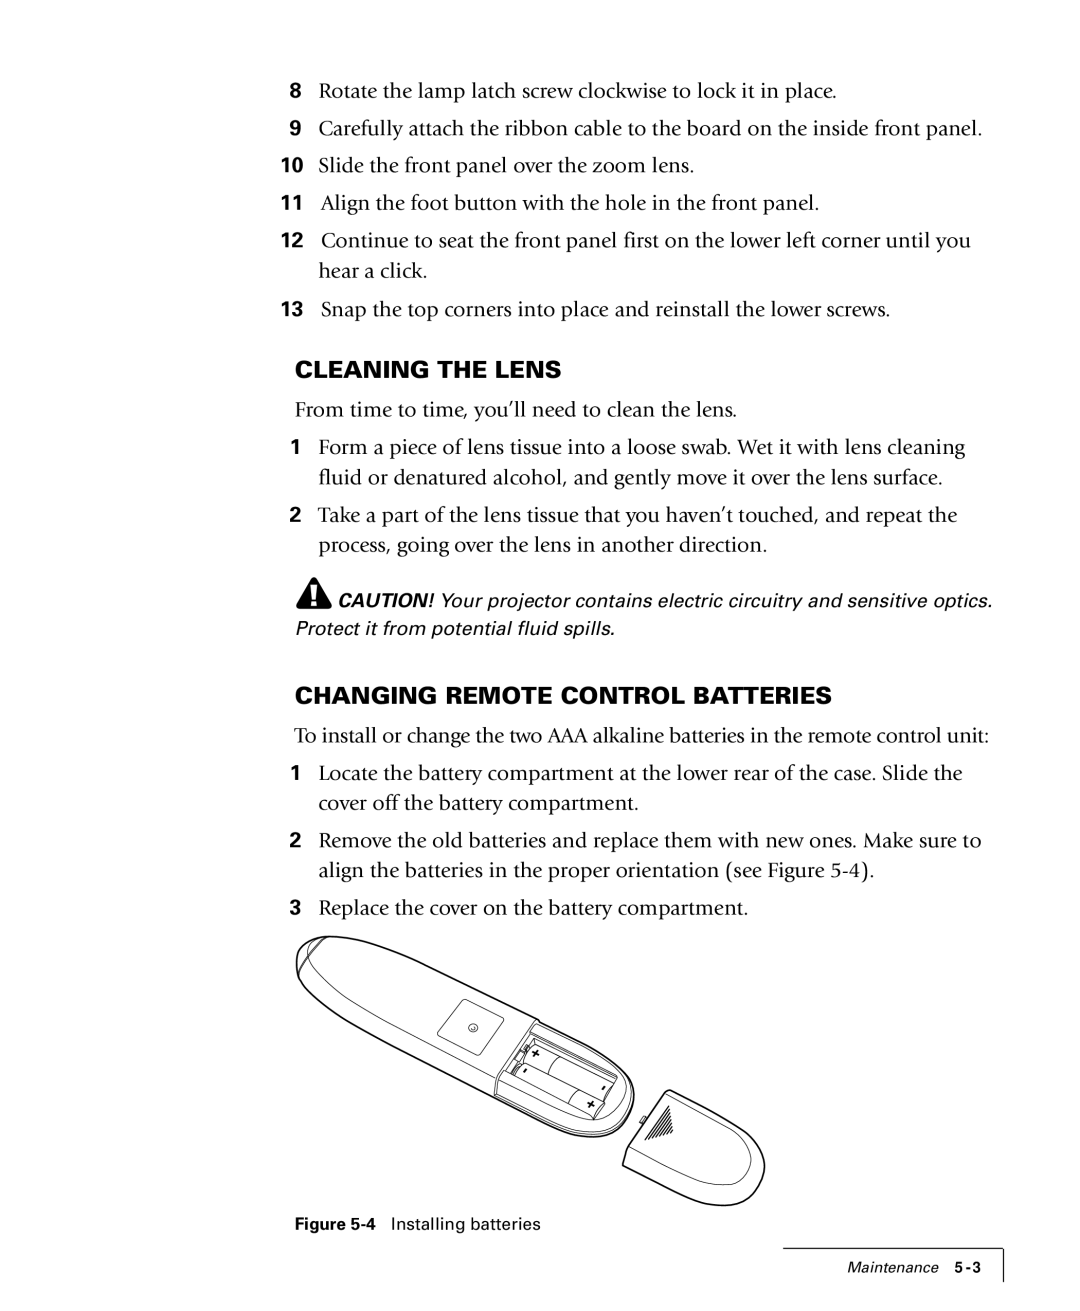
To install or change the two AAA alkaline batteries in the remote control unit:
1Locate the battery compartment at the lower rear of the case. Slide the cover off the battery compartment.
2Remove the old batteries and replace them with new ones. Make sure to align the batteries in the proper orientation (see Figure
3Replace the cover on the battery compartment.
Figure 5-4 Installing batteries
Maintenance