Loading Tab Stock
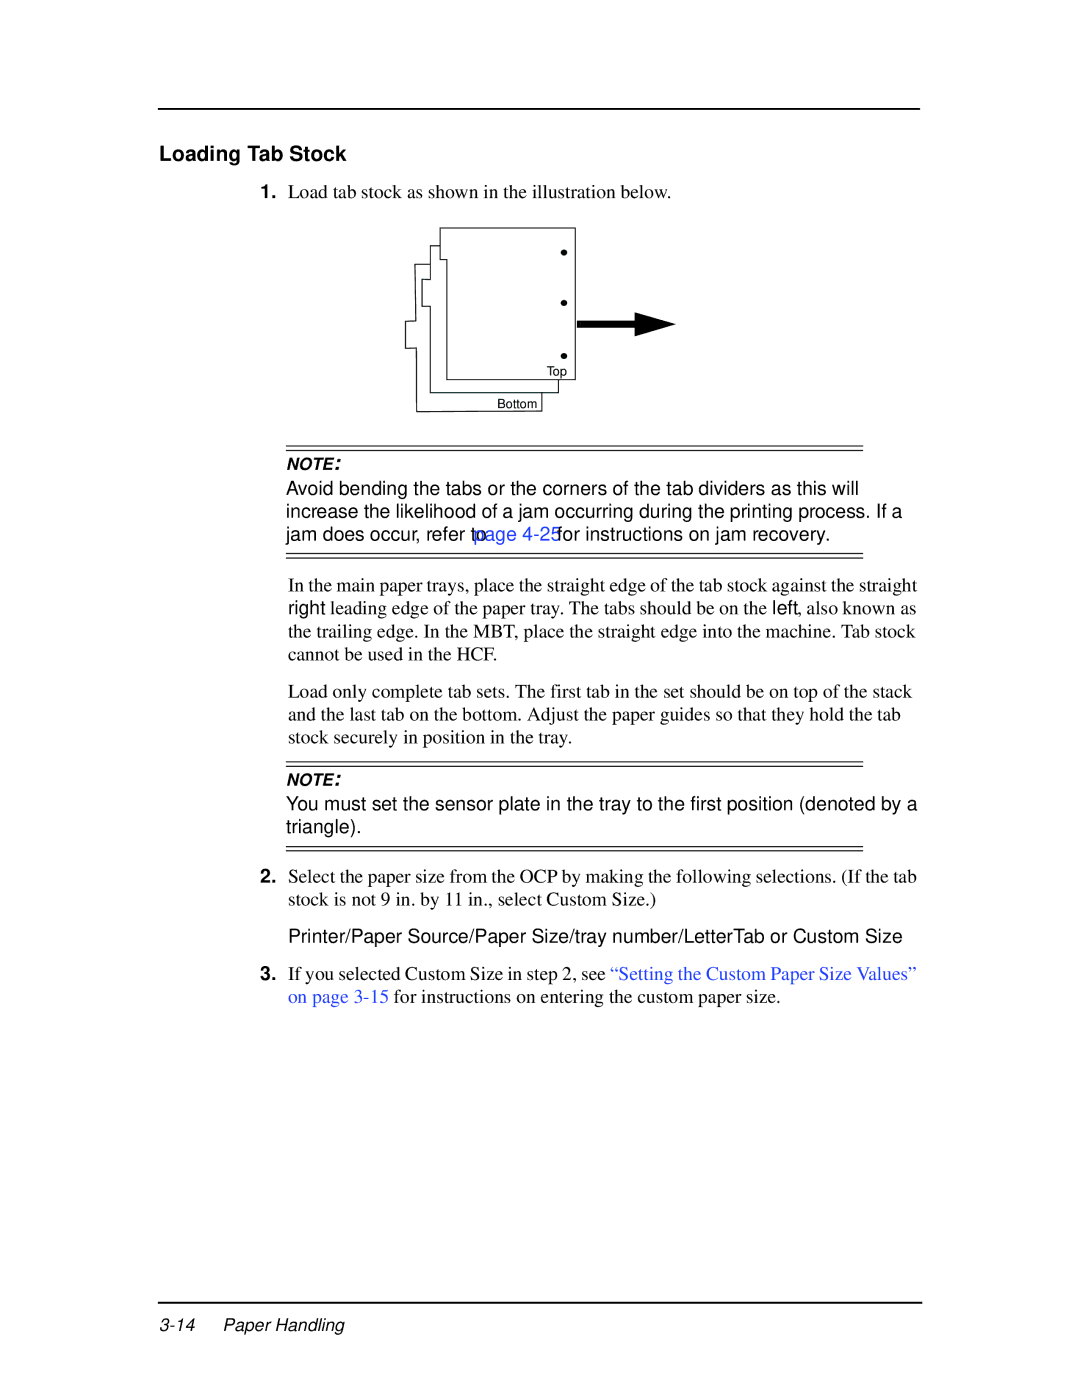
1.Load tab stock as shown in the illustration below.
Top
Bottom
NOTE:
Avoid bending the tabs or the corners of the tab dividers as this will increase the likelihood of a jam occurring during the printing process. If a jam does occur, refer to page
In the main paper trays, place the straight edge of the tab stock against the straight right leading edge of the paper tray. The tabs should be on the left, also known as the trailing edge. In the MBT, place the straight edge into the machine. Tab stock cannot be used in the HCF.
Load only complete tab sets. The first tab in the set should be on top of the stack and the last tab on the bottom. Adjust the paper guides so that they hold the tab stock securely in position in the tray.
NOTE:
You must set the sensor plate in the tray to the first position (denoted by a triangle).
2.Select the paper size from the OCP by making the following selections. (If the tab stock is not 9 in. by 11 in., select Custom Size.)
Printer/Paper Source/Paper Size/tray number/LetterTab or Custom Size
3.If you selected Custom Size in step 2, see “Setting the Custom Paper Size Values” on page
