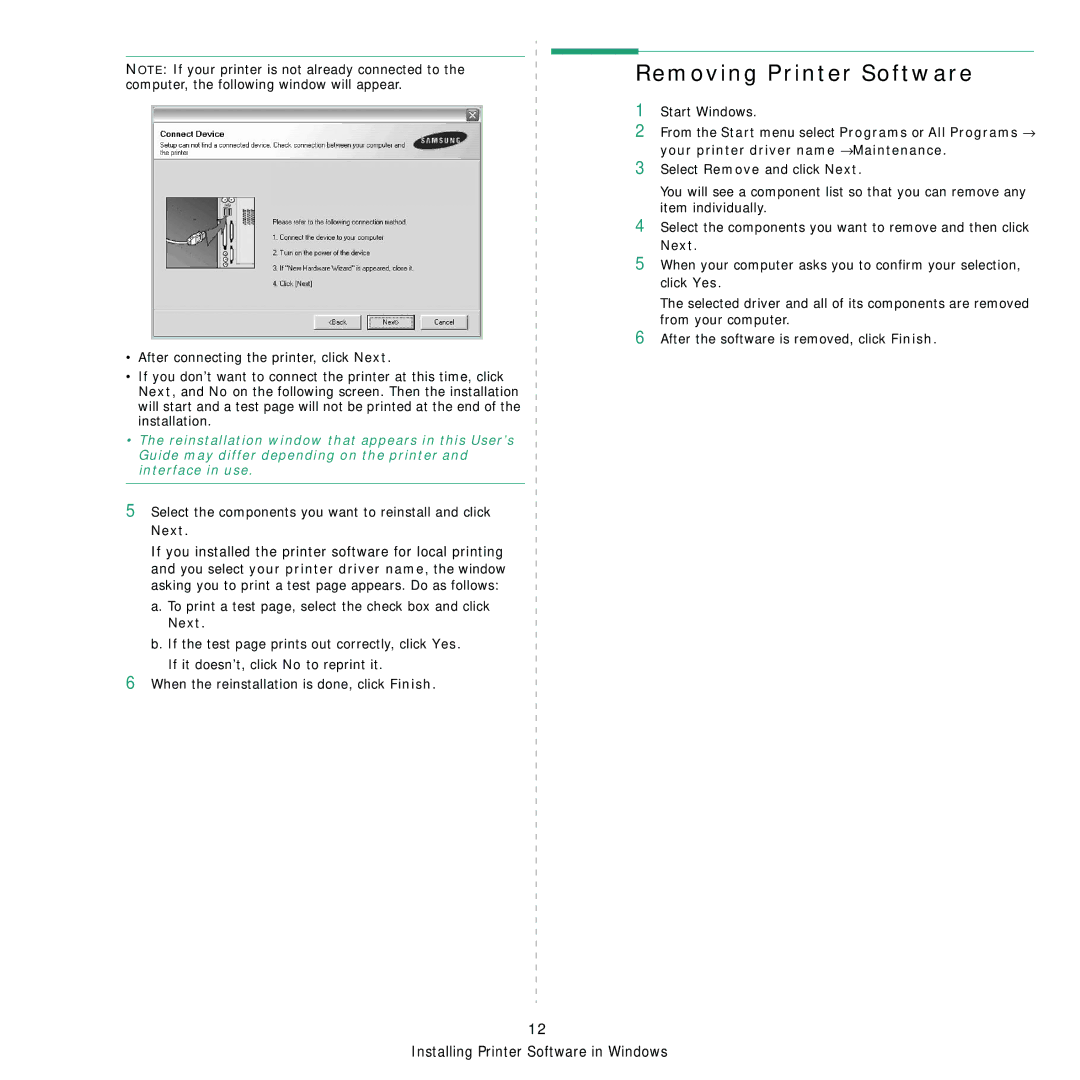
NOTE: If your printer is not already connected to the computer, the following window will appear.
•After connecting the printer, click Next.
•If you don’t want to connect the printer at this time, click Next, and No on the following screen. Then the installation will start and a test page will not be printed at the end of the installation.
•The reinstallation window that appears in this User’s Guide may differ depending on the printer and interface in use.
5Select the components you want to reinstall and click Next.
If you installed the printer software for local printing and you select your printer driver name, the window asking you to print a test page appears. Do as follows:
a.To print a test page, select the check box and click Next.
b.If the test page prints out correctly, click Yes. If it doesn’t, click No to reprint it.
6When the reinstallation is done, click Finish.
Removing Printer Software
1Start Windows.
2From the Start menu select Programs or All Programs → your printer driver name →Maintenance.
3Select Remove and click Next.
You will see a component list so that you can remove any item individually.
4Select the components you want to remove and then click Next.
5When your computer asks you to confirm your selection, click Yes.
The selected driver and all of its components are removed from your computer.
6After the software is removed, click Finish.
12