SNB-7002/SND-7082/ SND-7082F/SNV-7082
Network Camera
Network Camera
Overview
Important Safety Instructions
Explanation of Graphical Symbols
Class construction
Overview
Contents
Installing STW WebViewer Plugin
Connecting to the Camera
Login
Installing Silverlight Runtime
Product Features
Recomended SD/SDHC Memory Card Specifications
Recomended PC Specifications
SNB-7002
WHAT’S Included
Item Name
Description Model Name
SND-7082F
Lens Options not included
Front Side
AT a Glance SNB-7002
Connector
Auto Iris Lens Installed on the lens adaptor Optional
Rear Side
Used to connect the alarm input signal
Reset Button
Button adjusts the focus of image automatically
Power Port Used to plug the power cable
Appearance
AT a Glance SND-7082
Power Port Used to plug the power cable Test Monitor Out
Components
Body Bracket
If you drill a hole in the wiring cover for wiring
Lens Lens for the camera
Connect to the network
AT a Glance SND-7082F
Network Port
SD Memory Card Compartment for the SD memory card
Body
AT a Glance SNV-7082
Components
Body
Turn the optional CS lens clockwise to insert it CS Lens
Mounting the Lens SNB-7002
Mounting the CS lens on a camera
Mounting the C lens on a camera
Focusing
Connecting the Auto Iris Lens connector
Top cover
Installation SND-7082
Precautions before installation
Disassembling
Direction. Close the top cover
Installation
Hold down the lock lever in the outer direction as shown
Hole, use the empty area opposite to the Camera
Installation SND-7082F
To add an alarm cable not included
Camera Body Camera Case
Installation SNV-7082
With the provided L-shaped
Disassembling.
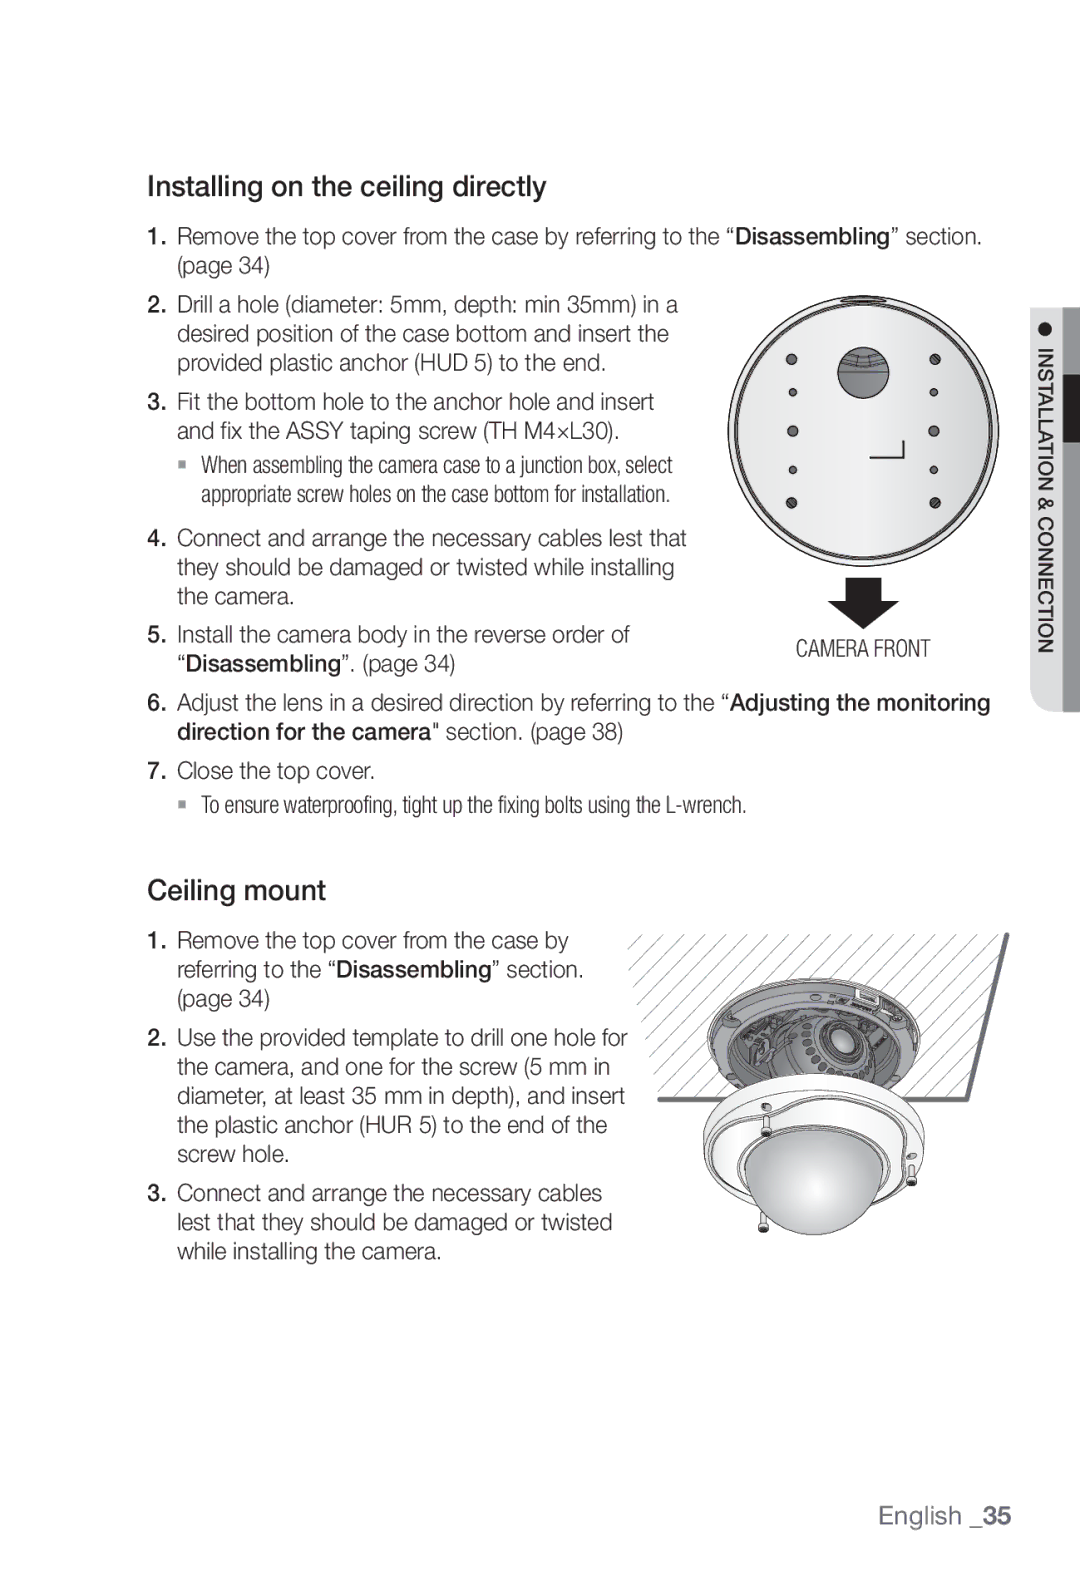
Installing on the ceiling directly
Ceiling mount
Attaching to the unbundled adapter
Optional Accessories for Installation
Pole Mount ADAPTORSBP-300PM
Pan Tilt cramp screw Lens rotation Cover front
Adjusting the monitoring direction
Methods of adjustment
SND-7082
INSERTING/REMOVING a SD Memory Card
Inserting a SD Memory Card
Installation & connection
Removing a SD Memory Card
Installation & connection
Memory Card Use
What is a memory card?
Memory Card Information not Included
Selecting a memory card that’s suitable for you
Ethernet Monitor to install
Connecting with Other Device
Monitor to install Power Grounding cable Ethernet
Ethernet Connection
Power Supply
Electrical Resistance of Copper Wire at 20C 68F
Grounding the Product SNB-7002
Speaker Amp
Connecting to Audio Input/Output
Speaker
Microphone
Connecting to the I/O port box SNB-7002
To connect the external sensor
Connecting to the I/O port box SND-7082/SND-7082F/SNV-7082
Alarm I/O Wiring Diagram
Local Network
Connecting the Camera Directly to Local Area Networking
Connecting to the camera from a local PC in the LAN
Network Connection and Setup
Modem
Camera Ddns Server Local PC Data Center, Korea
Connection status
Buttons Used in IP Installer
Alias This function is not currently implemented Mode
Auto Set
Static IP Setup
Manual Network Setup
Ddns registration has failed
Address pane, provide the necessary information
If not using a Broadband Router
Http Port 8080 8081 VNP Port 4520 4521
Enter the password
Auto Network Setup
Dynamic IP Environment Setup
Dynamic IP Setup
Manual Port Range Forwarding
Port Range Forward Port Mapping Setup
Camera1
Setting up Port Range Forward for several network cameras
User Internet Broadband Router Start End
Connecting to the Camera from a Remote PC VIA the Internet
Connecting to the Camera from a Shared Local PC
Normally, you would
Connecting to the Camera
Using URL
Login dialog should appear
To check the Ddns address
Login
Click Click Here
Installing Silverlight Runtime
To install on Windows OS
When done, click Close
To install on MAC OS
Click Agree Click Install
Web viewer
Installing STW WebViewer Plugin
Using the Live Screen
To fit the full screen
To capture the snapshot
To control microphone
Be limited up to the date when the 500th event is recorded
Search and Play by Event
To control the audio sound
Search and Play by Time
During playback, click on the scene to back up
To play the backup video
To check time information of the playing video
To back up the searched video
Select each profile properties
Setup
Video & Audio Setup
Video profile
Control framerate
When done, click Apply
To add a video profile
Video setup
What is GOV length?
To set the privacy zone
Audio setup
Camera setup
Ssdr Samsung Super Dynamic Range Setup
Setup screen
Select Backlight Set Mode to WDR Specify the WDR level
WDR Setup
Setup screen
English
Setup screen
English
Smart codec setup
Button to manually adjust the focus
Focus setup SNB-7002
Focus setup SND-7082/SND-7082F/SNV-7082
Interface
Network Setup
Port
Ddns
Registering with Ddns
English
IP filtering
SSL
802.1x
Enter an IP address to which you will apply QoS
QoS
FTP / E-mail
Event Setup
English
Storage
Clear Reset all settings When done, click Apply
Alarm input
Time schedule
Tampering detection
Specify the activation time and activation condition
Motion detection / Video analytics
Severe snow, rain, wind or in dawn / dusk
Select Size tab
To use Motion detection
All areas defined are deleted When done, click Apply
To use Video analytics
To set the video analysis rules
Setup screen
Face detection
Network disconnection
Audio detection
Alarm output setup
Product information
System Setup
Manual Specify the time manually
Date & Time
User
Upgrade / Reboot
It may take a max of 20 minutes for the upgrade process
Log
Profile Show the information of the newly added codec
Profile access
Specification
Off / BLC / HLC
Off / On 96dB Operational 3M Mode 20fps, 2M Mode 30fps
Items Description SNB-7002
Day & Night Auto ICR / Color / B/W / External
Resolution
Enter / Exit, Appear / Disappear Alarm I/O
RS-485 Protocol Alarm Triggers
Format Network 3M Mode
User access Log
3M Mode Max 20 fps at all resolutions
Httpsssl Login Authentication
Security Digest Login Authentication
+131F / 20% ~
Finland
Web Viewer
+55C +14F ~
Off
Power Consumption
Mounting Type Weight 468g
Electrical
150.5
Product Overview
SNB-7002 Unit mm inch
SND-7082 Unit mm inch
Ø159.9 6.3 Ø122.5 Ø100
SNV-7082 Unit mm inch
Troubleshooting
Output port even when an Check alarm output port settings
Check Data & Time settings
When I don’t use Motion
Video analysis setting
Version 2, June
GPL/LGPL software license
Base Kernel, Busybox, Sysvinit, dosfstools, DSP-SW-package
GLibc, Inetutils
This License
Preamble
Copyright Cyyyy name of author
Basic Permissions
Terms and Conditions
Conveying Non-Source Forms
Protecting Users’ Legal Rights From anti-Circumvention Law
Conveying Verbatim Copies
Conveying Modified Source Versions
Automatic Licensing of Downstream Recipients
Additional Terms
Termination
Acceptance Not Required for Having Copies
Use with the GNU Affero General Public License
Disclaimer of Warranty
Patents
No Surrender of Others’ Freedom
Version 2.1, February
Interpretation of Sections 15
Above on a medium customarily used for software interchange
Modified work must itself be a software library
Page
Copyright c 1998-2006 The OpenSSL Project. All rights
END of Terms and Conditions
This Software is Provided by the OpenSSL
Original Ssleay License
Copyright C 2004, Kneschke, incremental All rights reserved
BSD License
Net-snmp-5.4
Lighttpd BSD Game-ws MiniUPnP Project Client
Copyright c 2005-2012, Thomas Bernard All rights reserved
Copyright c 2006, Creative Labs Inc All rights reserved
Part 4 Sun Microsystems, Inc. copyright notice
Page
MIT License
We are required to state that
Independent Jpeg Group’s Jpeg Software
Legalese
Source Code License
Mozilla Public License
Version Definitions
Inability to Comply Due to Statute or Regulation
Distribution Obligations
Intellectual Property Matters
Representations
Versions of the License
Application of this License
Provisions of License are applicable instead of those
Exhibit a -Mozilla Public License
Correct disposal of batteries in this product
Toll Free +1-877-213-1222 Direct +1-201-325-6920
Sales Network