USING THE MENU SCREEN | OPTION/APERTURE |
AAPERTURE setting
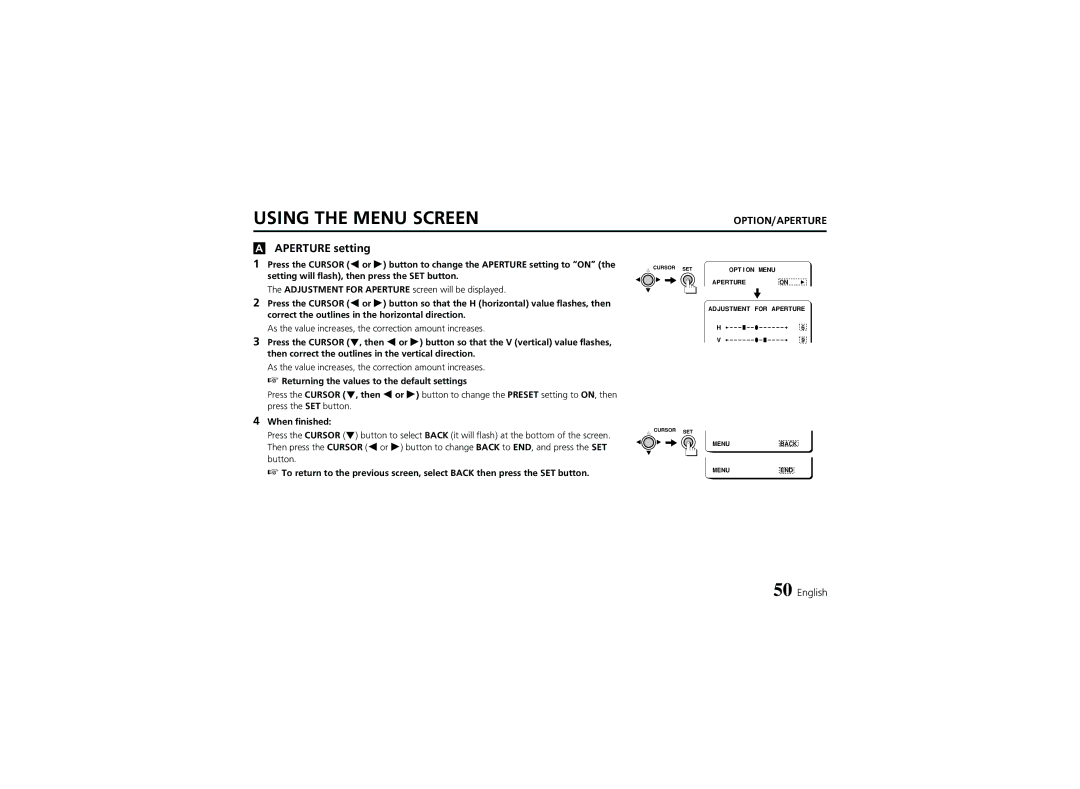
1 Press the CURSOR (d or c) button to change the APERTURE setting to “ON” (the setting will flash), then press the SET button.
The ADJUSTMENT FOR APERTURE screen will be displayed.
2Press the CURSOR (d or c) button so that the H (horizontal) value flashes, then correct the outlines in the horizontal direction.
As the value increases, the correction amount increases.
3Press the CURSOR (l, then d or c) button so that the V (vertical) value flashes, then correct the outlines in the vertical direction.
As the value increases, the correction amount increases.
☞Returning the values to the default settings
Press the CURSOR (l, then d or c) button to change the PRESET setting to ON, then press the SET button.
4When finished:
Press the CURSOR (l) button to select BACK (it will flash) at the bottom of the screen. Then press the CURSOR (d or c) button to change BACK to END, and press the SET button.
☞ To return to the previous screen, select BACK then press the SET button.
CURSOR | SET | OPTION MENU |
|
| |
|
|
| |||
| APERTURE |
| ON | p | |
| ADJUSTMENT | FOR APERTURE | |||
| H í | ü | 6 | ||
| V í | ü | 9 | ||
CURSOR SET
MENU | BACK |
MENU | END |
50 English