7.Once point A is entered, the screen will prompt you to enter in points B and C. Follow the same procedures for inputting points B and C.
In a case where the three points were input wrong, and they do not form an exact right angle, the software will show the following error message and give you an opportunity to enter the alignment points again.
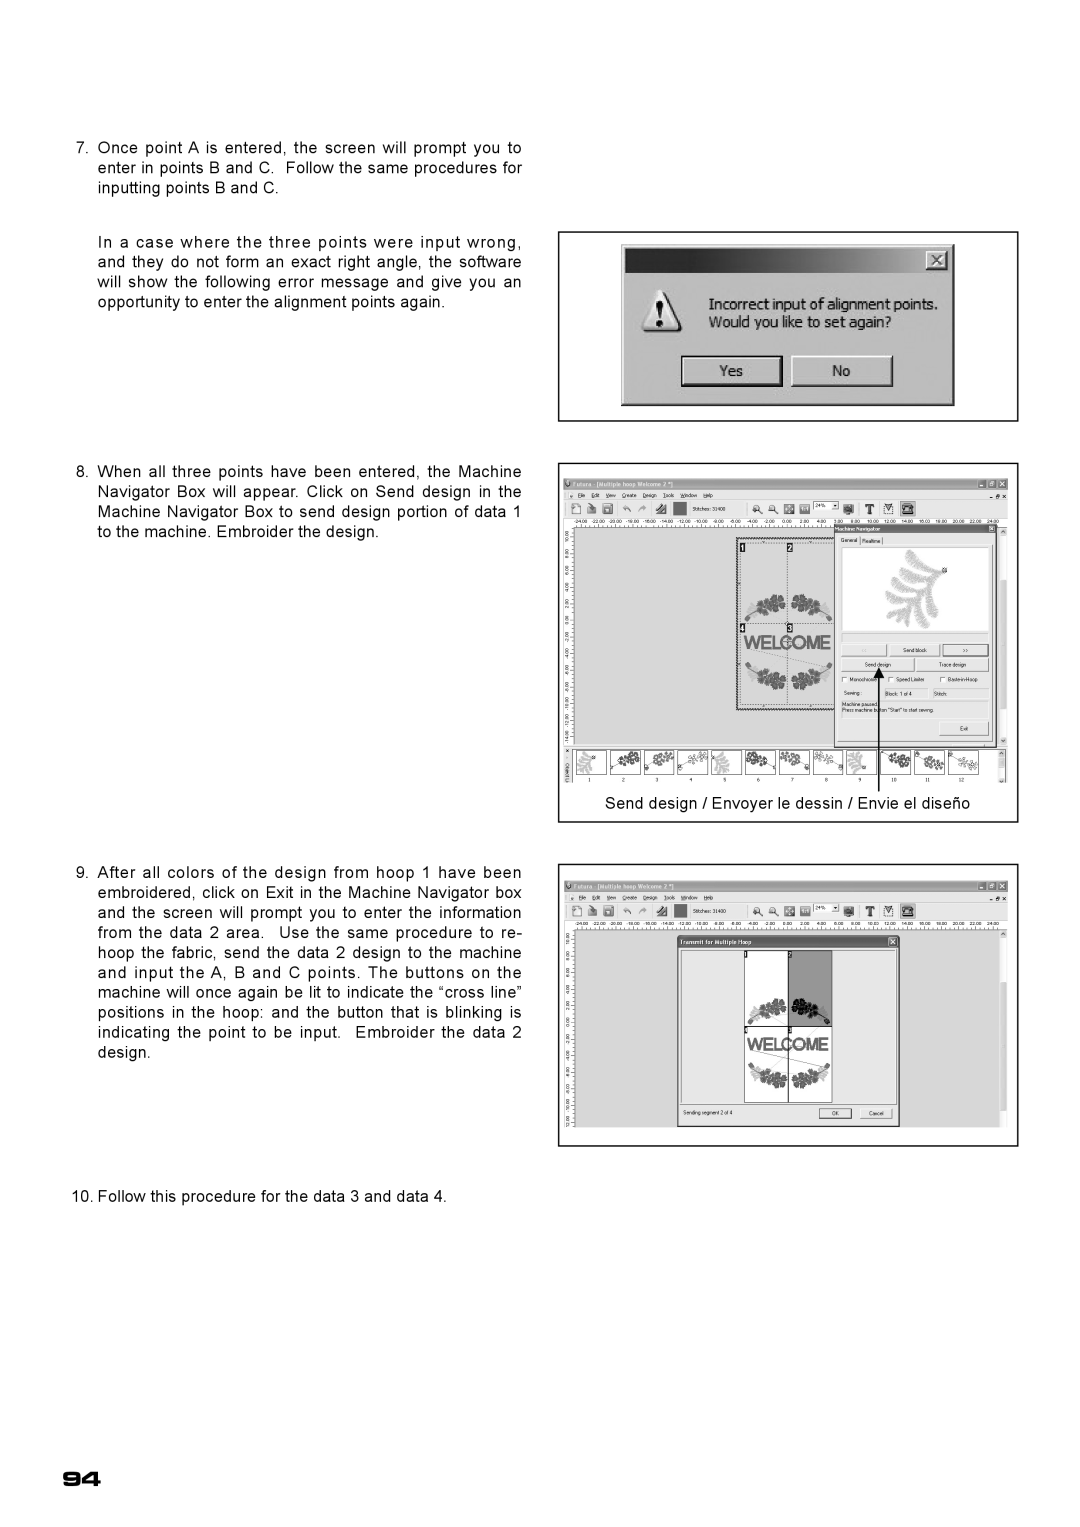
8.When all three points have been entered, the Machine Navigator Box will appear. Click on Send design in the Machine Navigator Box to send design portion of data 1 to the machine. Embroider the design.
9.After all colors of the design from hoop 1 have been embroidered, click on Exit in the Machine Navigator box and the screen will prompt you to enter the information from the data 2 area. Use the same procedure to re- hoop the fabric, send the data 2 design to the machine and input the A, B and C points. The buttons on the machine will once again be lit to indicate the “cross line” positions in the hoop: and the button that is blinking is indicating the point to be input. Embroider the data 2 design.
10. Follow this procedure for the data 3 and data 4.
Send design / Envoyer le dessin / Envie el diseño
94