Multi-Hoop
The
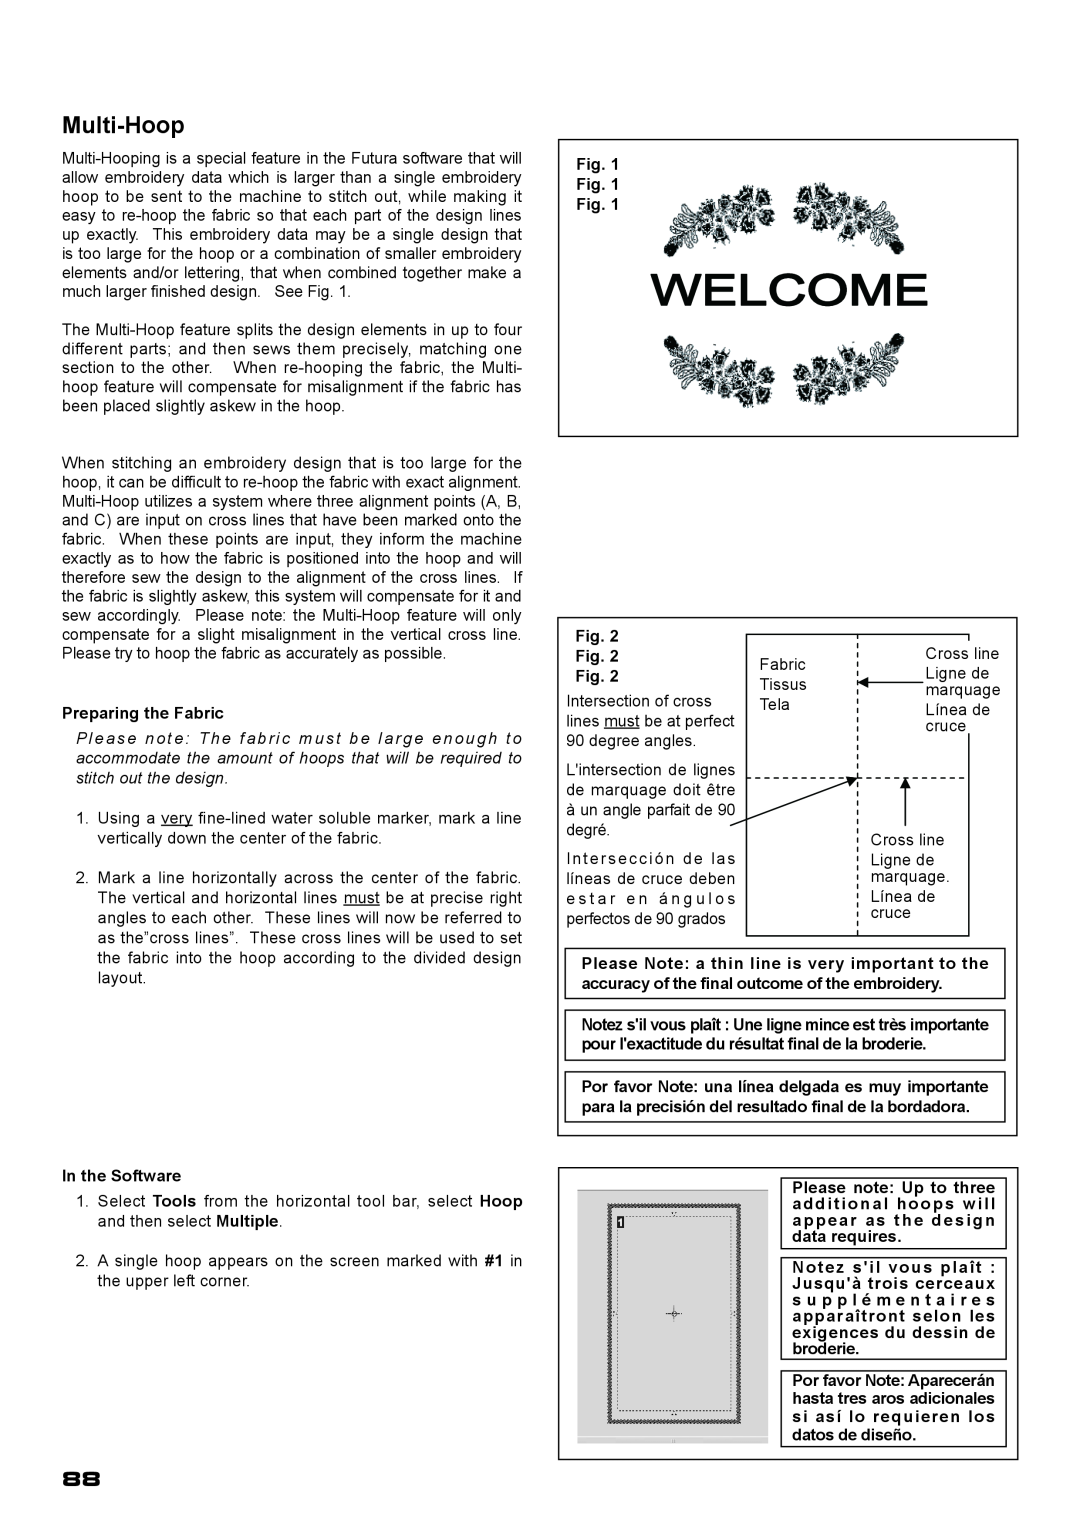
Fig. 1
Fig. 1
Fig. 1
When stitching an embroidery design that is too large for the hoop, it can be difficult to
Preparing the Fabric
Please note: The fabric must be large enough to accommodate the amount of hoops that will be required to stitch out the design.
1. | Using a very |
| vertically down the center of the fabric. |
2. | Mark a line horizontally across the center of the fabric. |
| The vertical and horizontal lines must be at precise right |
| angles to each other. These lines will now be referred to |
| as the”cross lines”. These cross lines will be used to set |
Fig. 2
Fig. 2
Fig. 2
Intersection of cross lines must be at perfect 90 degree angles.
L'intersection de lignes de marquage doit être
àun angle parfait de 90 degré.
Intersección de las líneas de cruce deben e s t a r e n á n g u l o s perfectos de 90 grados
Fabric | Cross line | |
Ligne de | ||
Tissus | ||
marquage | ||
Tela | Línea de | |
| cruce |
Cross line Ligne de marquage. Línea de cruce
the fabric into the hoop according to the divided design |
layout. |
In the Software
1.Select Tools from the horizontal tool bar, select Hoop and then select Multiple.
2.A single hoop appears on the screen marked with #1 in the upper left corner.
Please Note: a thin line is very important to the
accuracy of the final outcome of the embroidery.
Notez s'il vous plaît : Une ligne mince est très importante pour l'exactitude du résultat final de la broderie.
Por favor Note: una línea delgada es muy importante
para la precisión del resultado final de la bordadora.
Please note: Up to three additional hoops will appear as the design data requires.
Notez s'il vous plaît : Jusqu'à trois cerceaux s u p p l é m e n t a i r e s apparaîtront selon les exigences du dessin de broderie.
Por favor Note: Aparecerán hasta tres aros adicionales si así lo requieren los datos de diseño.
88