SlingPlayer setup steps
There are four parts of the setup process:
1.Audio/Video setup: If you properly connected the cables, you will see the video from your TV source on the setup screens. Refer to the Quick Setup Guide or click the Help button if you don’t see the video. Make sure you con- nected the cables properly. The audio/video setup includes identifying what you connected to the Slingbox and which cables you used. See “Audio/ Video setup” on page 25.
2.IR (infrared) control setup: If you connected a cable box, satellite receiver or DVR, you will select its remote code so the Slingbox can control the device using the supplied IR control cable. Be sure that the IR control cable is fully inserted into the Slingbox IR connector and that you have placed the emit- ters over the IR sensor on your device before completing these screens. See “IR control setup” on page 30.
3.Name and password setup: You can create a name for your Slingbox, which is helpful if you have more than one. You can also set a password to watch your Slingbox, as well as an administrator password, which is used to change your Slingbox settings. See “Name and password setup” on page 32.
4.Remote viewing setup: To view your Slingbox remotely, your router needs to provide access to your Slingbox from outside of your home network. It uses a technology called UPnP (Universal Plug and Play) to automatically set up your router. You can manually configure your router if UPnP does not work. See “Remote viewing setup” on page 34.
Help is available every step of the way
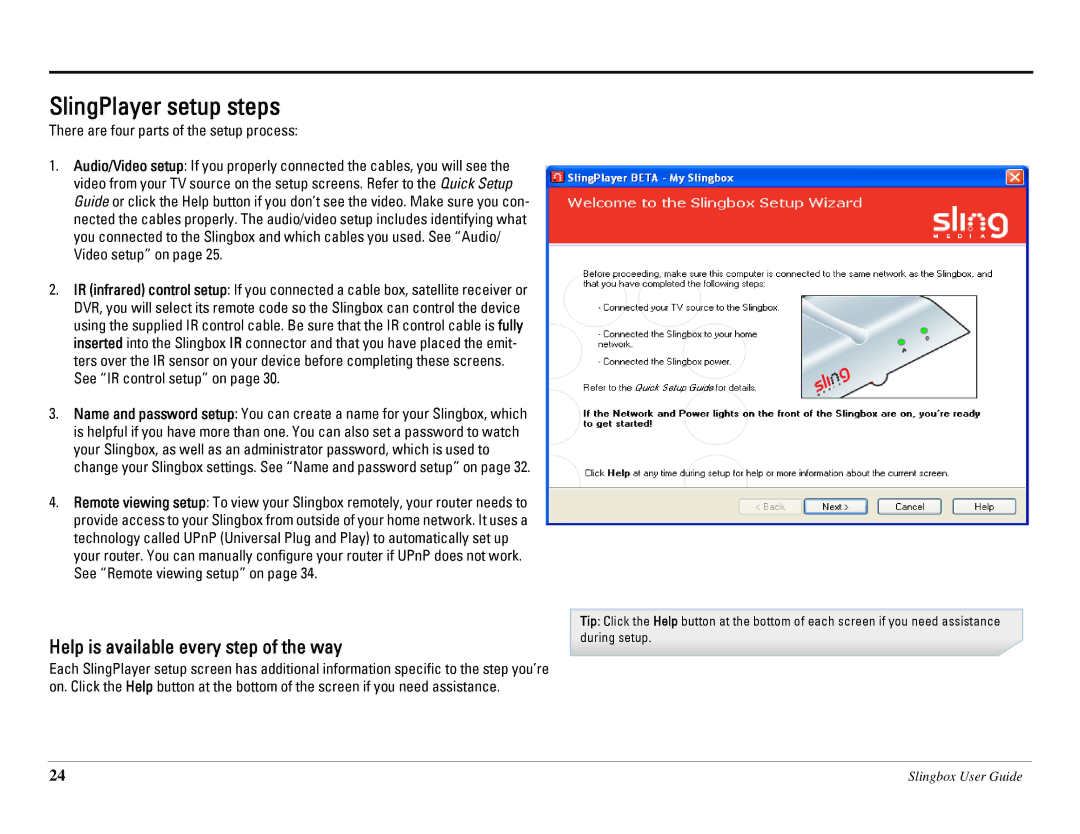
Each SlingPlayer setup screen has additional information specific to the step you’re on. Click the Help button at the bottom of the screen if you need assistance.
Tip: Click the Help button at the bottom of each screen if you need assistance during setup.
24 | Slingbox User Guide |