Appendix C Wireless
WIRELESS
INSTALLATION
Appendix C
Wireless Mini-PCI Installation
To install the wireless
WARNING: To avoid the risk of personal injury or damage to the Tablet PC, when performing the following tasks, turn off your Tablet PC, unplug the AC power connection, and remove the battery. Ground yourself by touching a grounded conductive surface, such as a device or appliance with a grounded,
1.Disconnect the Tablet PC from AC power and remove the battery.
2.Remove the two small Phillips head screws securing the
3.(If you are replacing an existing wireless card and not just installing a card in an empty slot) Release the two clips on each side of the card. When the card pops up, gently pull it from the
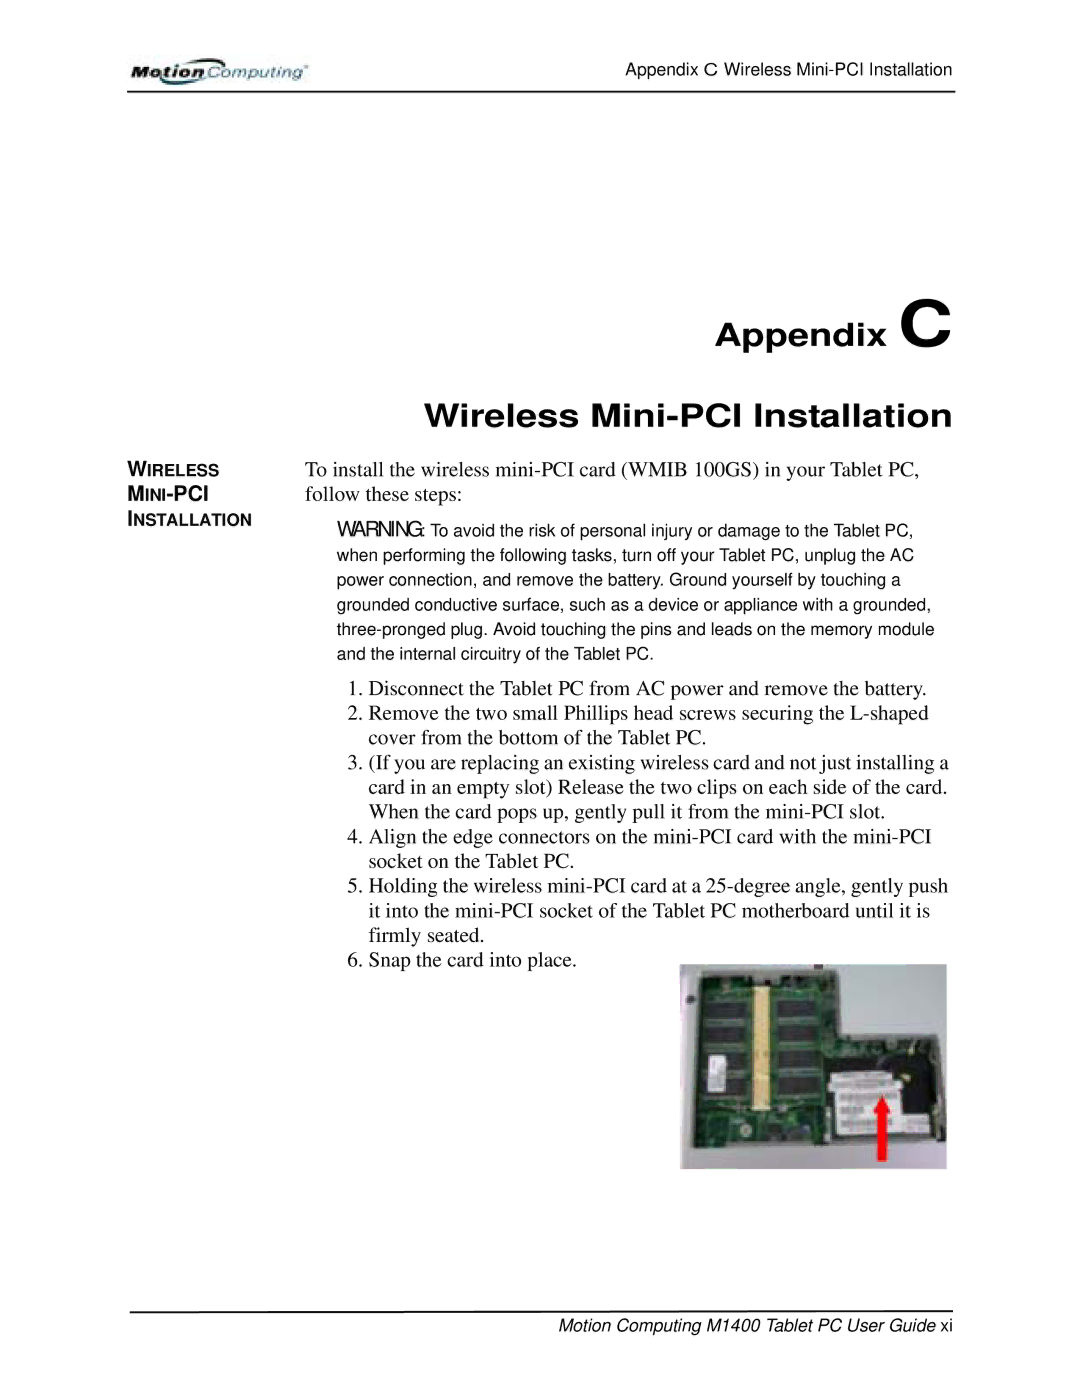
4.Align the edge connectors on the
5.Holding the wireless
6.Snap the card into place.