8. INSTALLING AND REPLACING THE RECEIPT AND JOURNAL ROLLS |
8.1 Installing/Replacing the Receipt Roll
8.INSTALLING AND REPLACING THE RECEIPT AND JOURNAL ROLLS
WARNING!
Care must be taken not to injure yourself with the paper cutter.
Turn the control lock to the REG position using a Mode Selector Key to perform the paper roll installation described in this chapter.
8.1Installing/Replacing the Receipt Roll
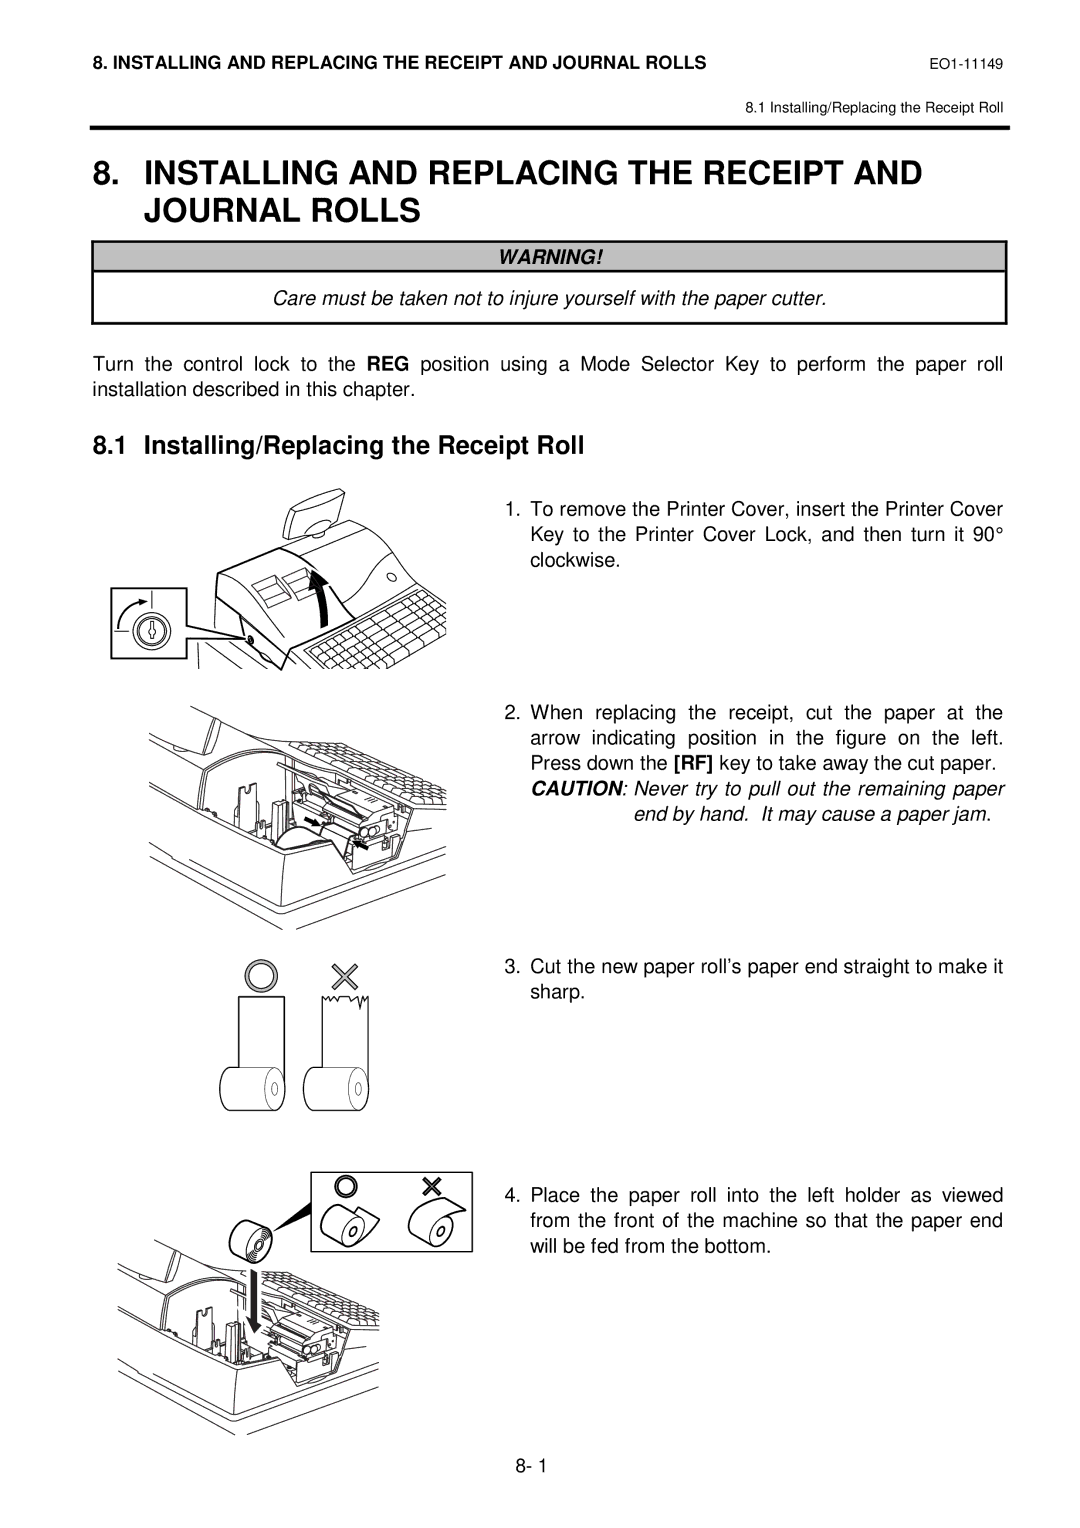
1.To remove the Printer Cover, insert the Printer Cover Key to the Printer Cover Lock, and then turn it 90°
clockwise.
2.When replacing the receipt, cut the paper at the arrow indicating position in the figure on the left. Press down the [RF] key to take away the cut paper. CAUTION: Never try to pull out the remaining paper
end by hand. It may cause a paper jam.
3.Cut the new paper roll’s paper end straight to make it sharp.
4. Place the paper roll into the left holder as viewed from the front of the machine so that the paper end will be fed from the bottom.
8- 1