MODEL C24EA - DOOR
DOOR HANDLE
Removal
1.Open door.
2.Remove screws from top and bottom of door assembly.
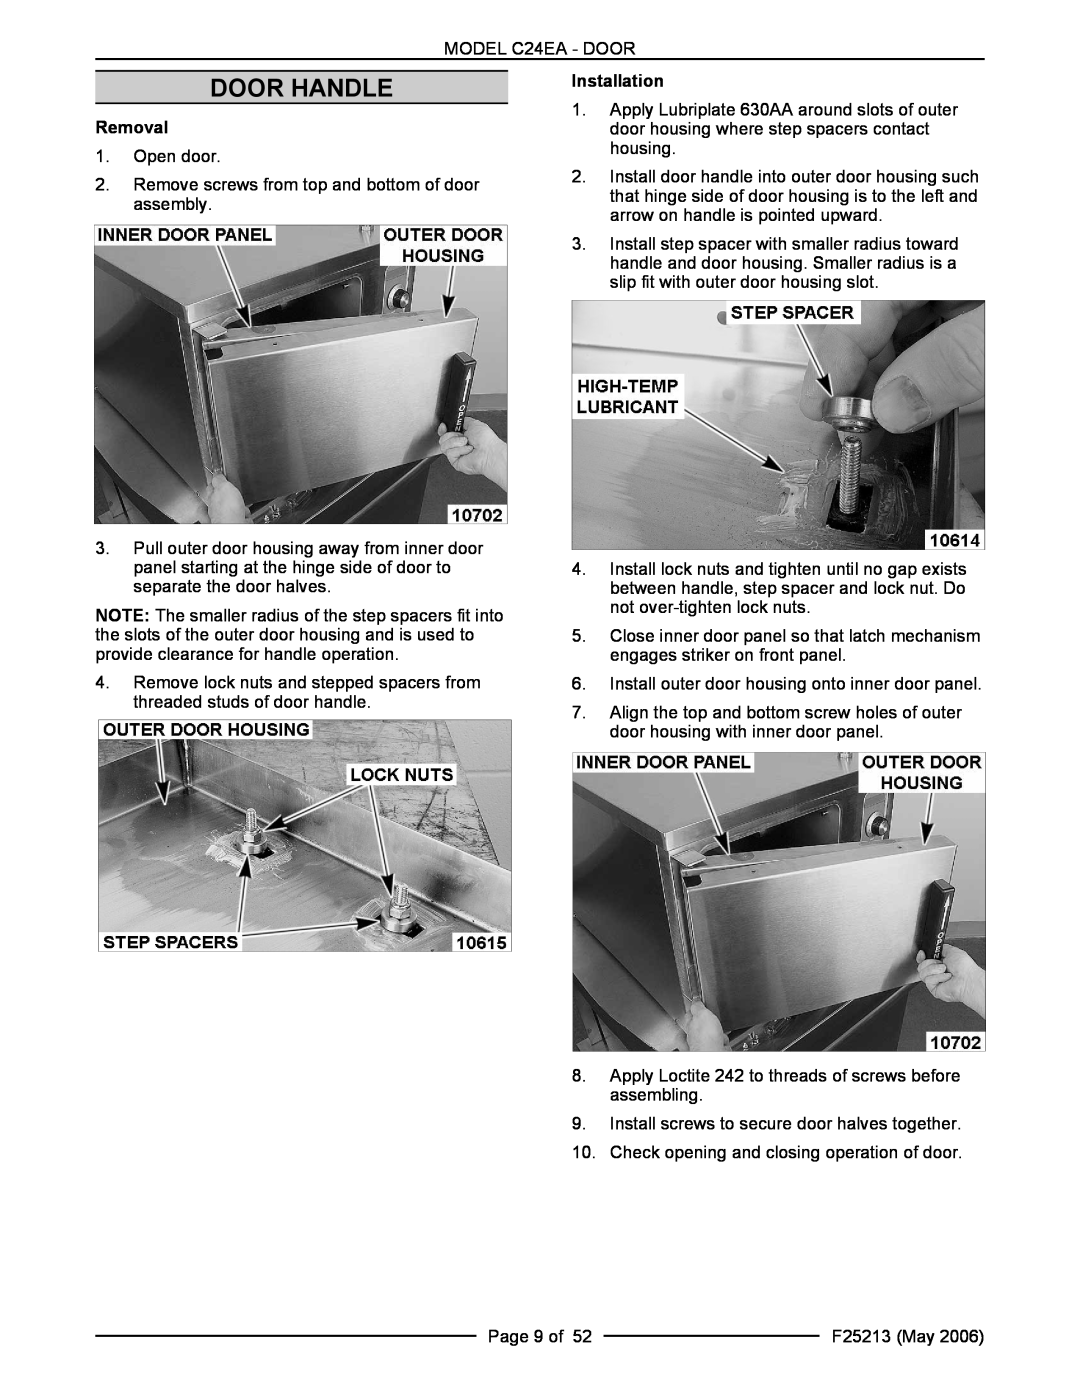
Installation
1.Apply Lubriplate 630AA around slots of outer door housing where step spacers contact housing.
2.Install door handle into outer door housing such that hinge side of door housing is to the left and arrow on handle is pointed upward.
3.Install step spacer with smaller radius toward handle and door housing. Smaller radius is a slip fit with outer door housing slot.
3.Pull outer door housing away from inner door panel starting at the hinge side of door to separate the door halves.
NOTE: The smaller radius of the step spacers fit into the slots of the outer door housing and is used to provide clearance for handle operation.
4.Remove lock nuts and stepped spacers from threaded studs of door handle.
4.Install lock nuts and tighten until no gap exists between handle, step spacer and lock nut. Do not
5.Close inner door panel so that latch mechanism engages striker on front panel.
6.Install outer door housing onto inner door panel.
7.Align the top and bottom screw holes of outer door housing with inner door panel.
8.Apply Loctite 242 to threads of screws before assembling.
9.Install screws to secure door halves together.
10.Check opening and closing operation of door.
Page 9 of 52 |
| F25213 (May 2006) |
|