Model MRC88 | Page: 25 |
POWER
CH | PAUSE | VOL |
|
|
CH |
| SELECT |
REW | PLAY |
![]() VOL FF
VOL FF
![]() STOP
STOP
STATUS | MUTE |
1
2
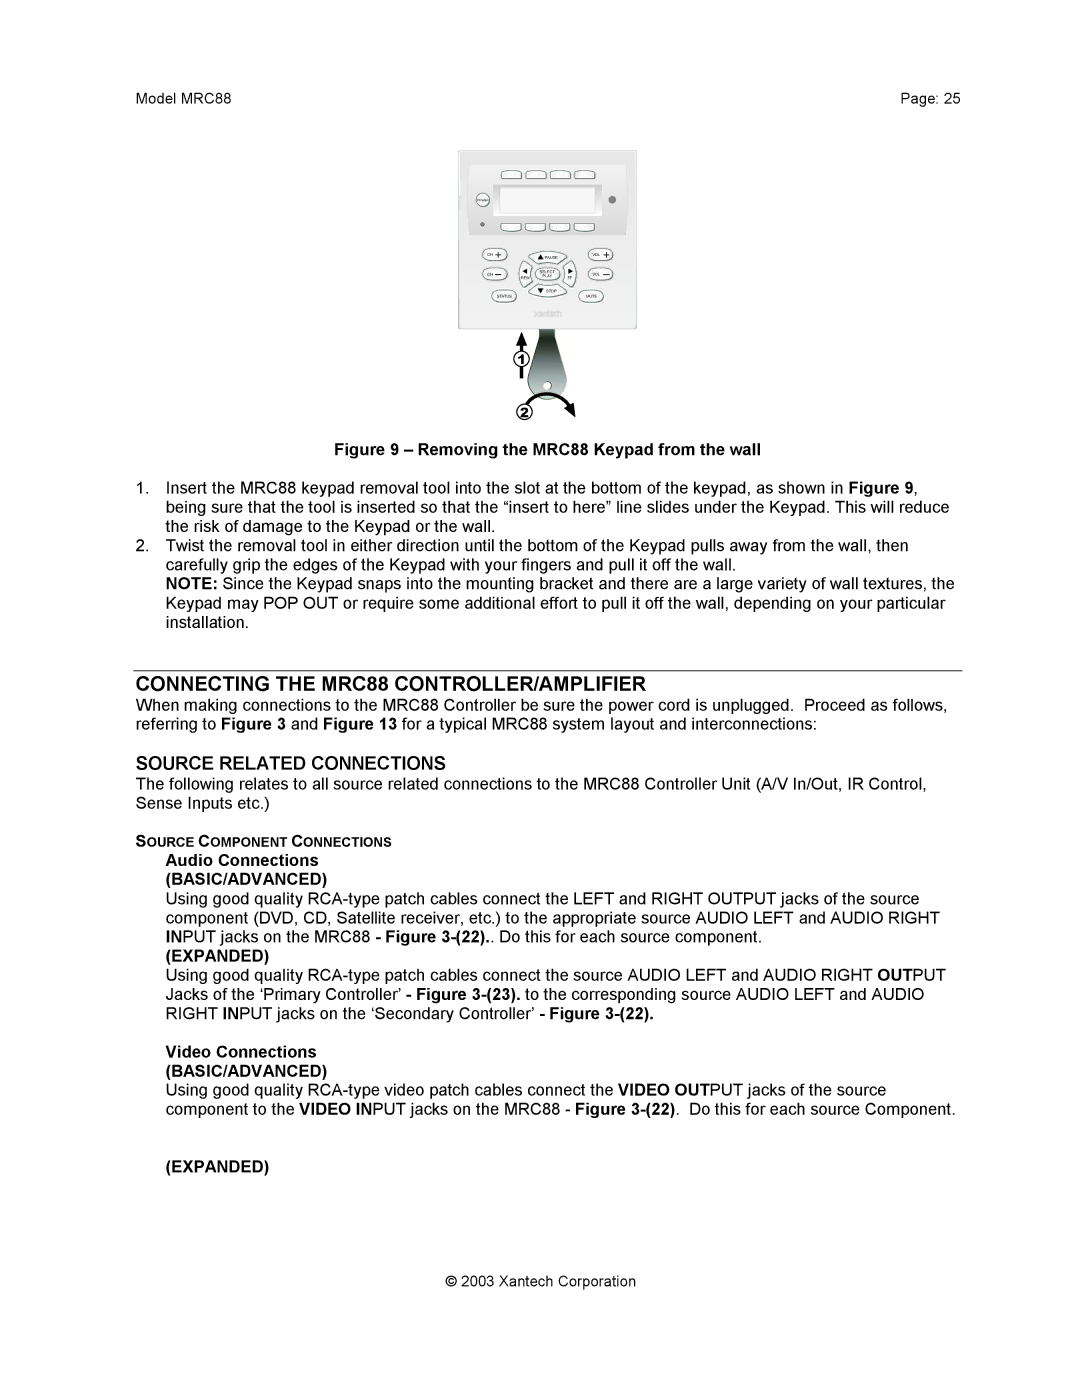
Figure 9 – Removing the MRC88 Keypad from the wall
1.Insert the MRC88 keypad removal tool into the slot at the bottom of the keypad, as shown in Figure 9, being sure that the tool is inserted so that the “insert to here” line slides under the Keypad. This will reduce the risk of damage to the Keypad or the wall.
2.Twist the removal tool in either direction until the bottom of the Keypad pulls away from the wall, then carefully grip the edges of the Keypad with your fingers and pull it off the wall.
NOTE: Since the Keypad snaps into the mounting bracket and there are a large variety of wall textures, the Keypad may POP OUT or require some additional effort to pull it off the wall, depending on your particular installation.
CONNECTING THE MRC88 CONTROLLER/AMPLIFIER
When making connections to the MRC88 Controller be sure the power cord is unplugged. Proceed as follows, referring to Figure 3 and Figure 13 for a typical MRC88 system layout and interconnections:
SOURCE RELATED CONNECTIONS
The following relates to all source related connections to the MRC88 Controller Unit (A/V In/Out, IR Control, Sense Inputs etc.)
SOURCE COMPONENT CONNECTIONS
Audio Connections
(BASIC/ADVANCED)
Using good quality
(EXPANDED)
Using good quality
Video Connections
(BASIC/ADVANCED)
Using good quality
(EXPANDED)
© 2003 Xantech Corporation